Skip to content
mj's photography
Martin Junius, Cologne, Germany
Menu
Home
About
Archives
Articles
Eclipse 01 Aug 2008 – China
Eclipse 01 Aug 2008 – China [en]
Eclipse 11 Aug 1999 – Deutschland
Eclipse 22 Jul 2009 – China
Eclipse 29 Mar 2006 – Türkei
Gröde 2009 – Sommer
Gröde 2010 – Ostern
Gröde Neun
Gröde X
Projekt Dellbrück
Projekt Strom
Schottland 2010
Urban Nexus
Contact
Datenschutzerklärung
Photography
Astrophotography
Astrophotography – Annotated
Astrophotography – BW
Astrophotography – Color
Bright Nebulae
Celebrating the Moon
Cometary Globules
Dark Nebulae
Galaxies
Narrowband
Nightscapes
Planets
Star Trails
Sun and Moon
Deutschland
Ausweichsitz NRW
Baggertransport
Berlin 2009
Berlin 2011
Nationalpark Eifel
Oberhausen
Eclipse
Total Lunar Eclipse 2015
Total Lunar Eclipse 2018
Total Lunar Eclipse 2019
Total Lunar Eclipse 2025
Total Solar Eclipse 2006
Total Solar Eclipse 2008
Total Solar Eclipse 2009
Total Solar Eclipse 2012
Total Solar Eclipse 2015
Total Solar Eclipse 2016
Total Solar Eclipse 2017
Total Solar Eclipse 2024
Gröde
Hallig Gröde 2003
Hallig Gröde 2006
Hallig Gröde 2007
Hallig Gröde 2008
Hallig Gröde 2008 Panorama
Hallig Gröde 2009
Hallig Gröde 2009 Panorama
Hallig Gröde 2010
Hallig Gröde 2010 Panorama
Hallig Gröde 2011
Hallig Gröde 2012
Hallig Gröde 2013
Hallig Gröde 2013 BW
Hallig Gröde 2014
Hallig Gröde 2015
Hallig Gröde 2018
Köln
Barmer Viertel – Abriss 2006
Barmer Viertel – Ausstellung
Barmer Viertel – MesseCity
Barmer Viertel – Neubauten
Barmer Viertel – No 33
Butzweilerhof
Dark Winter Wonderland
Dellbrückentag 2022
Dellbrückentag 2023
Dellbrückentag 2024
Dellbrückentag 2025
Dellbrückentag 2026
Einsturz Stadtarchiv
Forschungsbohrung Dellbrück
Fotomarathon und Nebenstrecke
Hafentage
Karneval 2007
Karneval 2008
Karneval 2009
Karneval 2010
Karneval 2011
Karneval 2014
Reclaim Award
Robodonien
Stadtbild Köln 1-3
Über den Dächern
White Suburbia
Misc
Bilder einer Ausstellung
Film BW 2009
W48
Music
Jazz Rally 2012
Jazz Rally 2013
Jazz Rally 2014
Jazz Rally 2015
Jazz Rally 2019
Live Music
Namibia
Namibia 2014
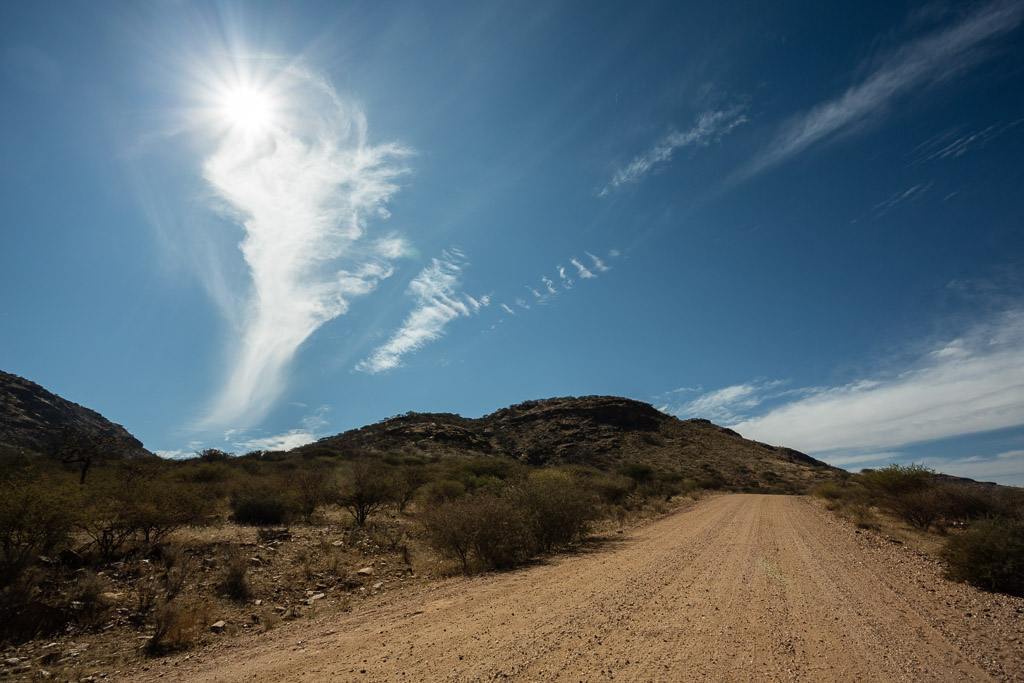
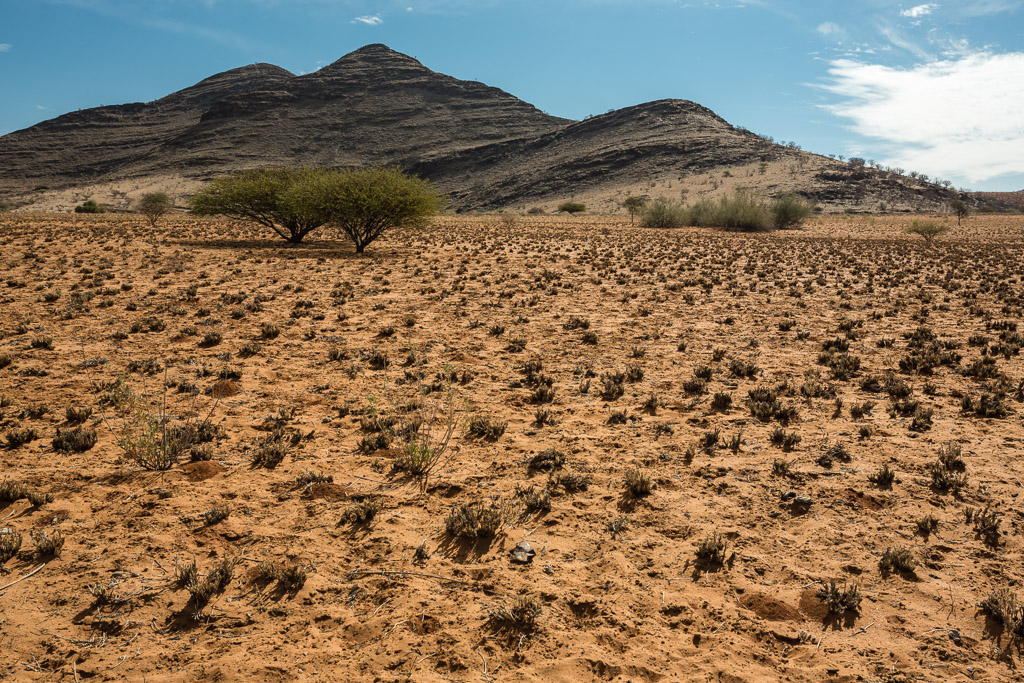
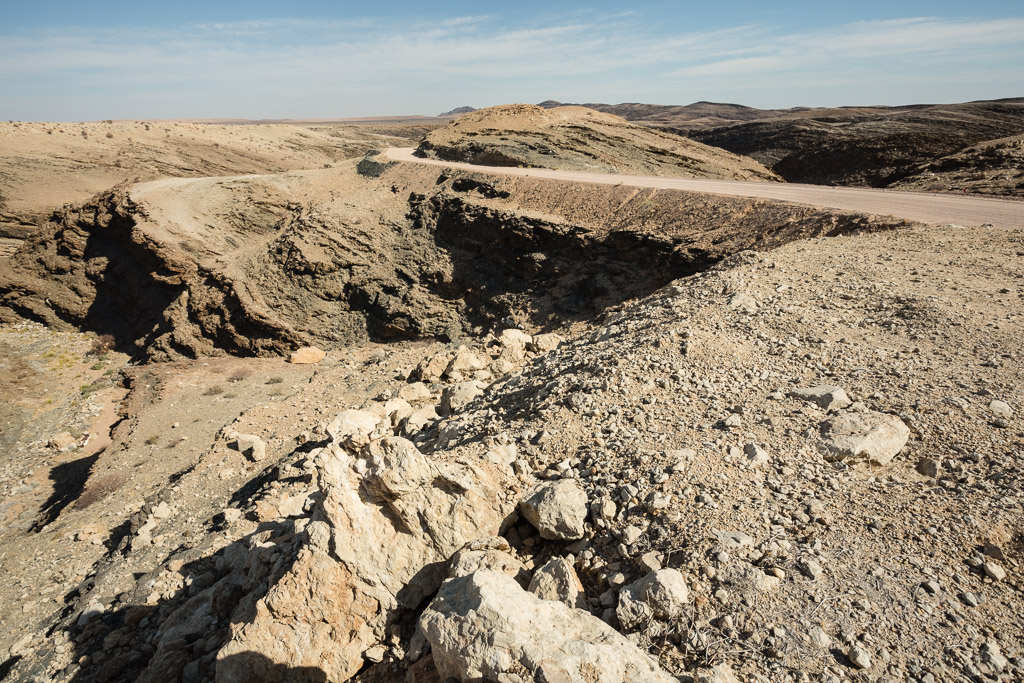
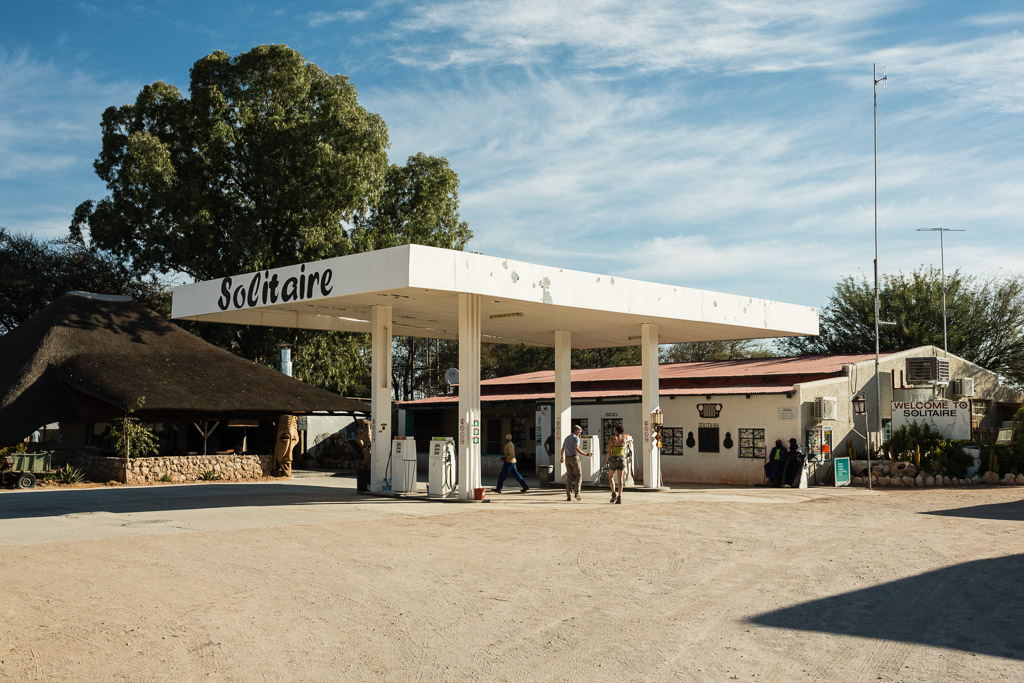
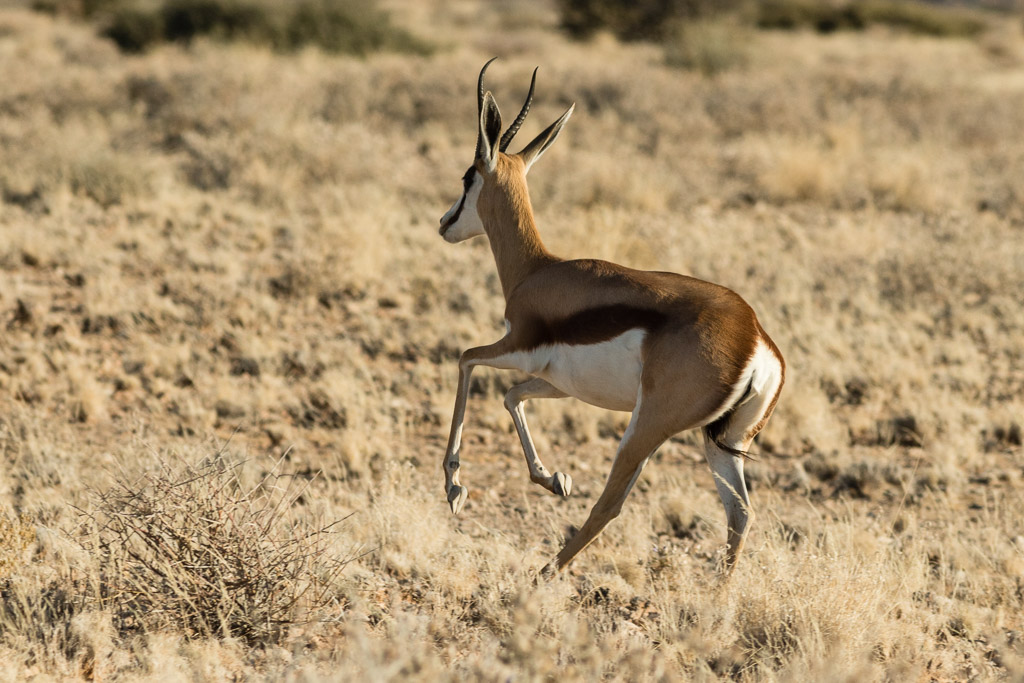
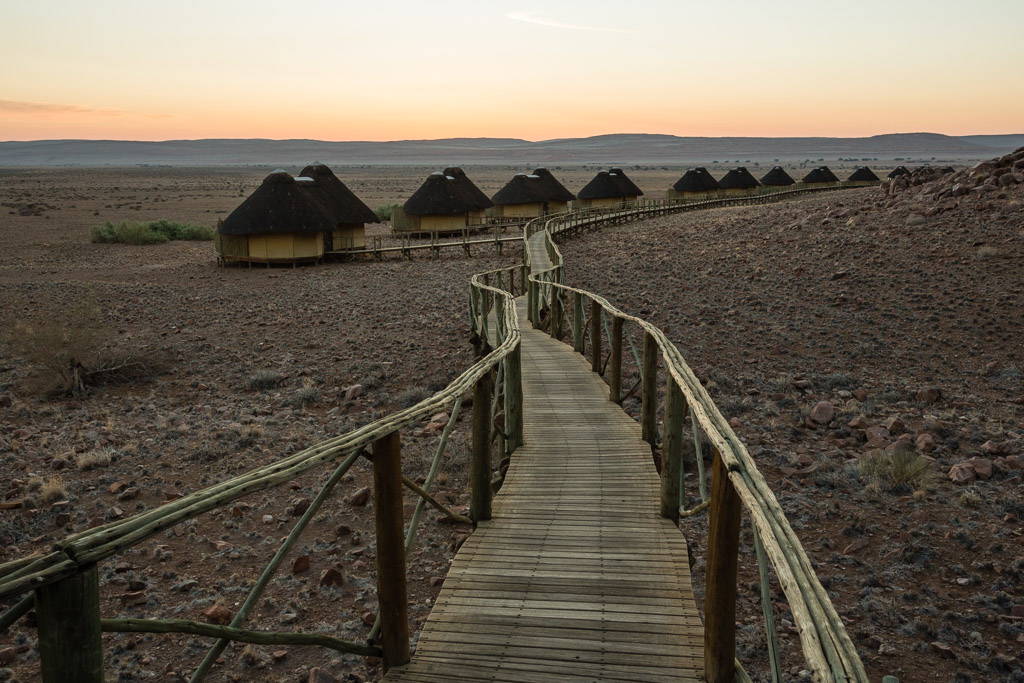
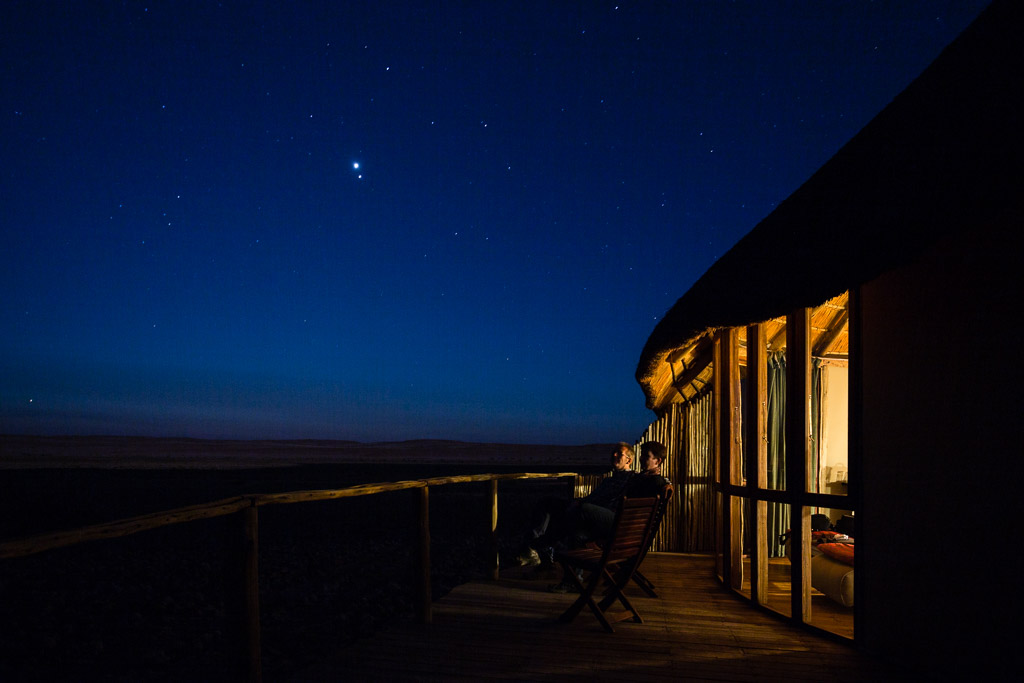
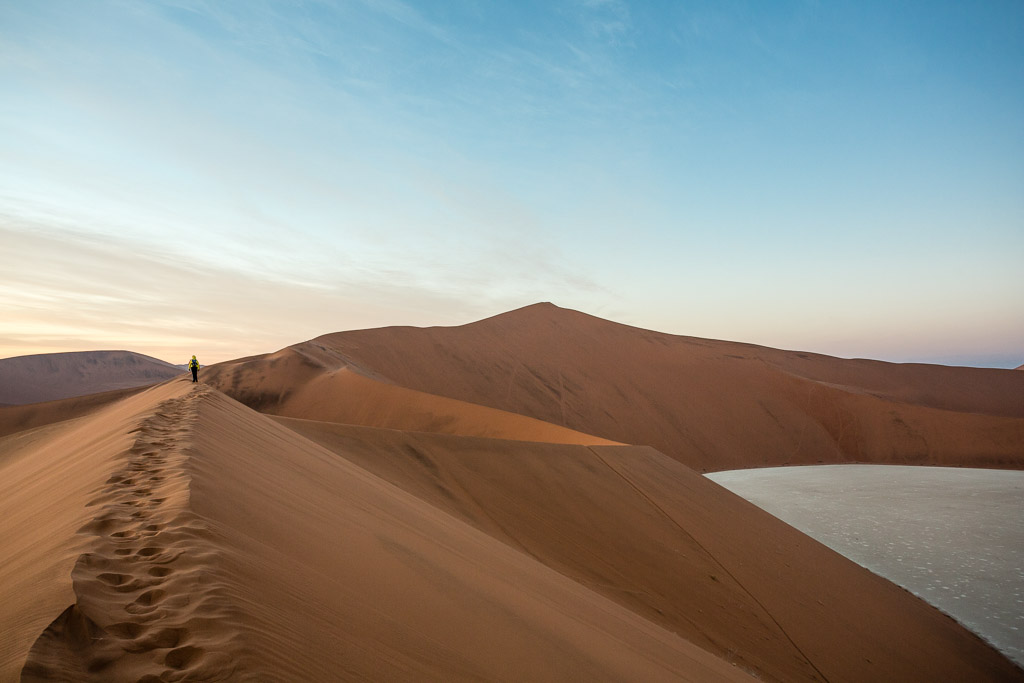
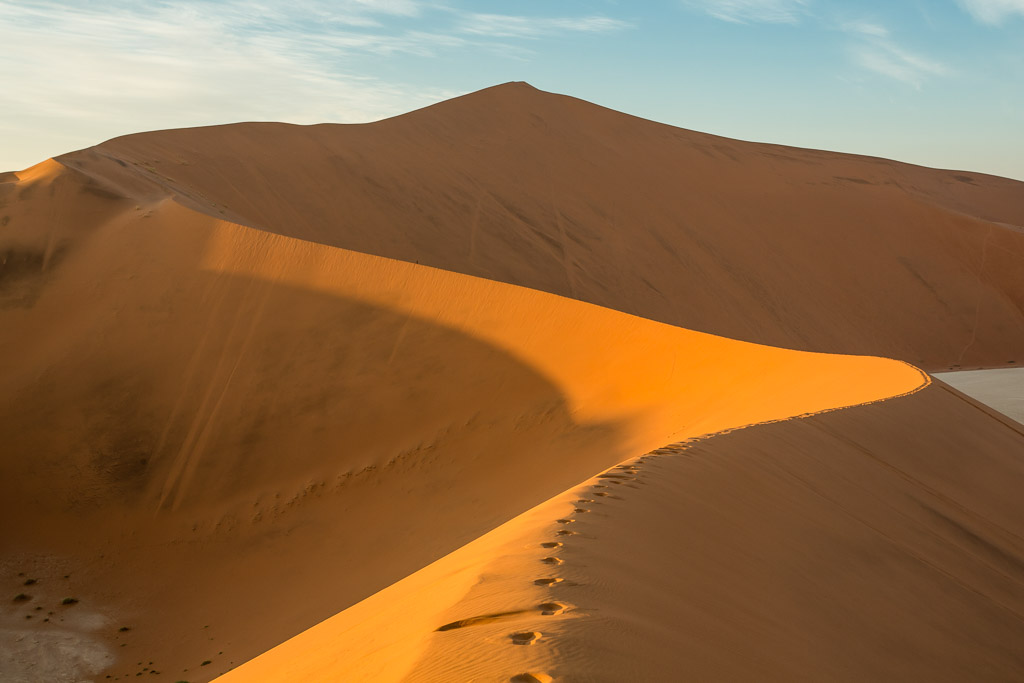
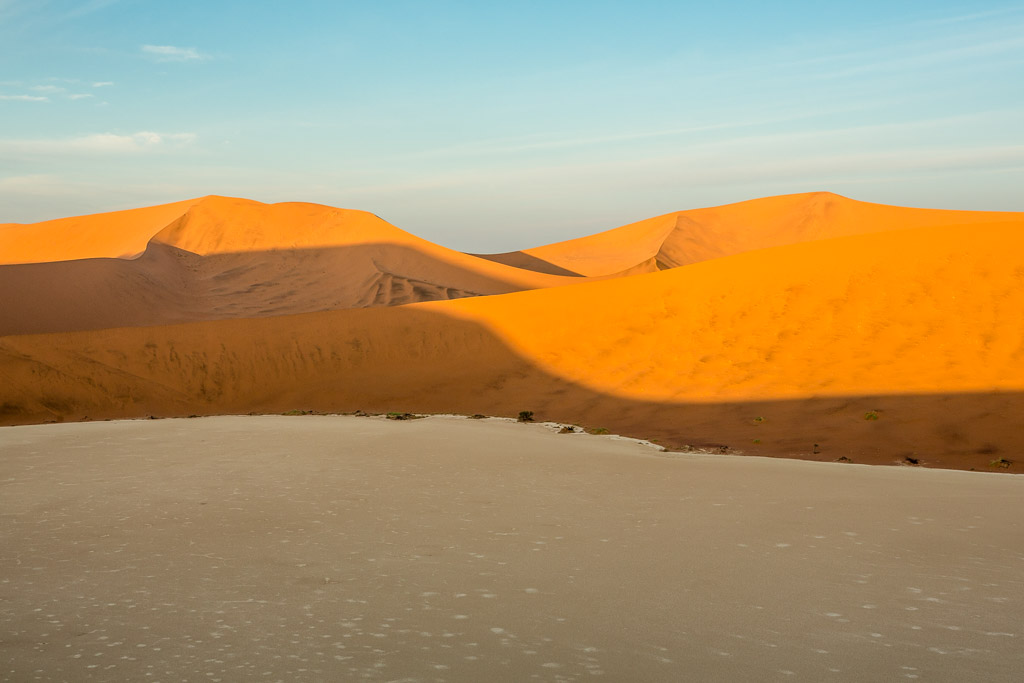
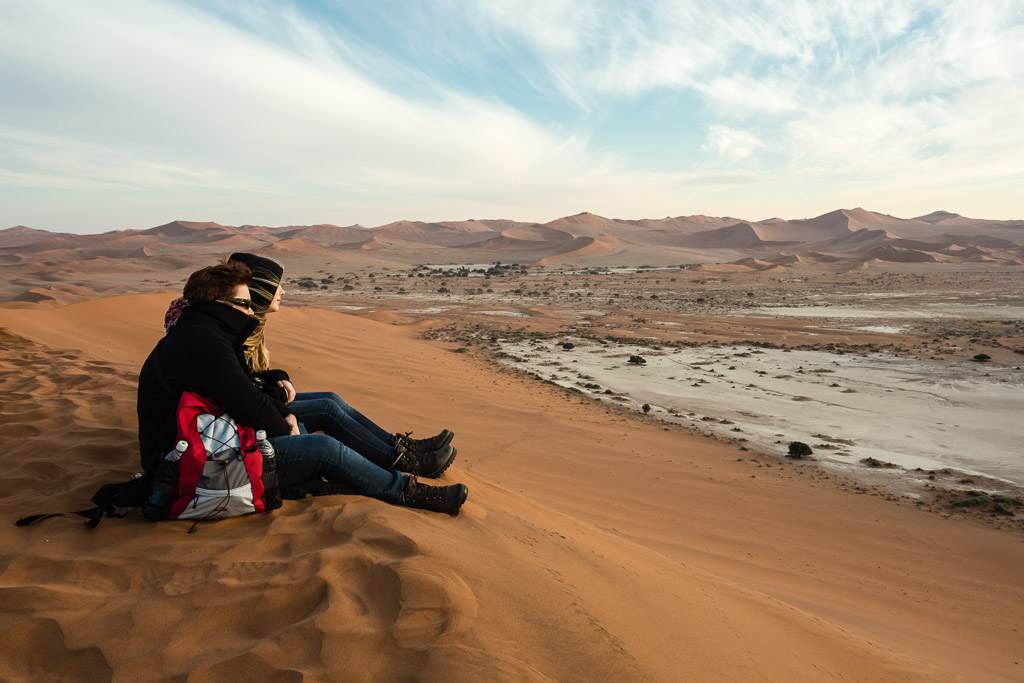
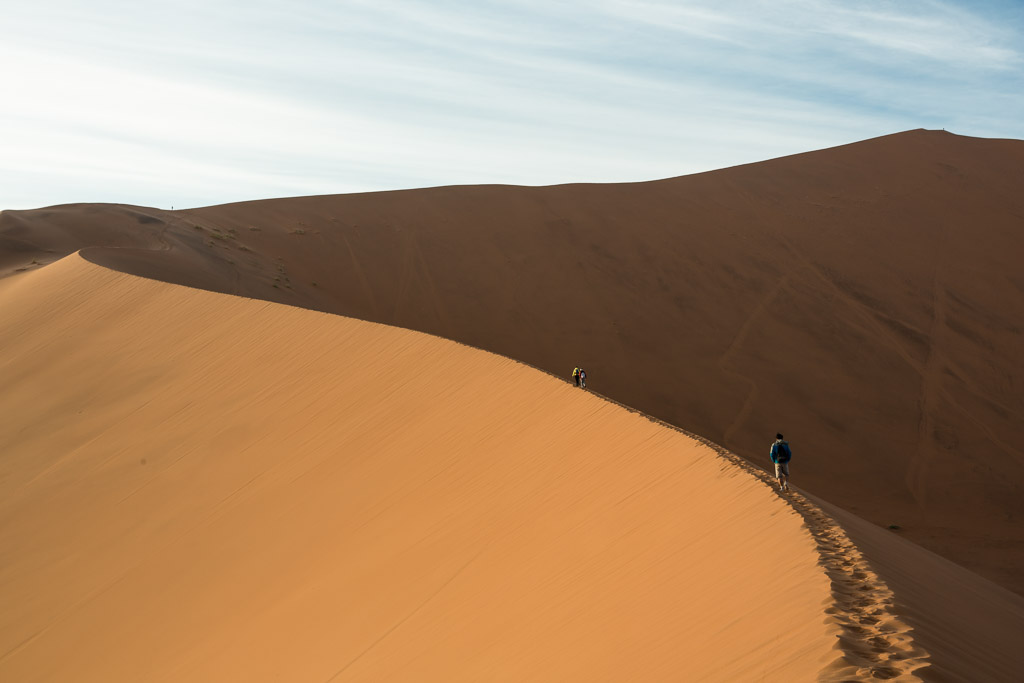
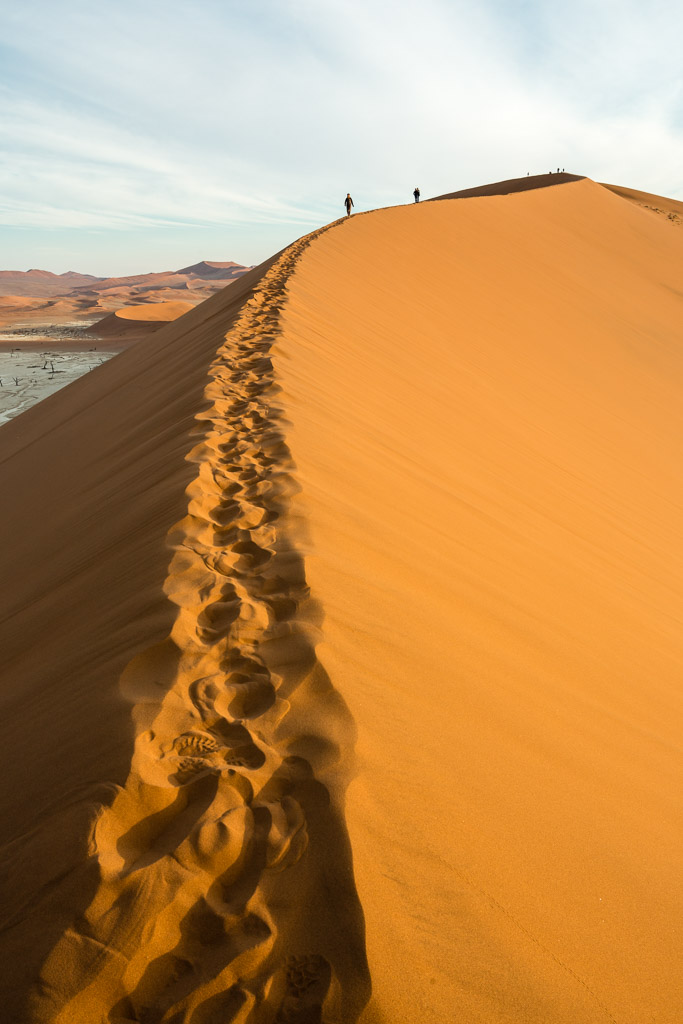
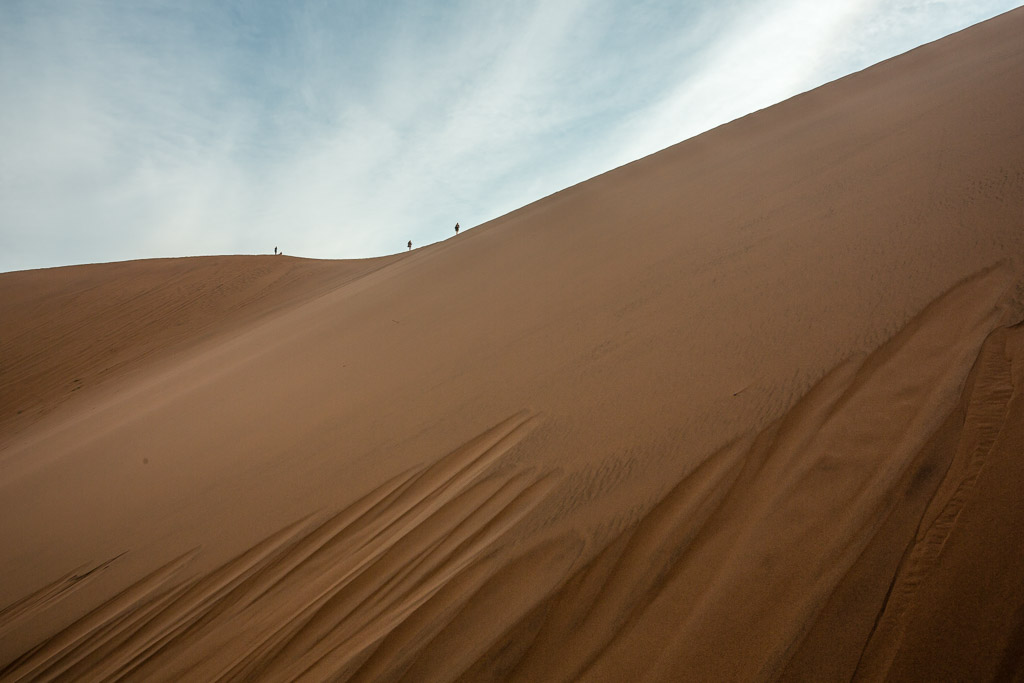
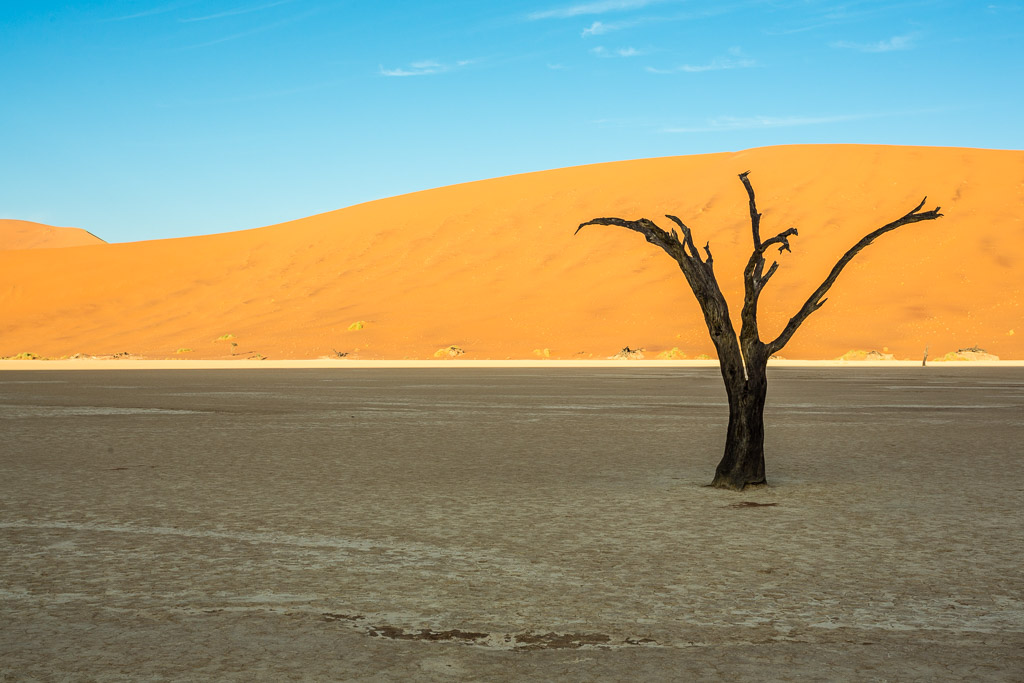
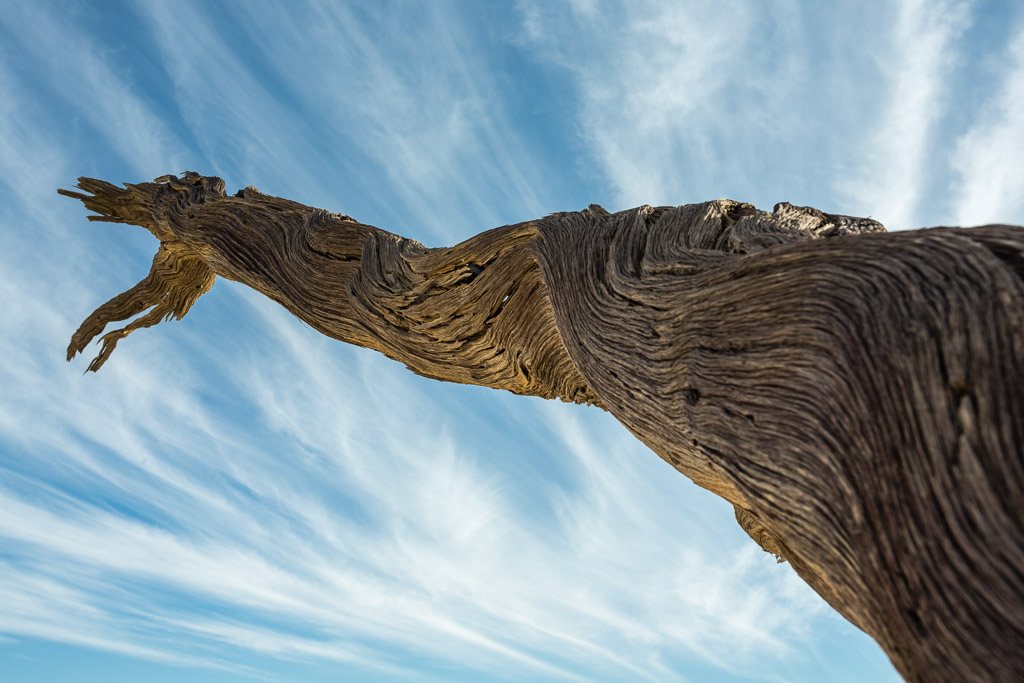
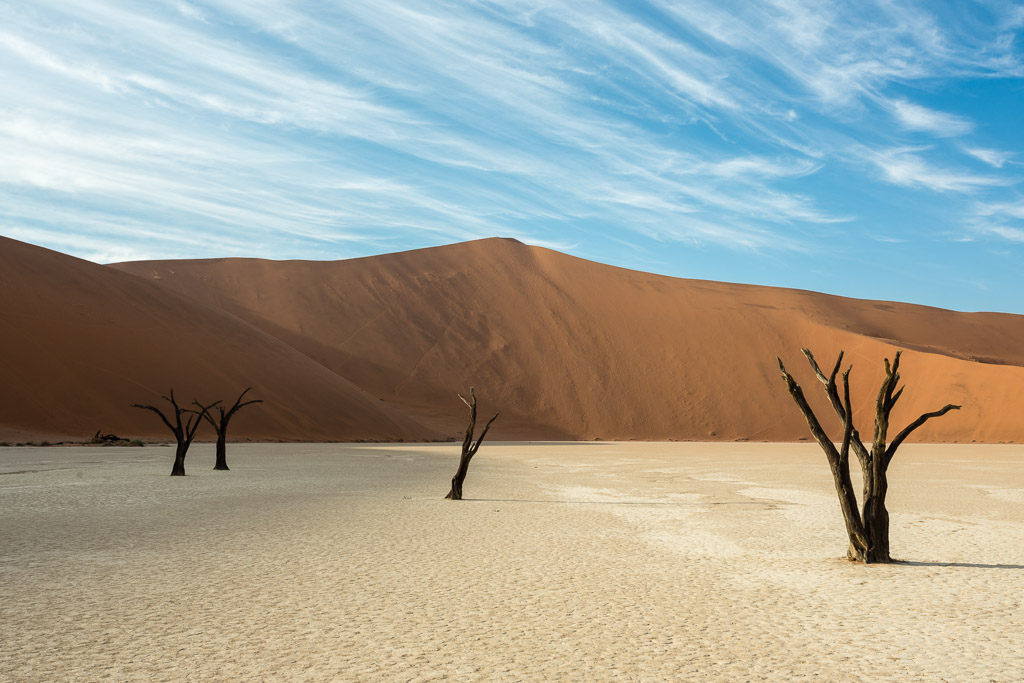
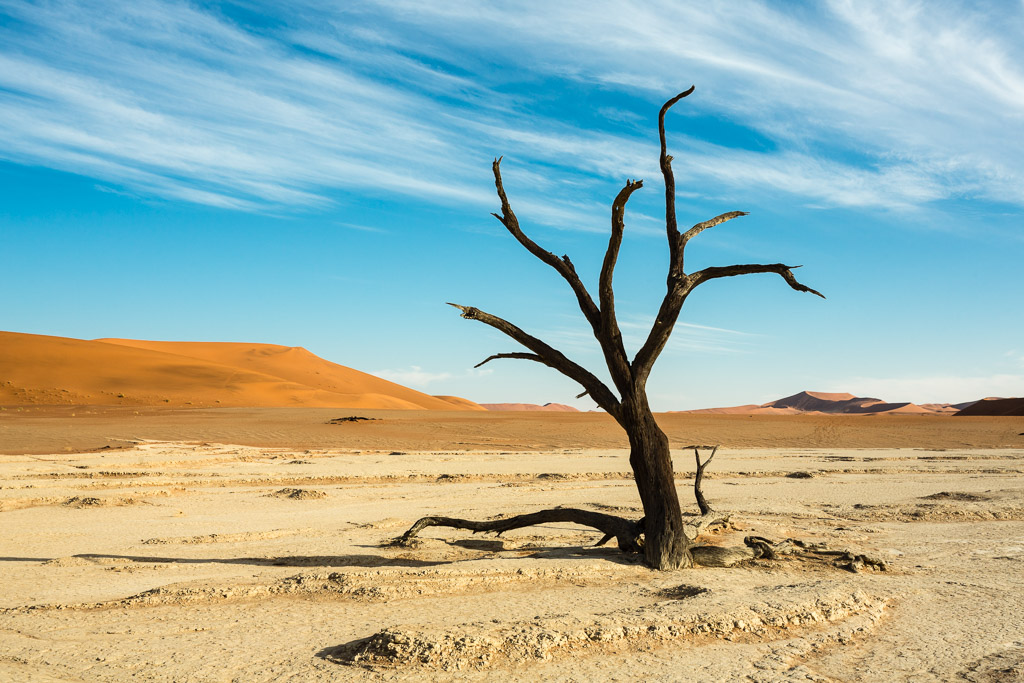
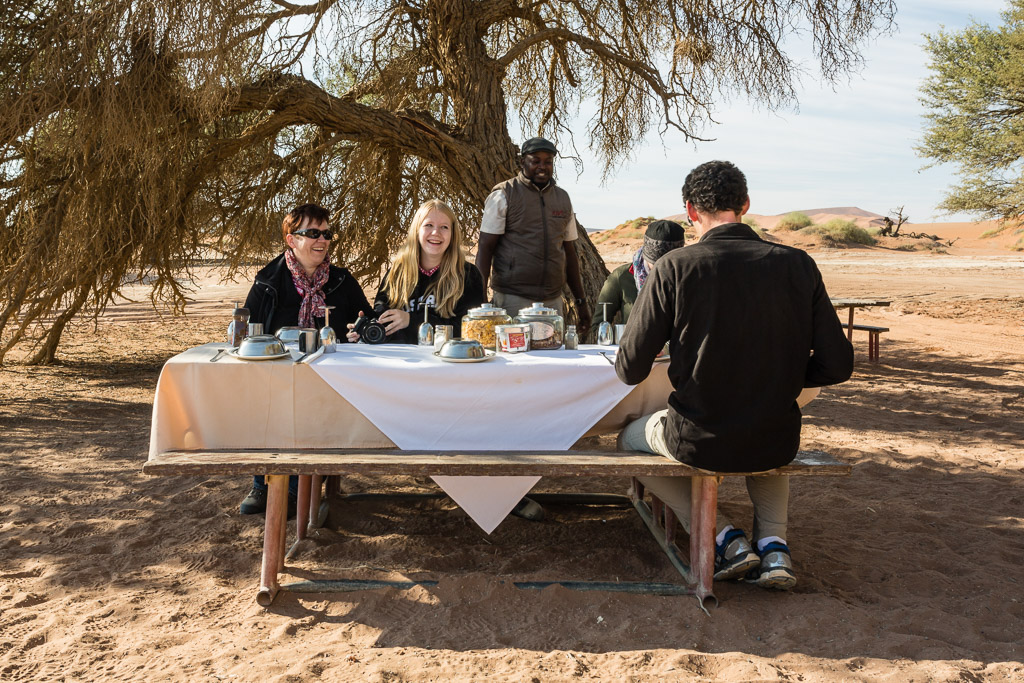
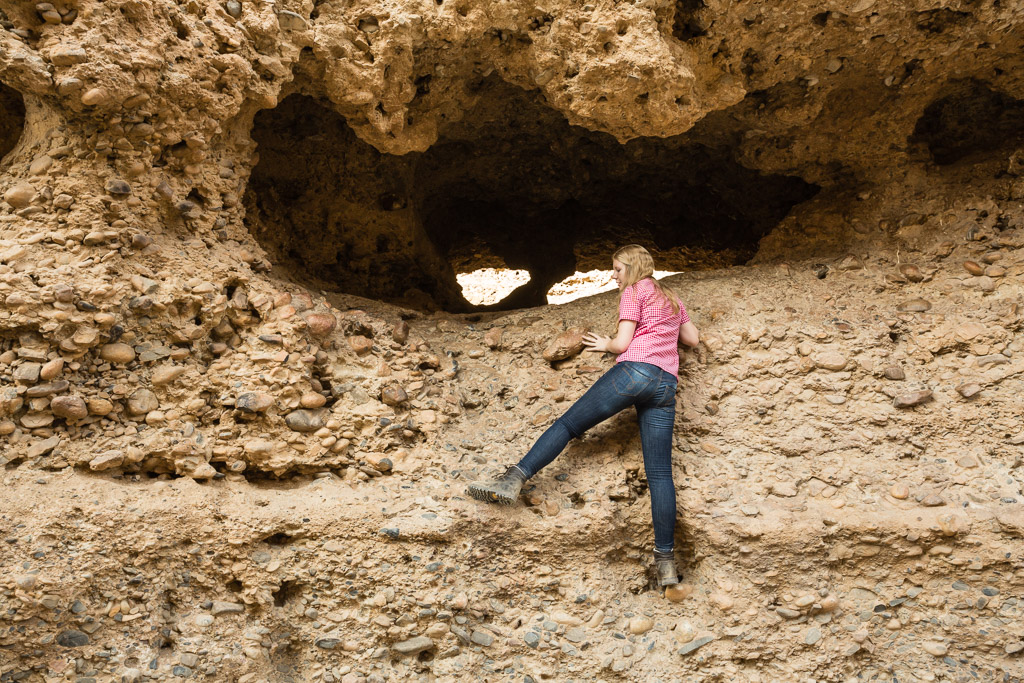
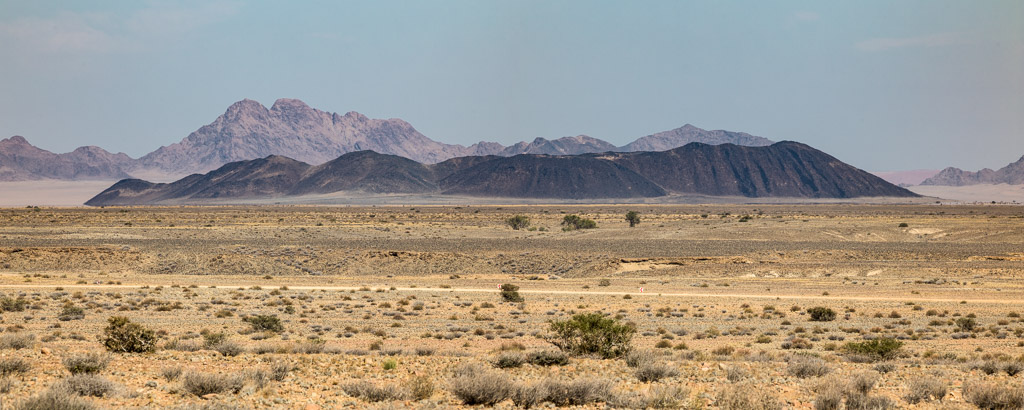
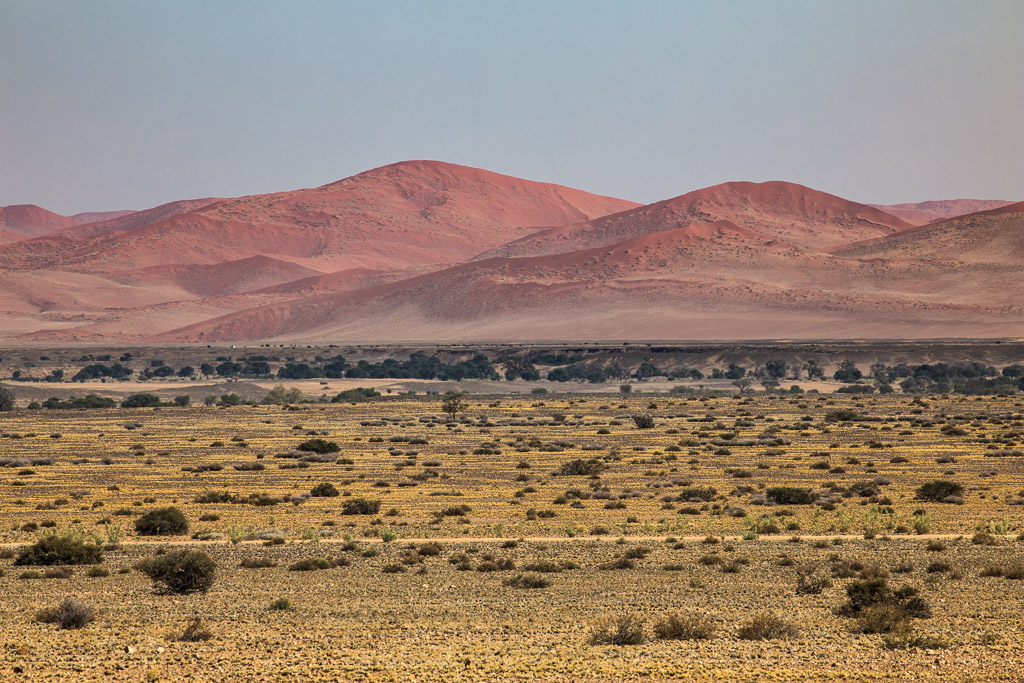
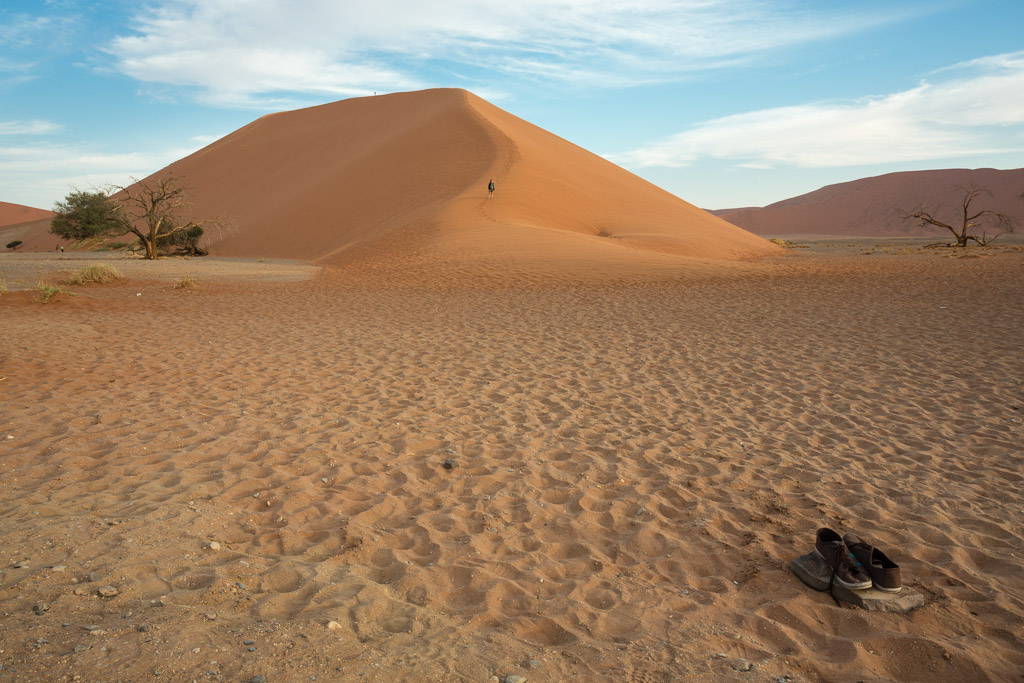
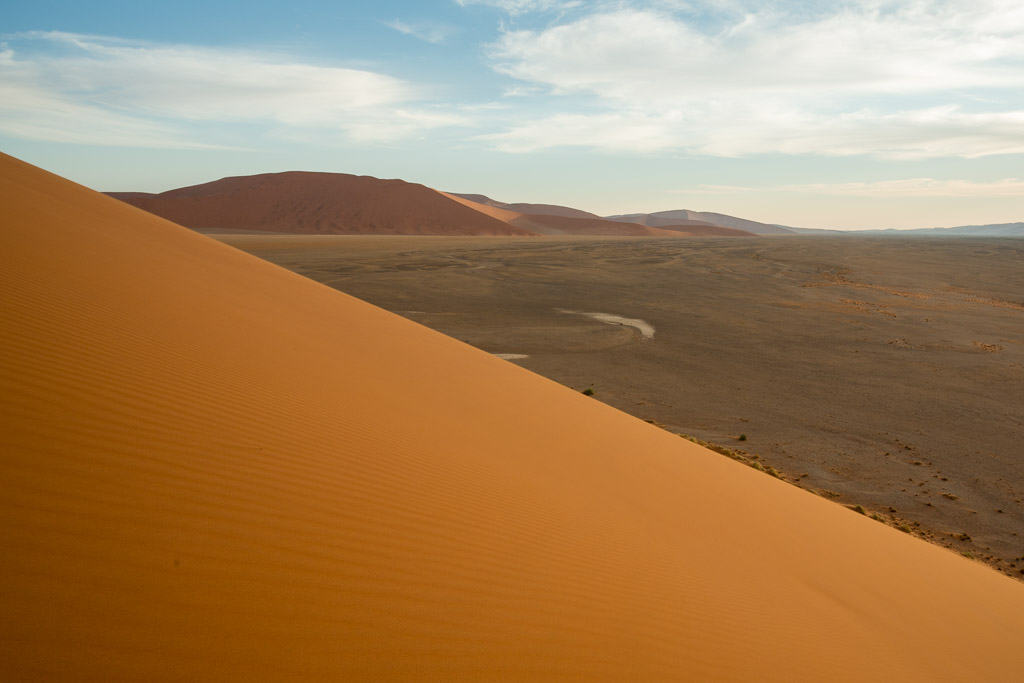
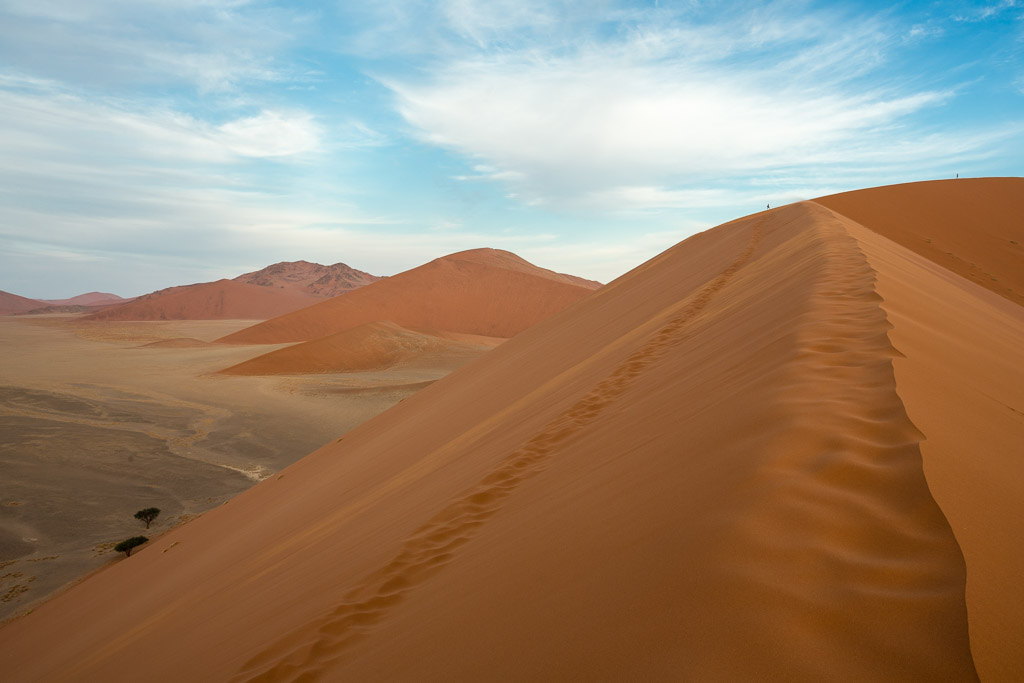
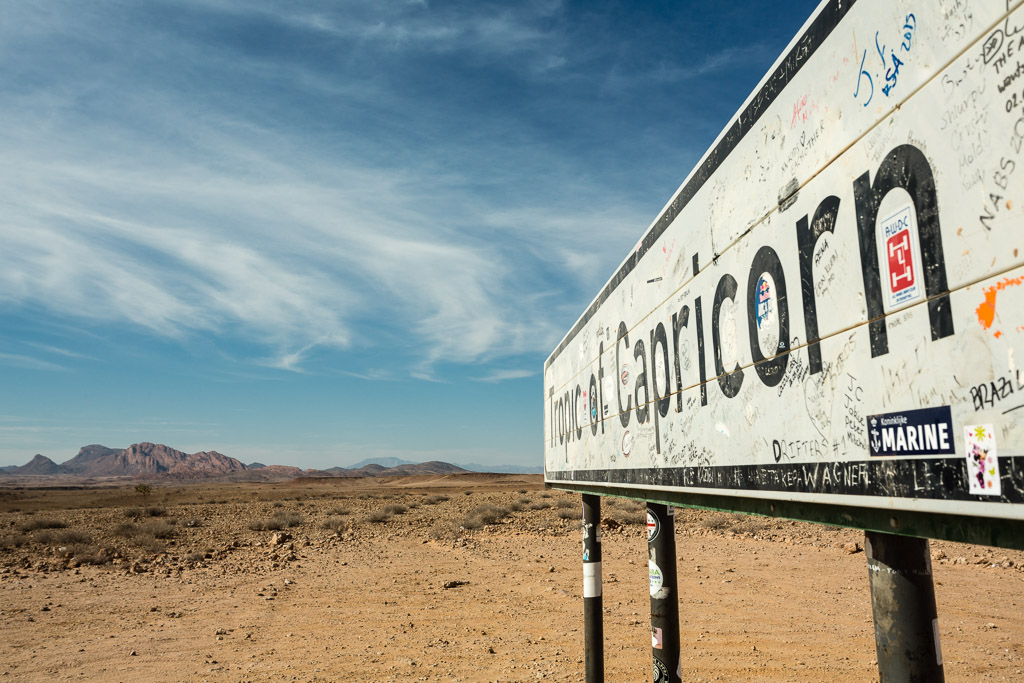
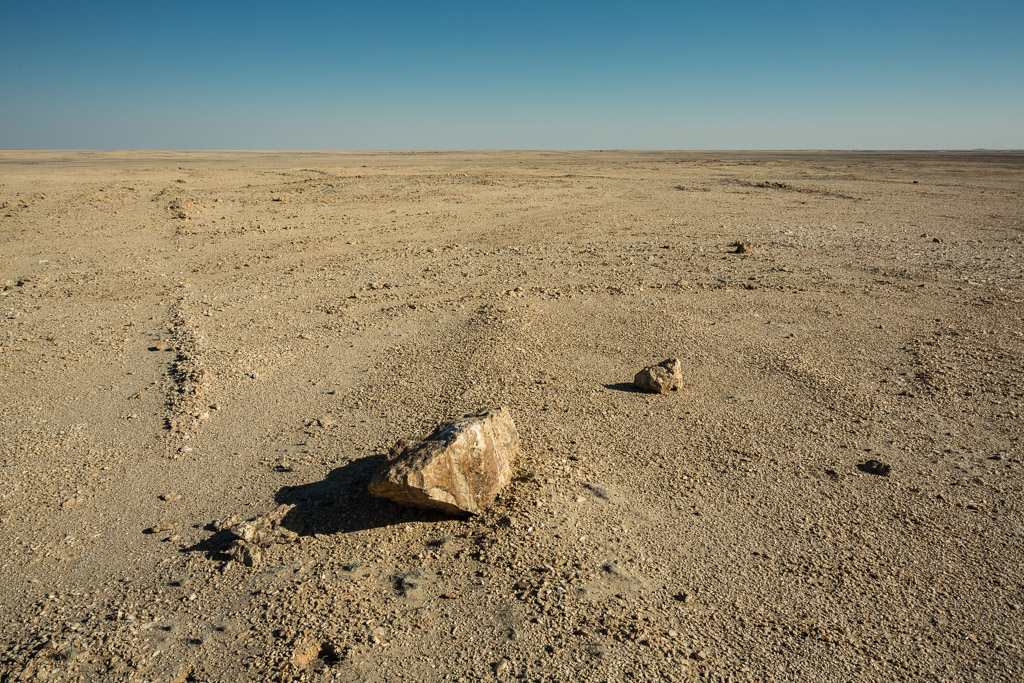
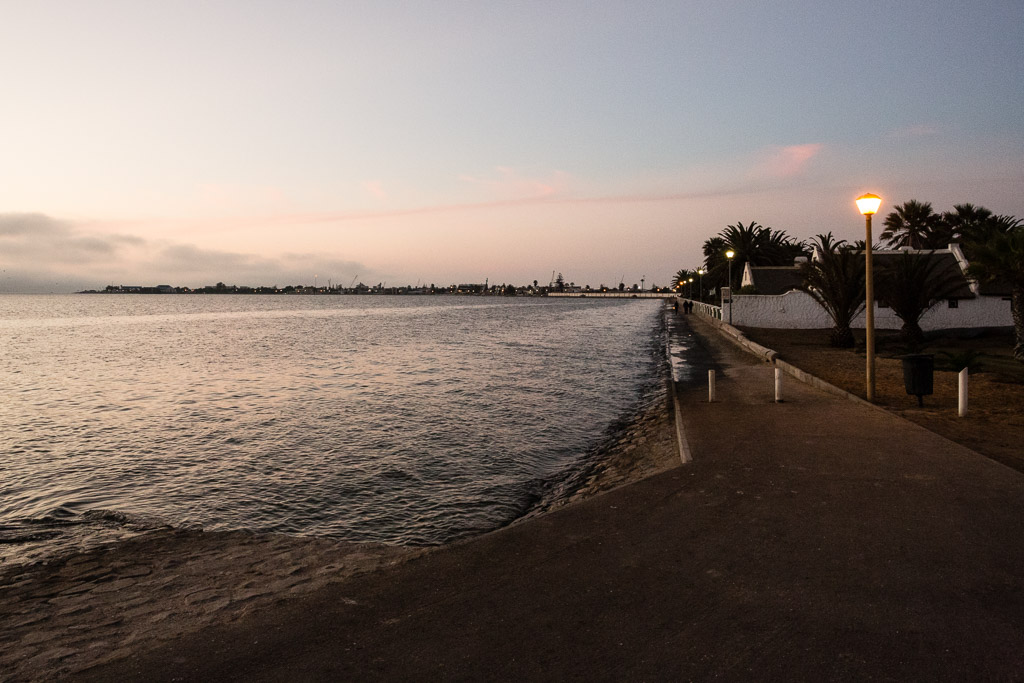
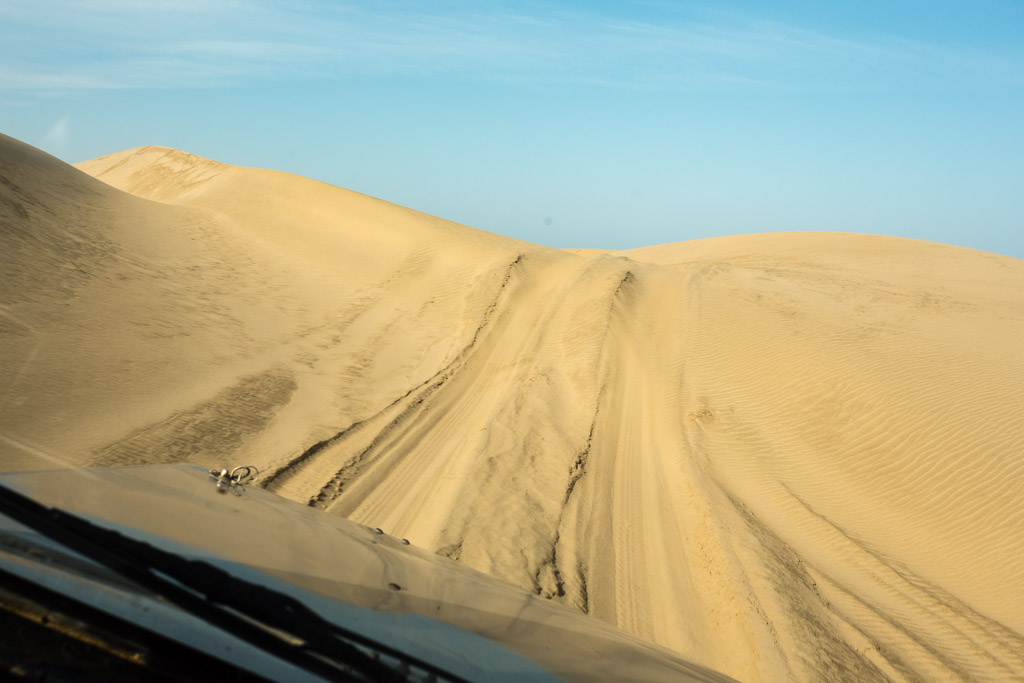
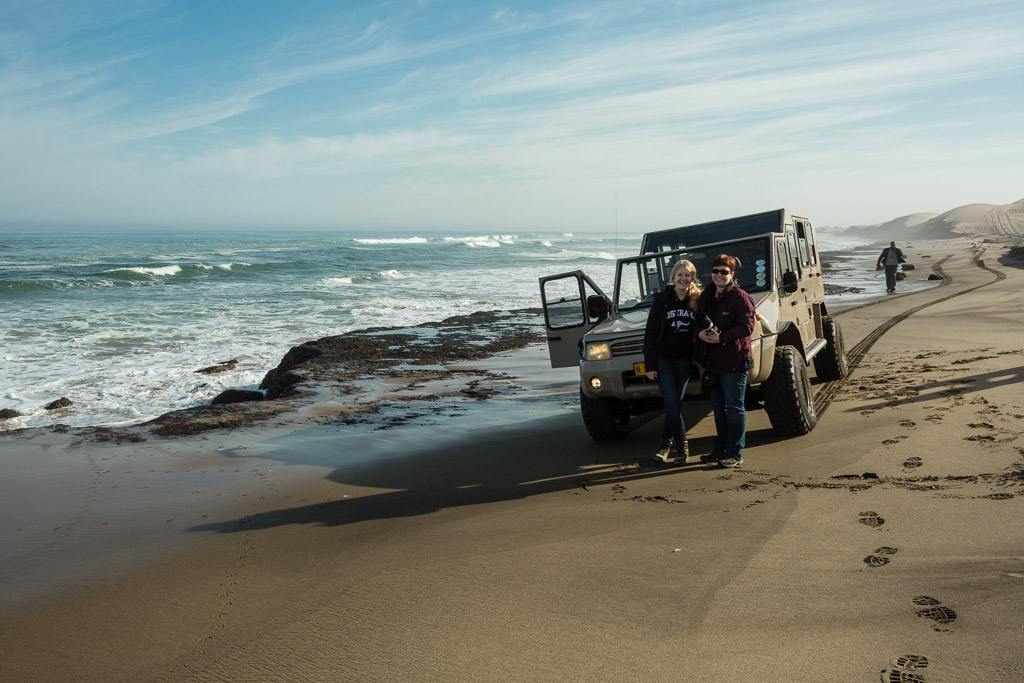
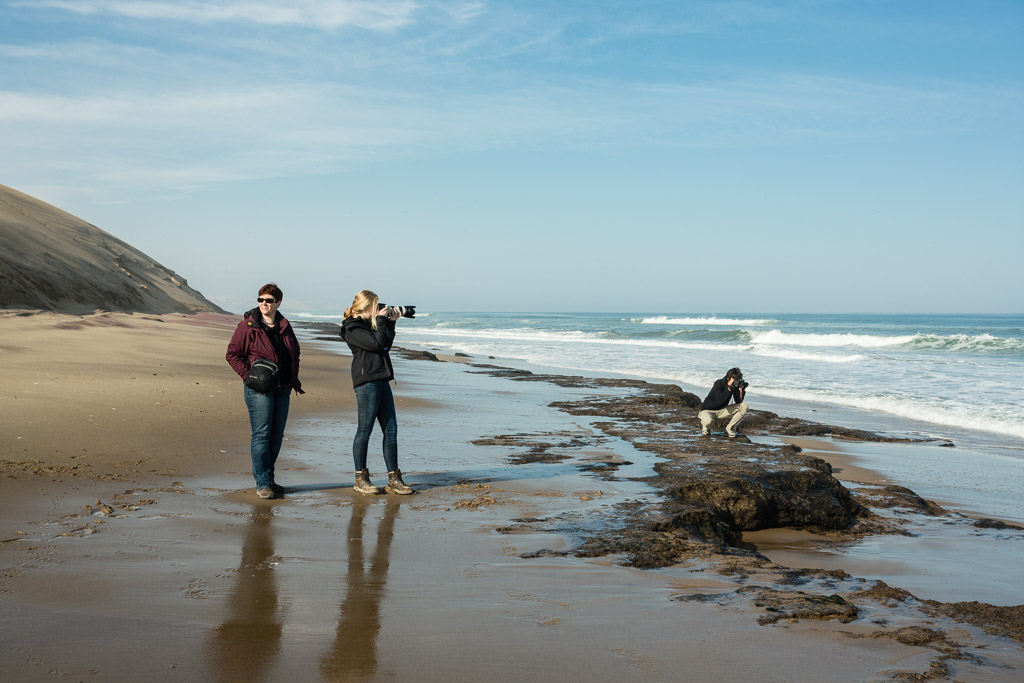
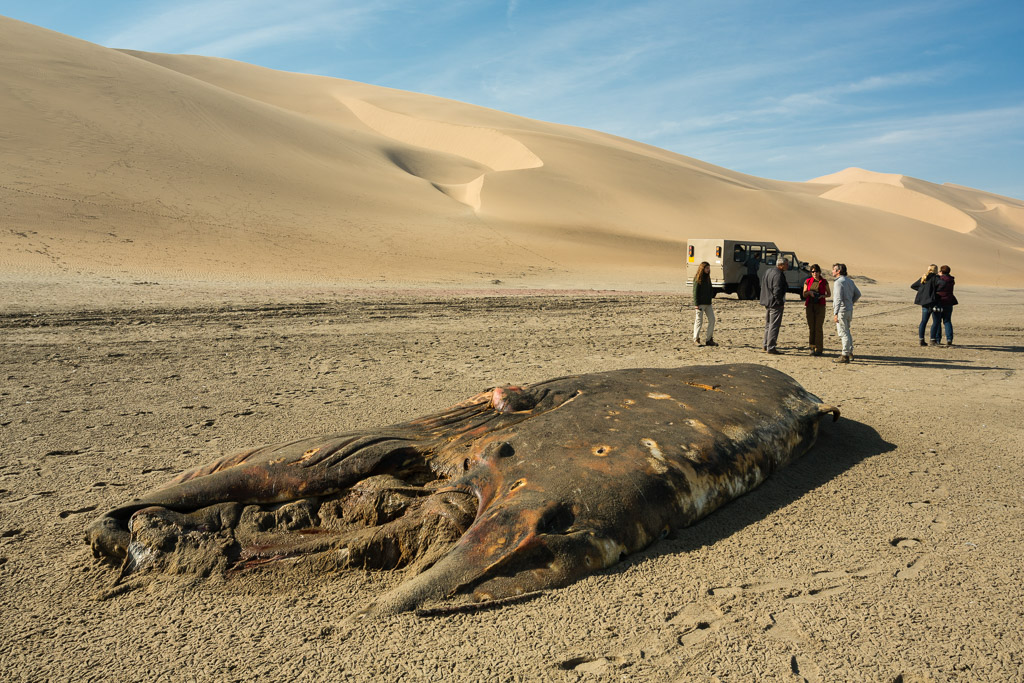
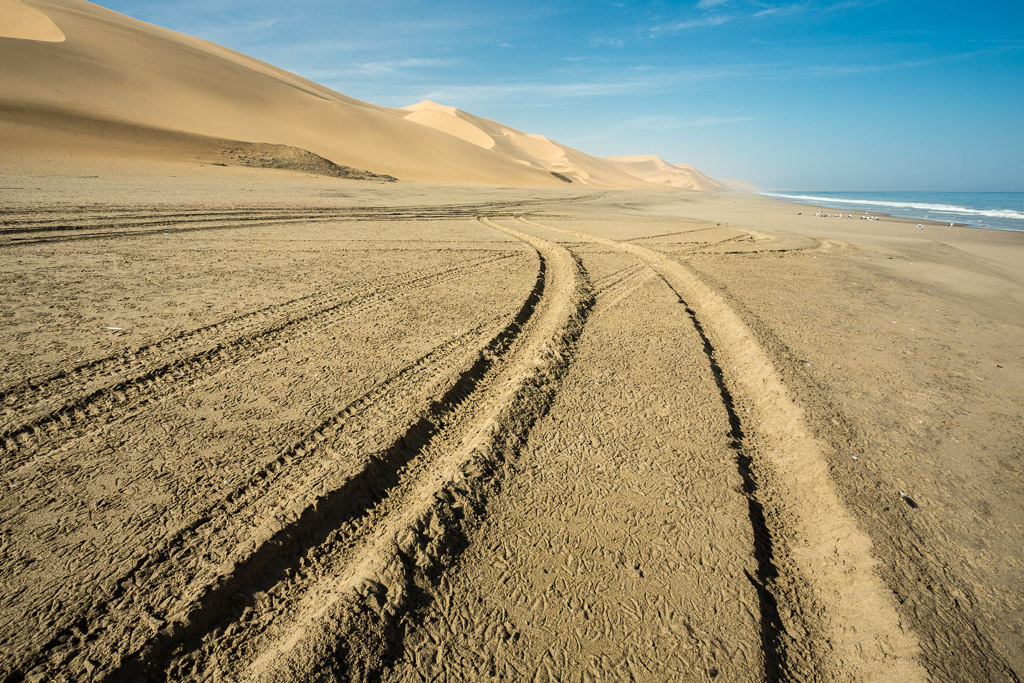
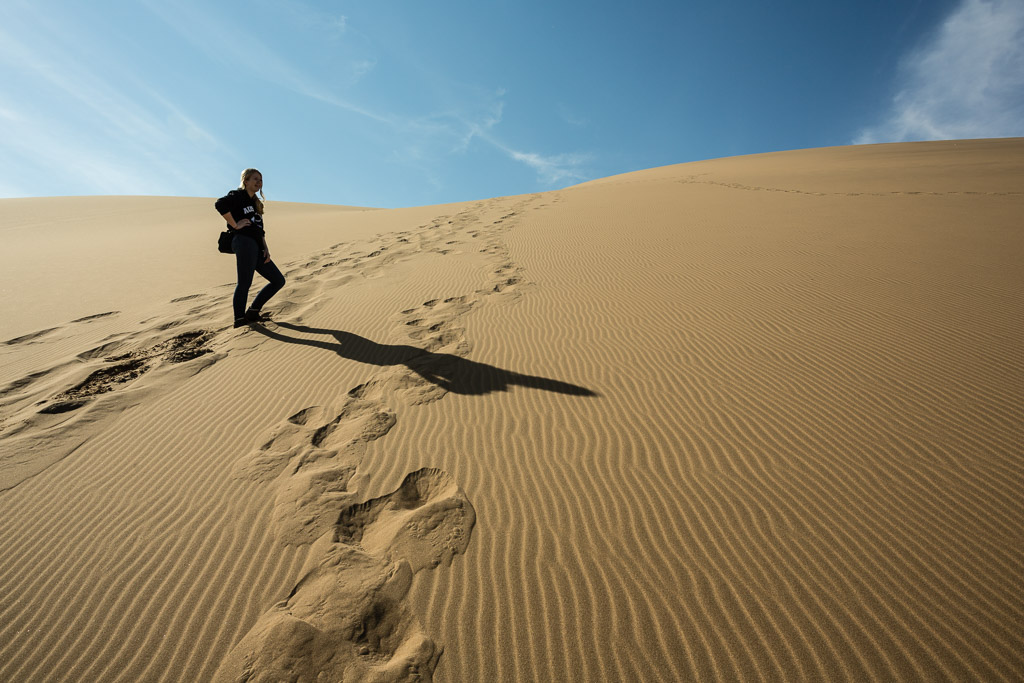
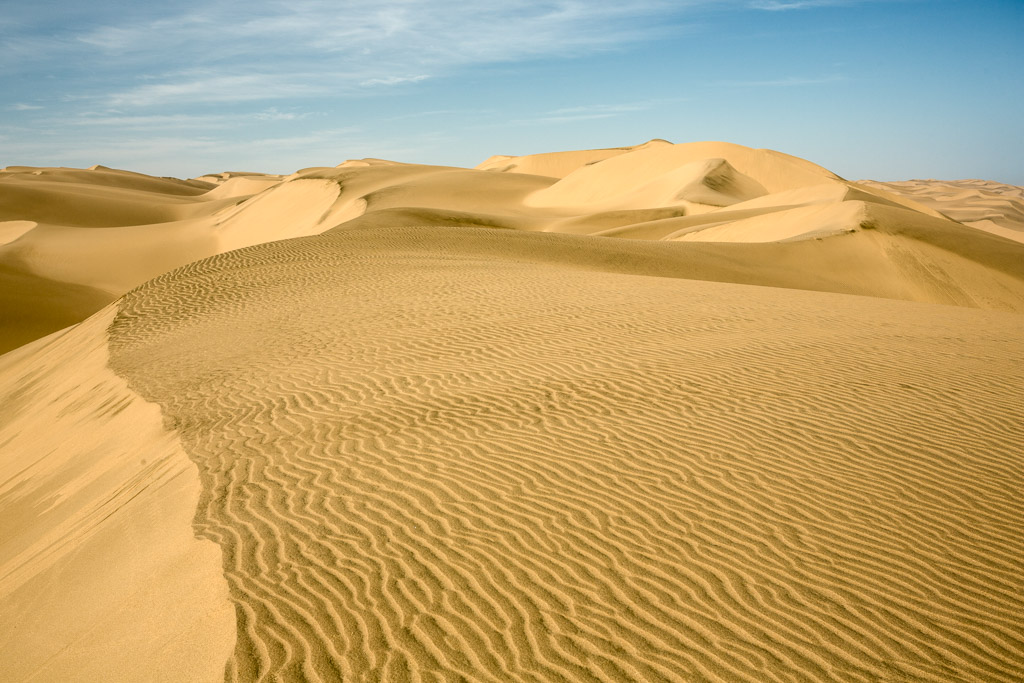
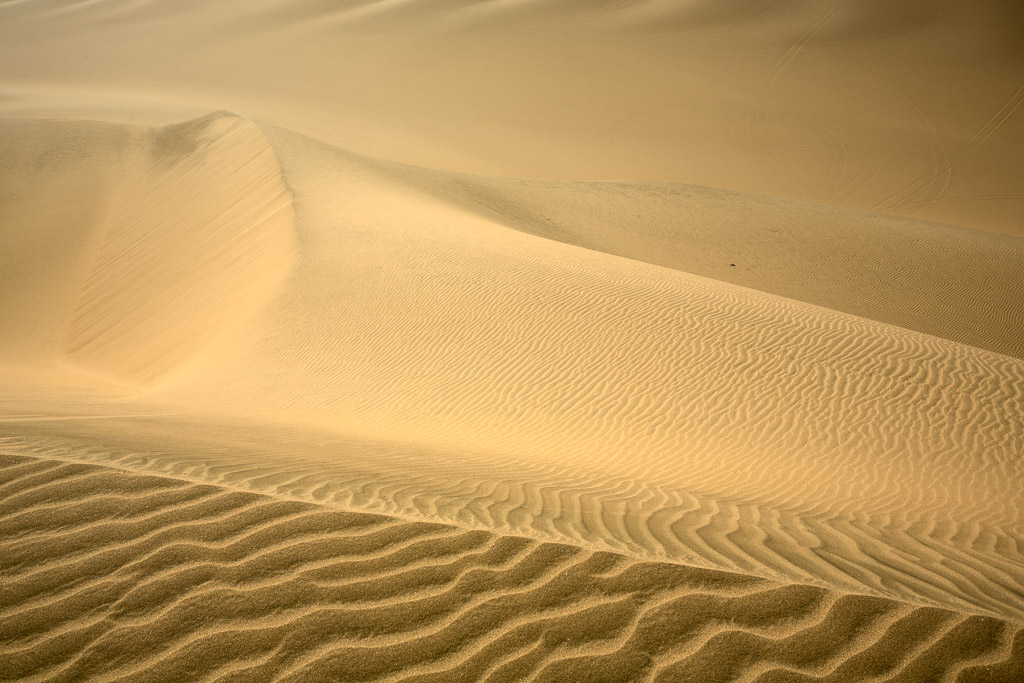
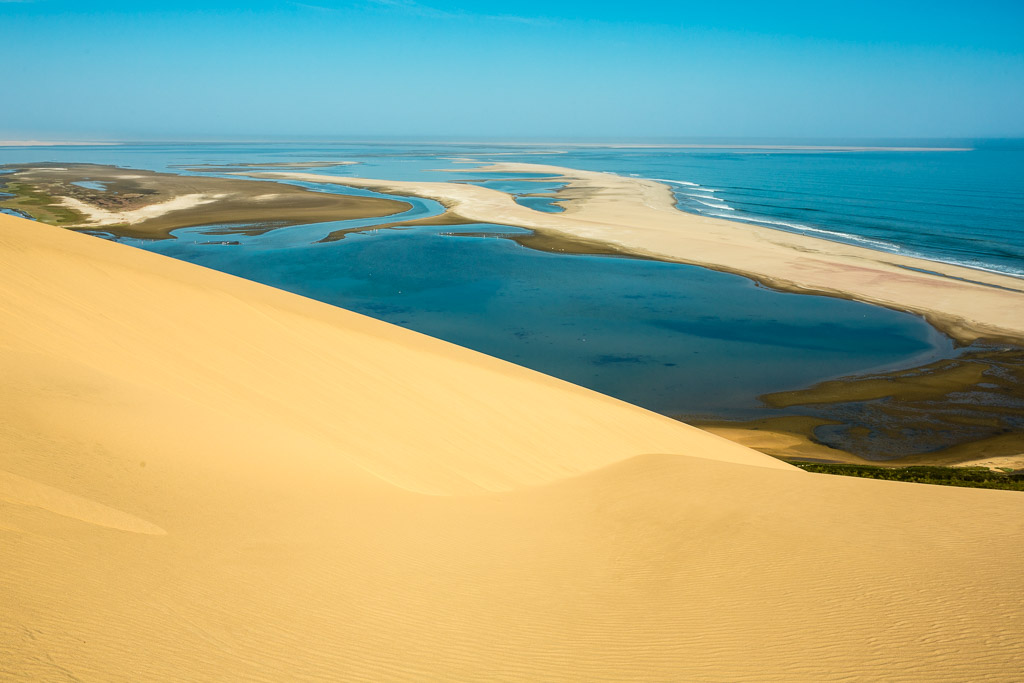
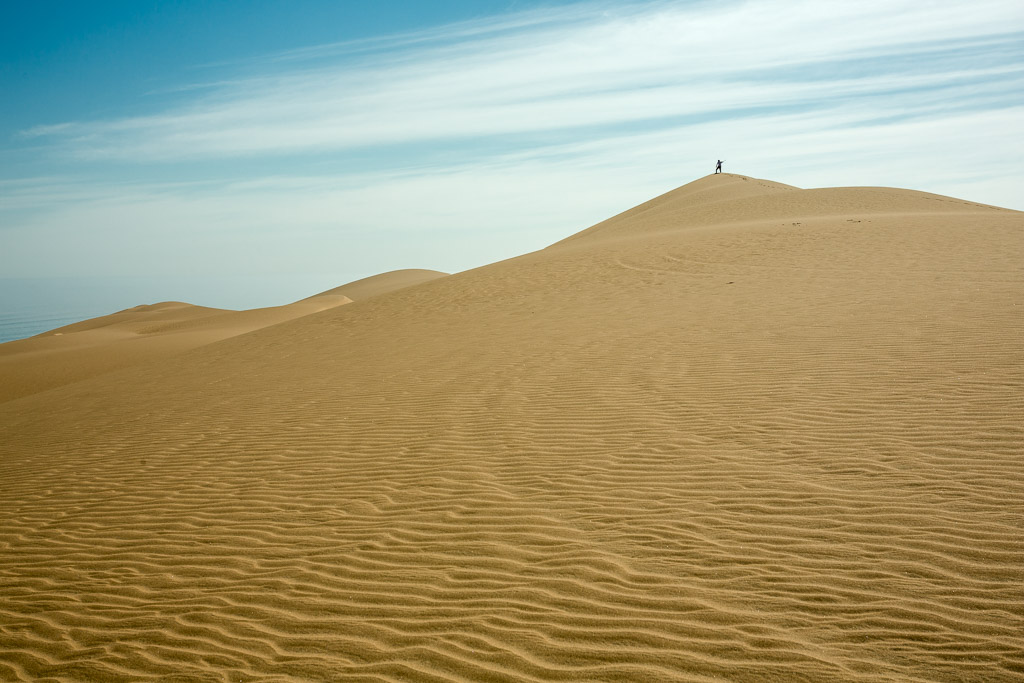
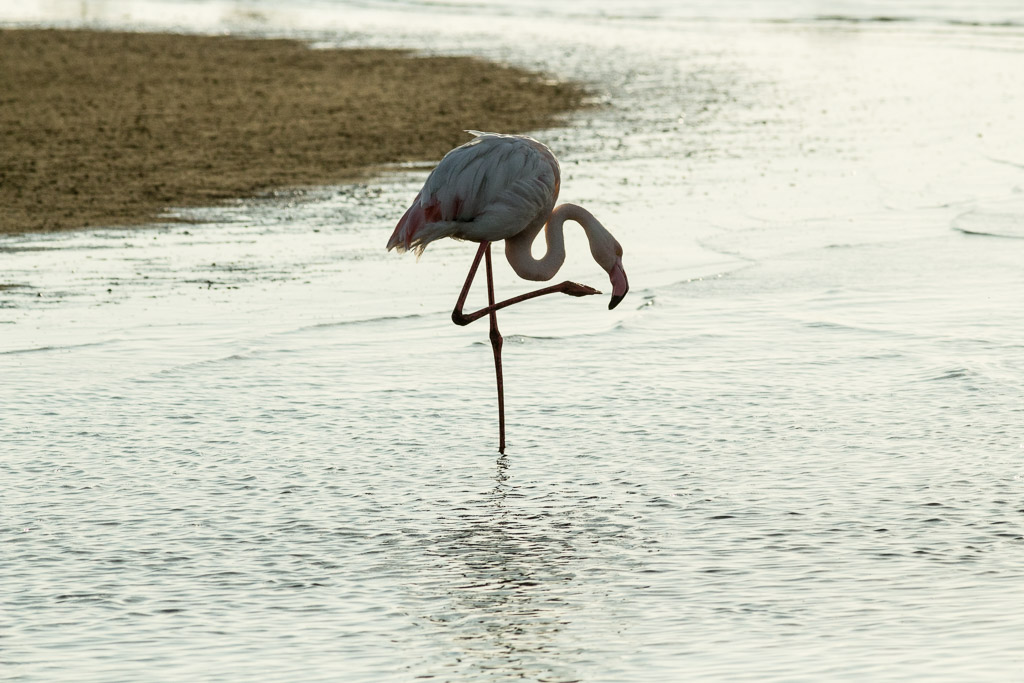
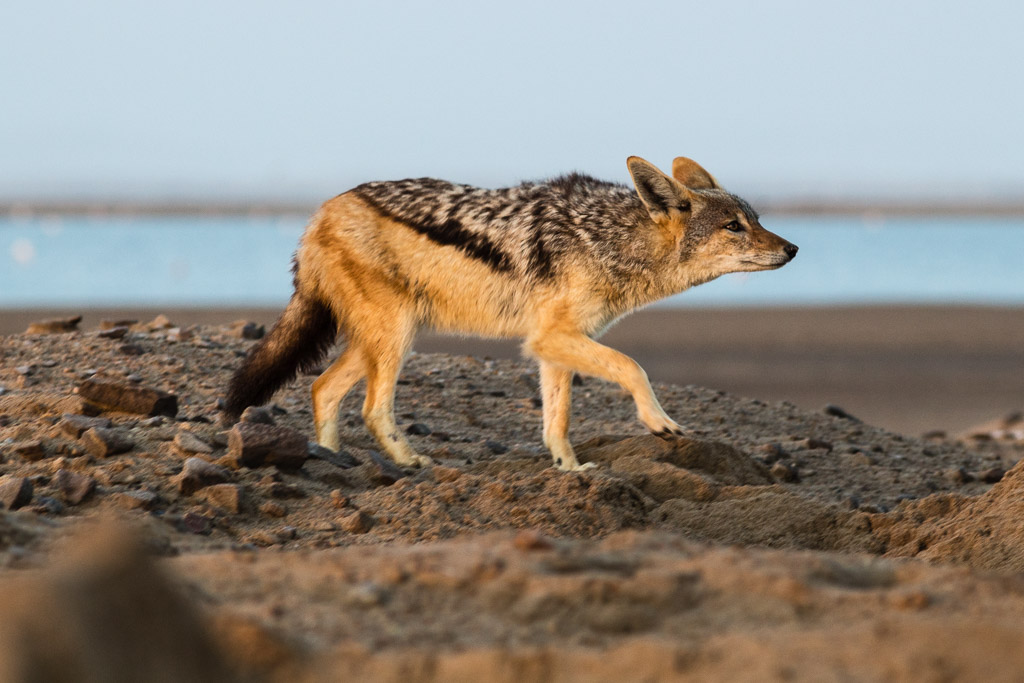
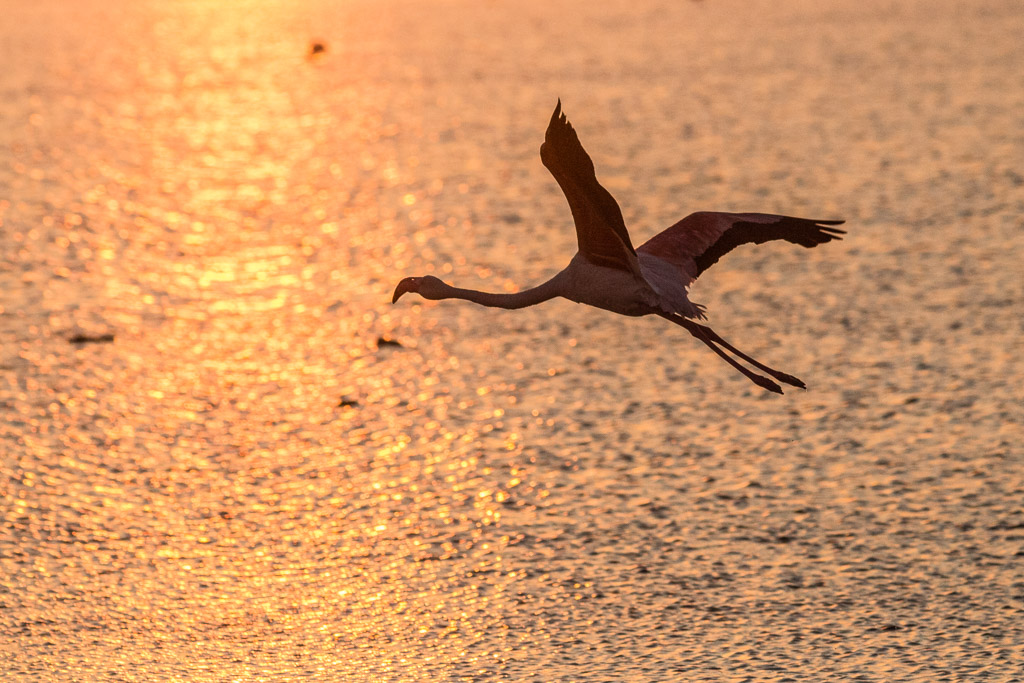
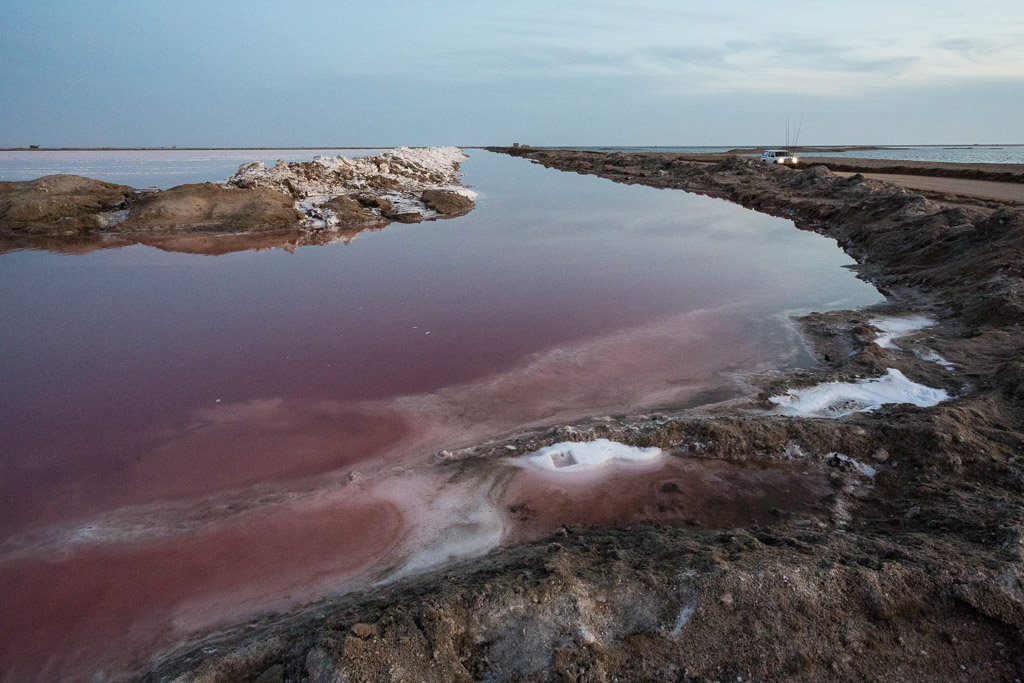
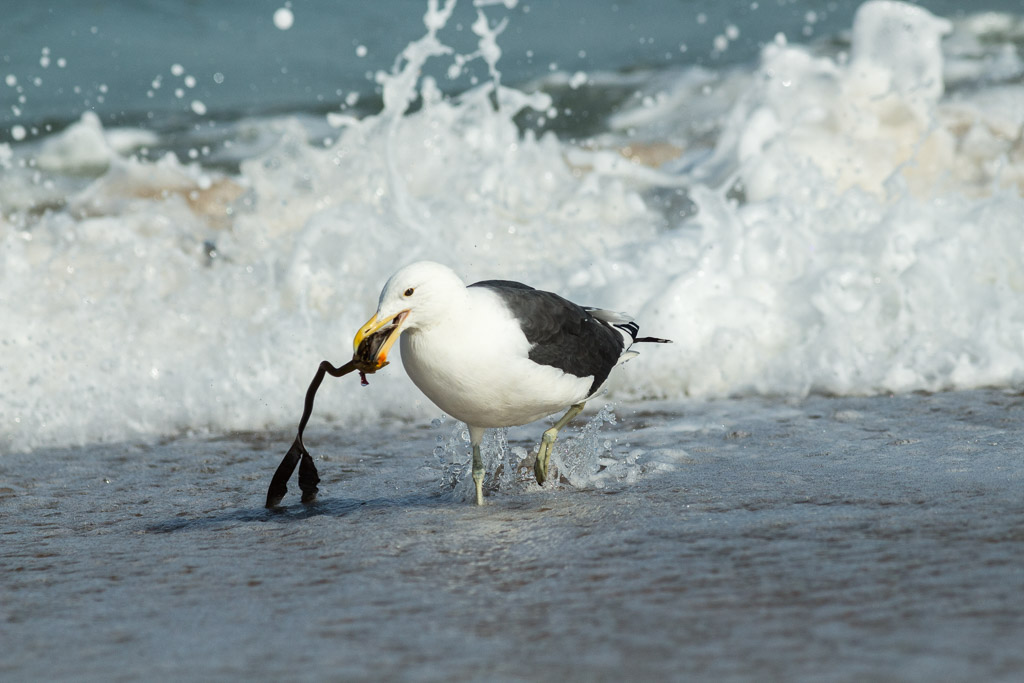
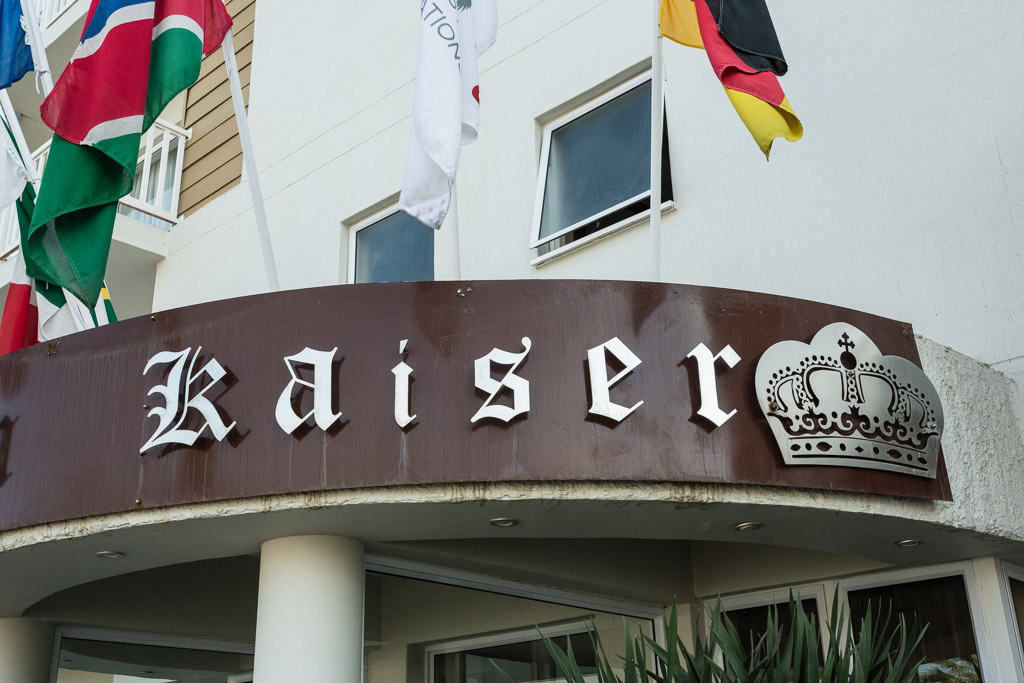
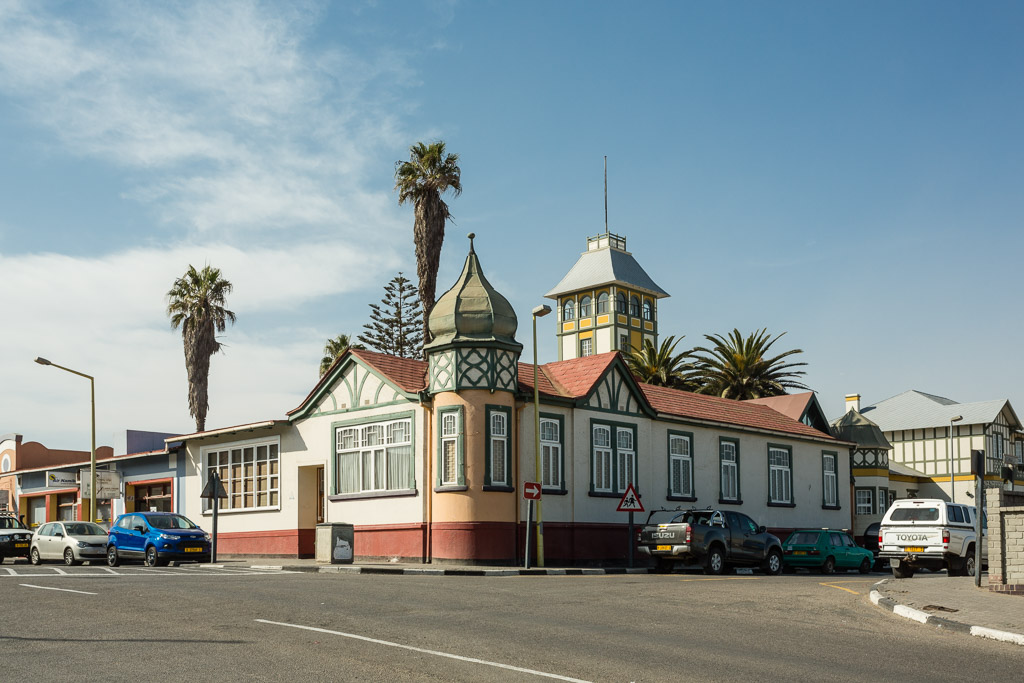
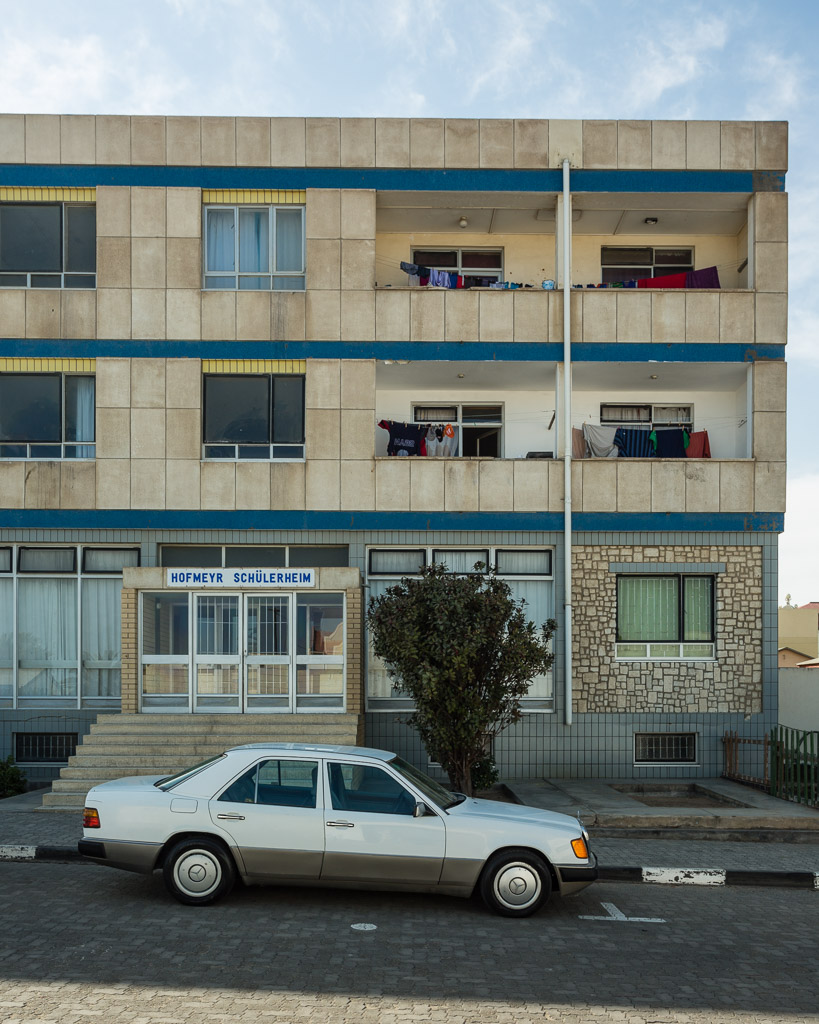
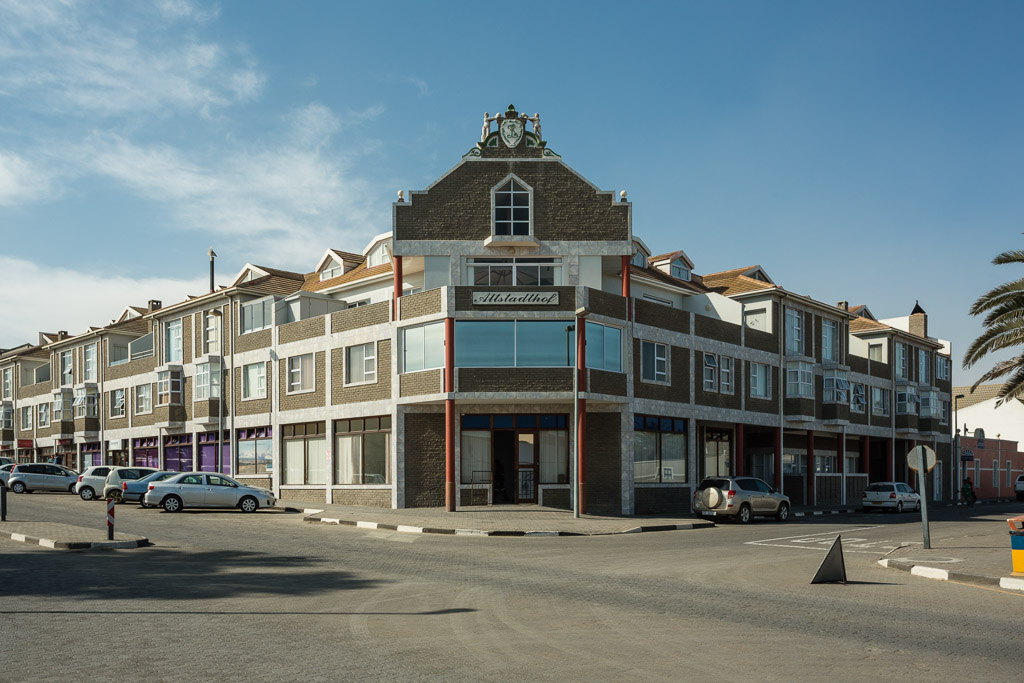
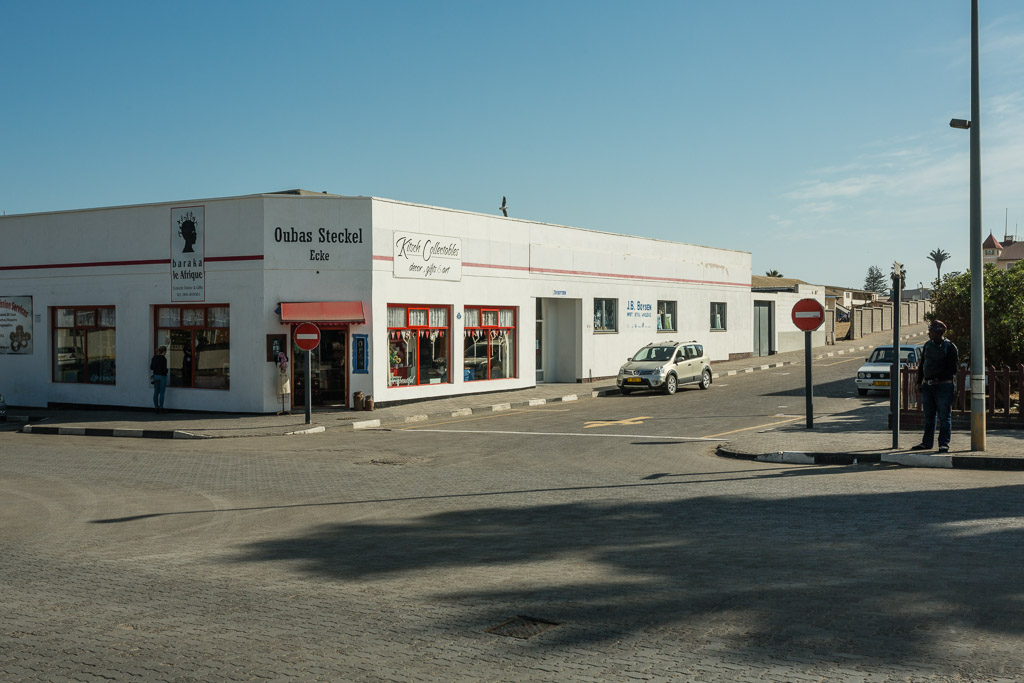
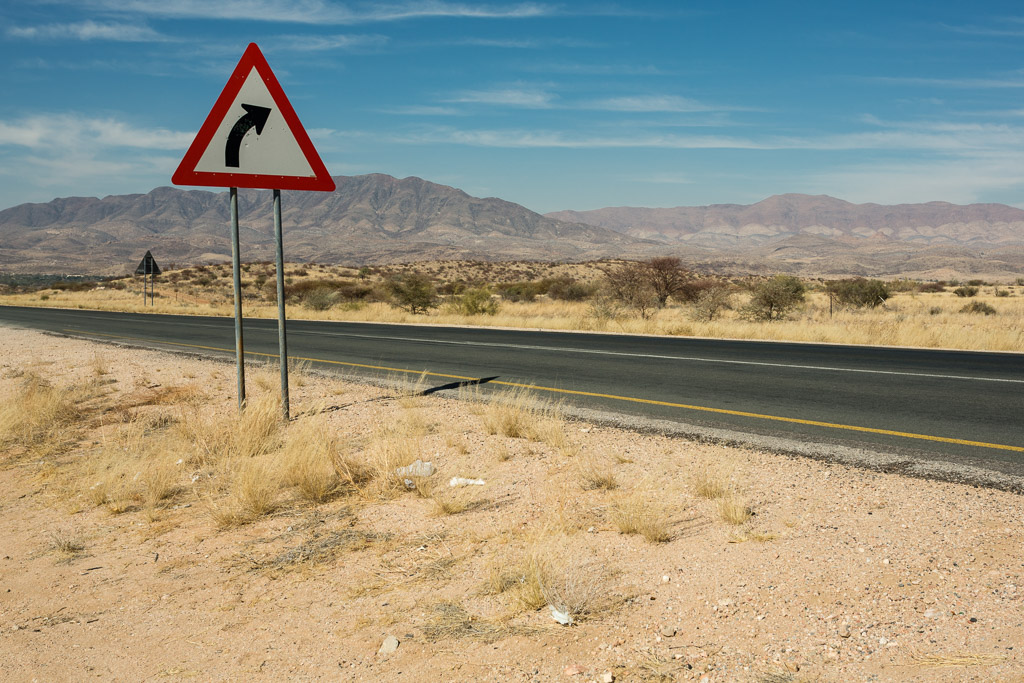
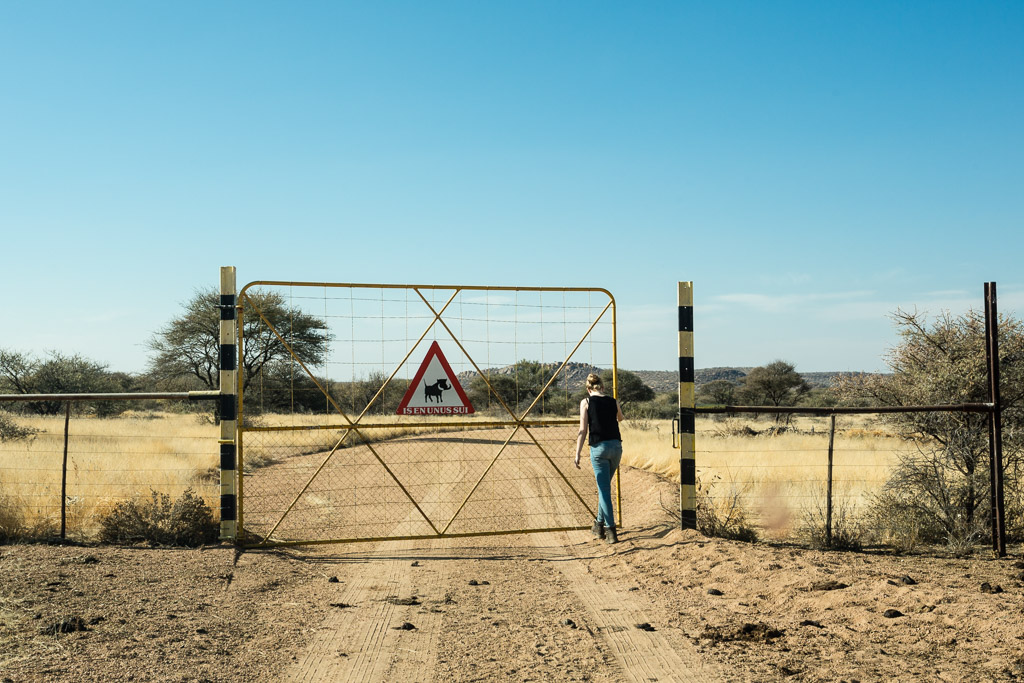
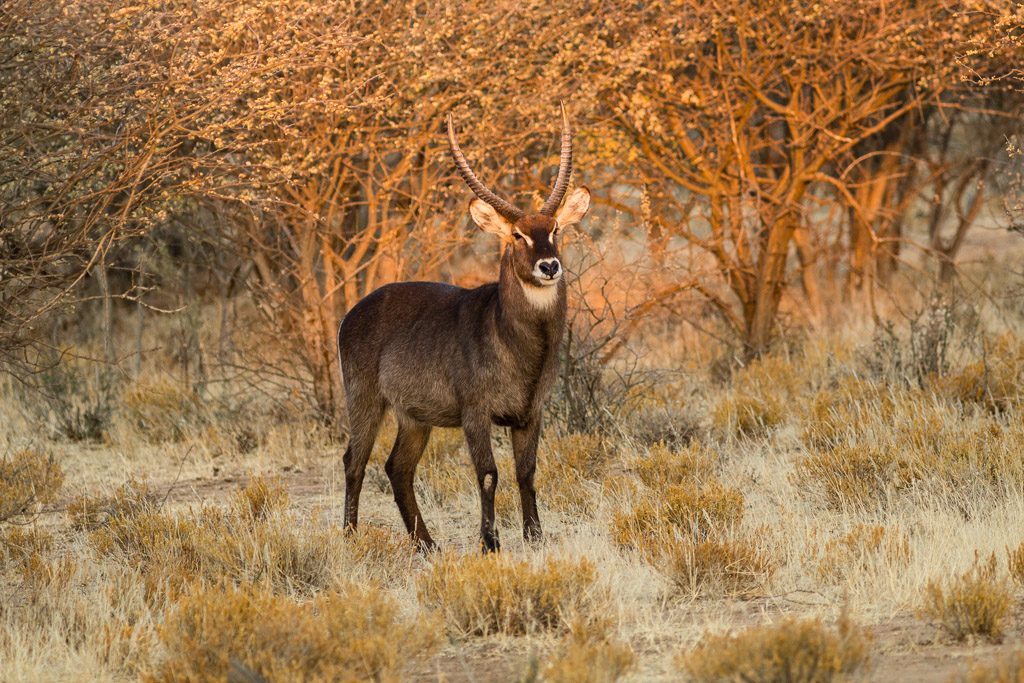
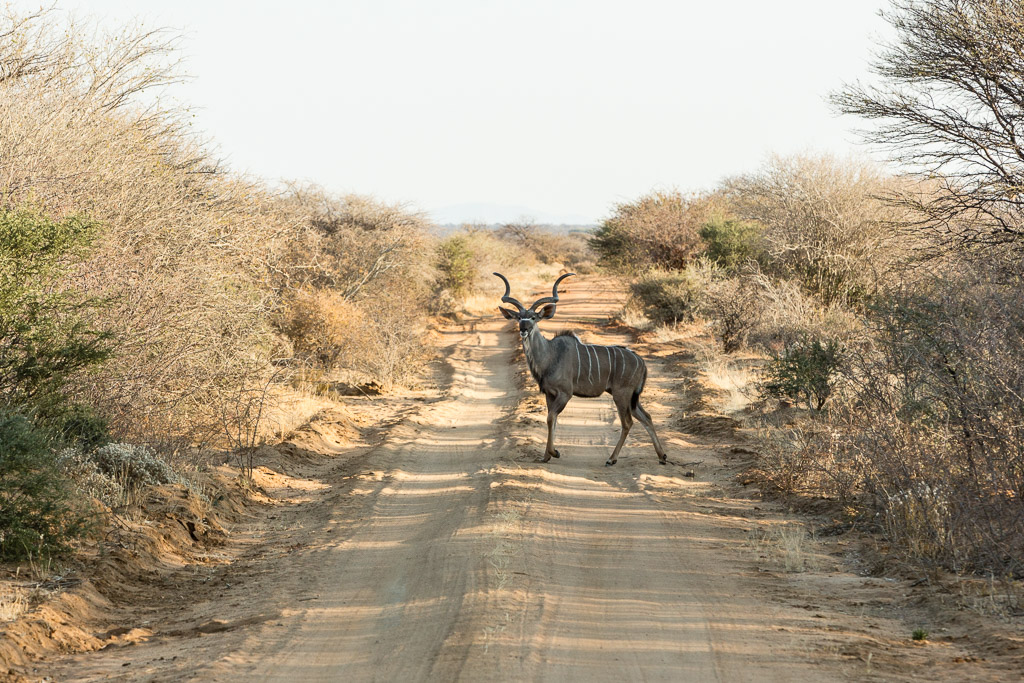
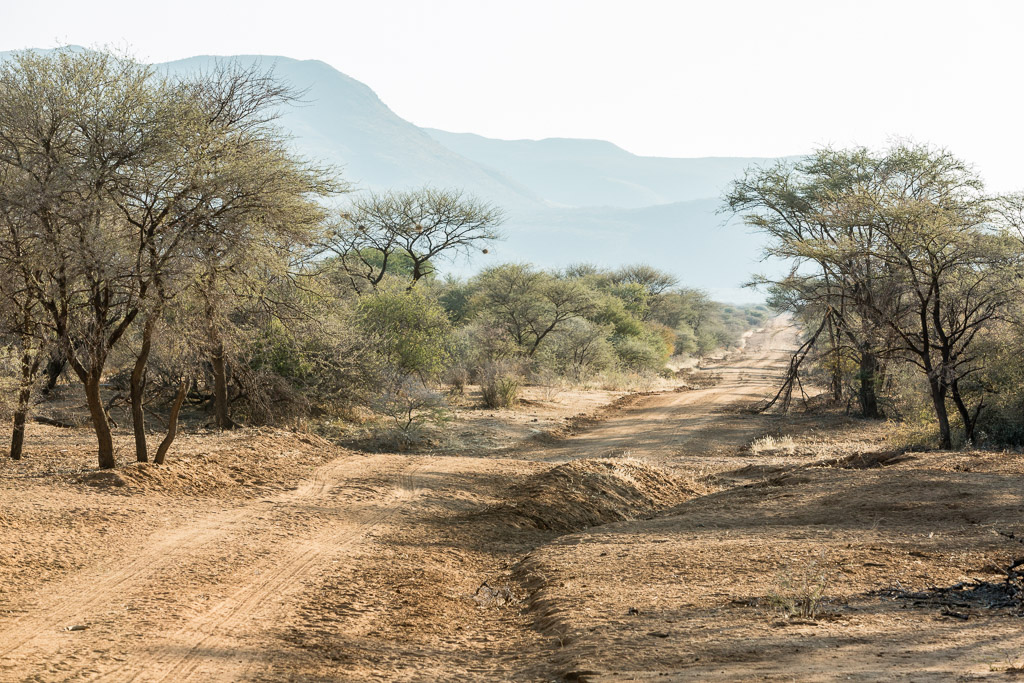
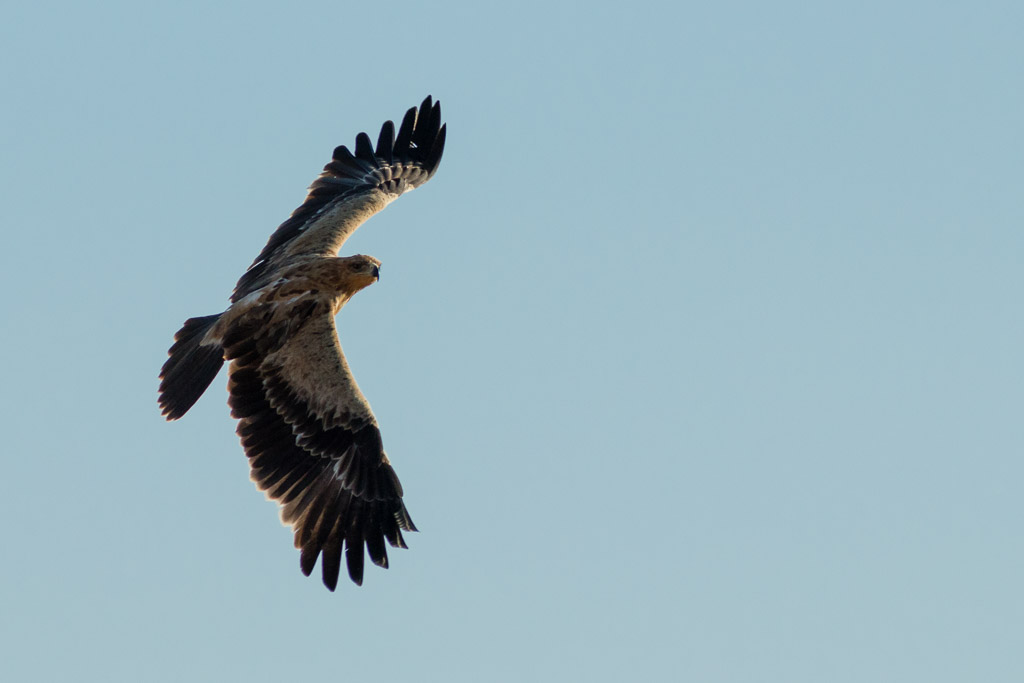
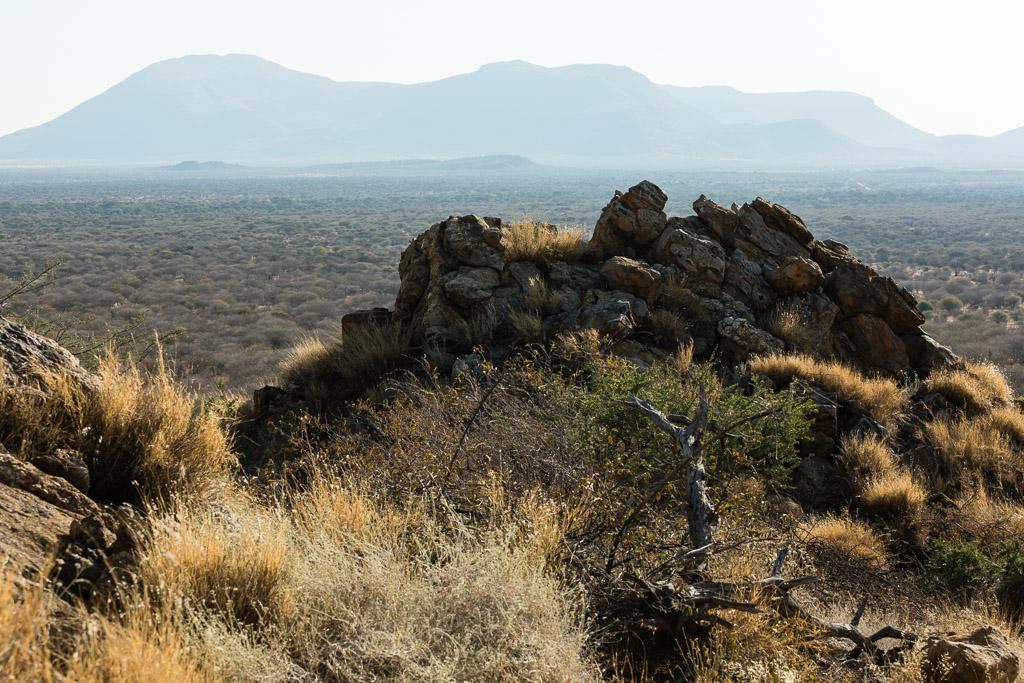
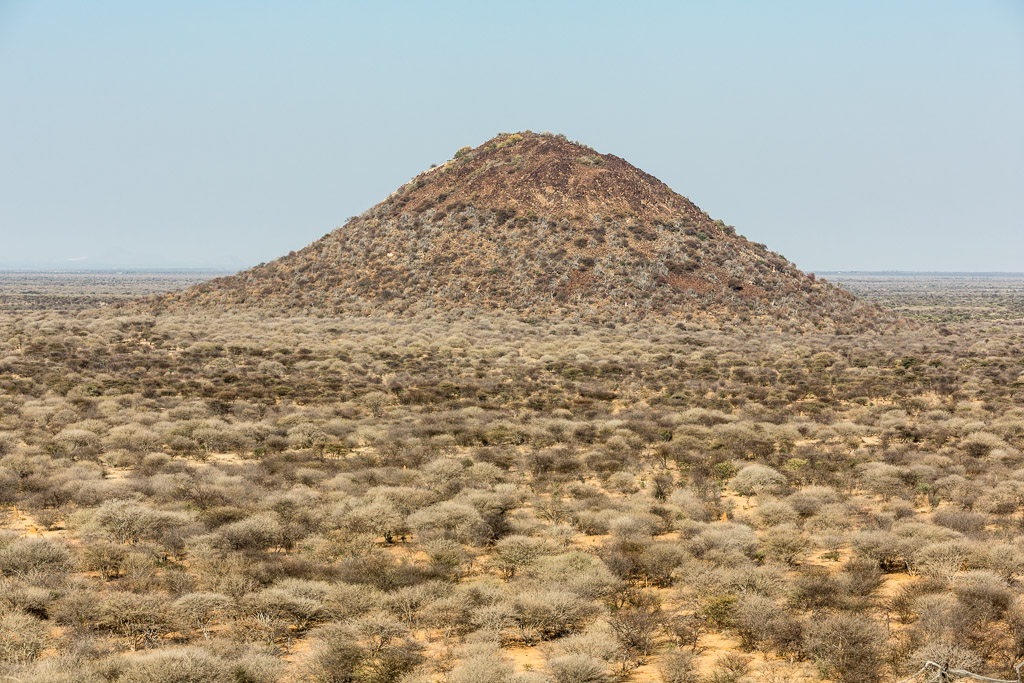
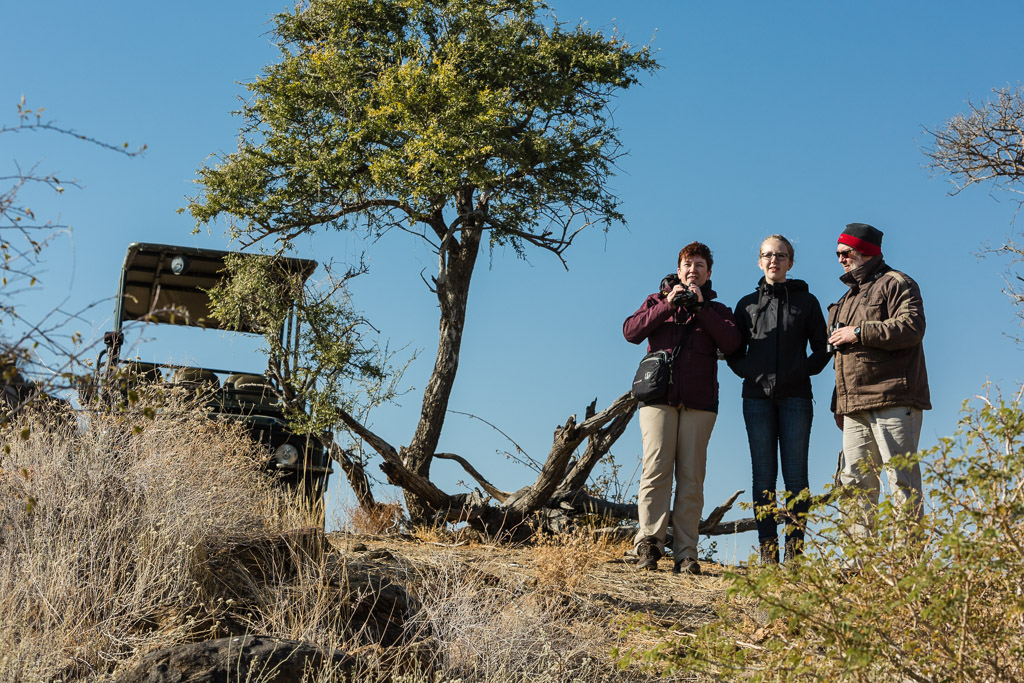
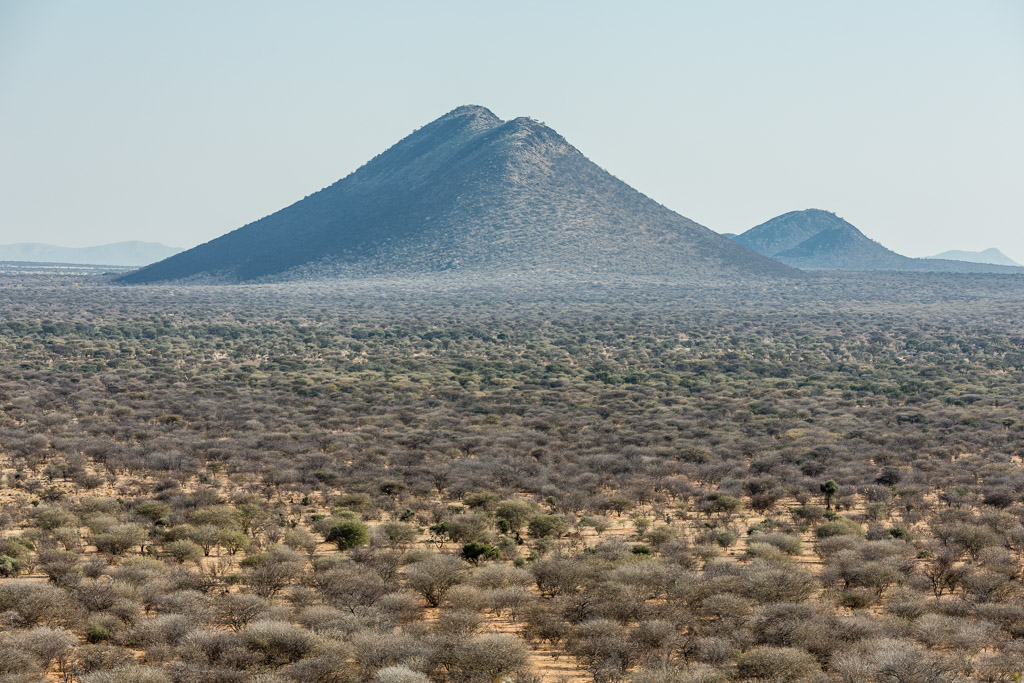
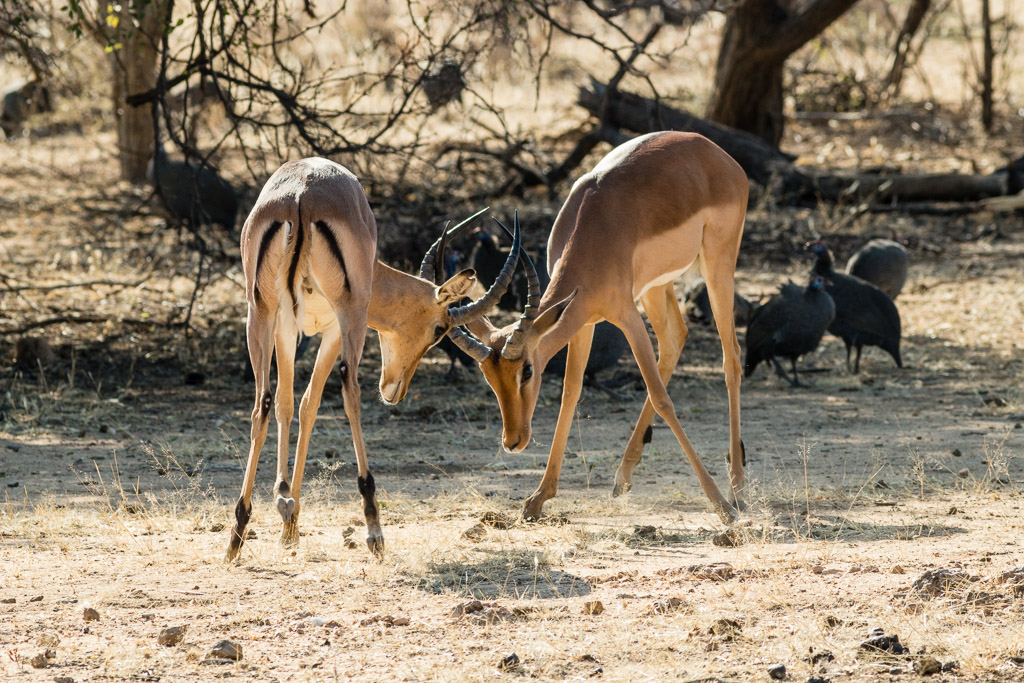
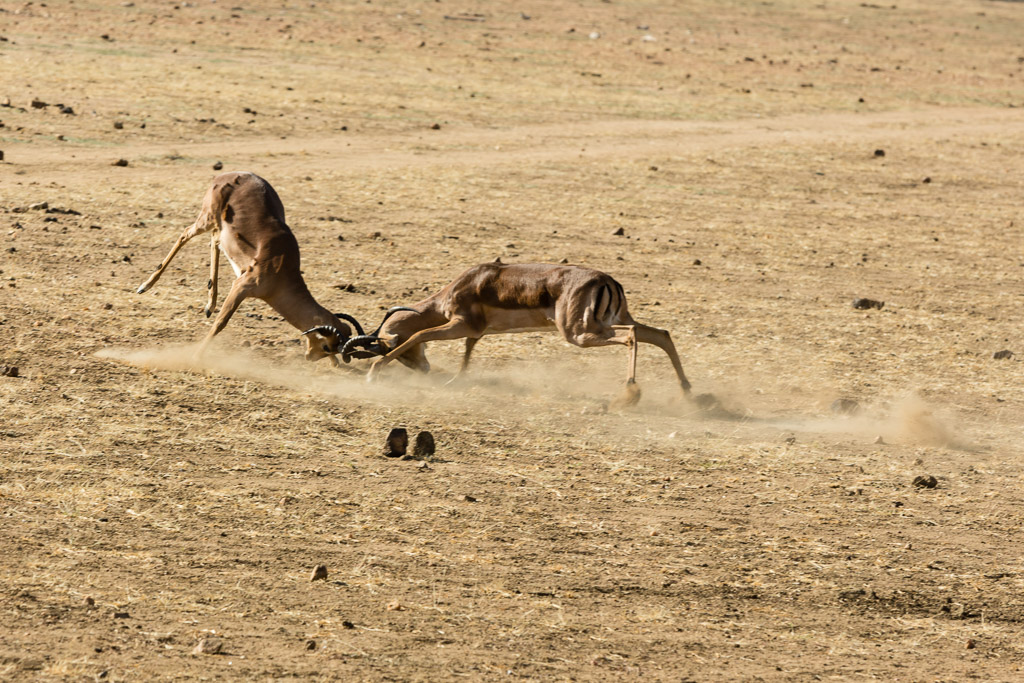
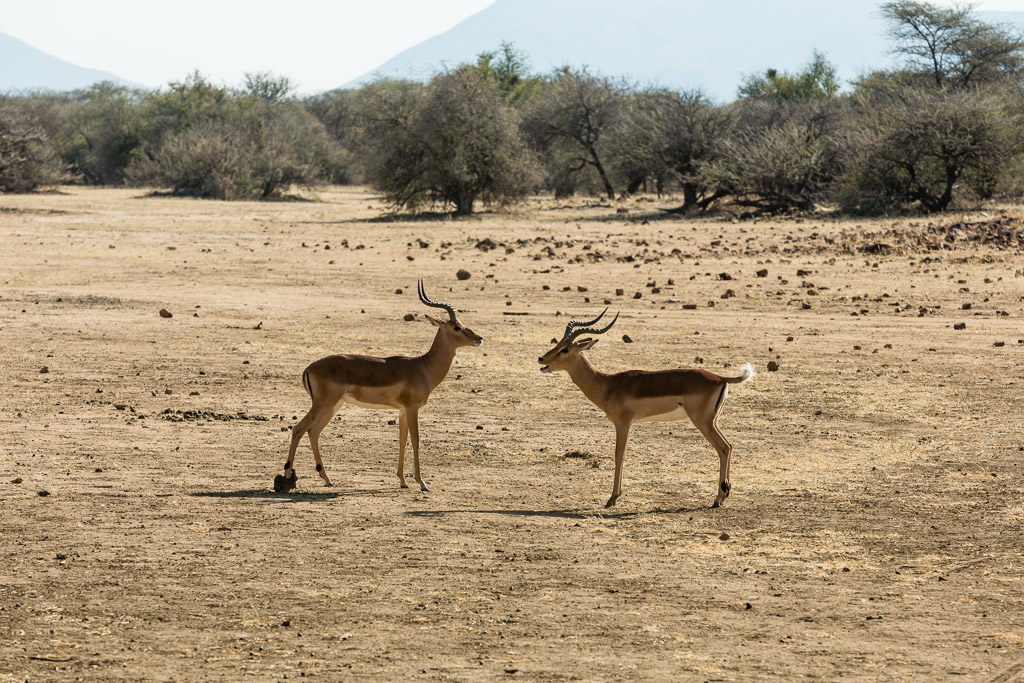
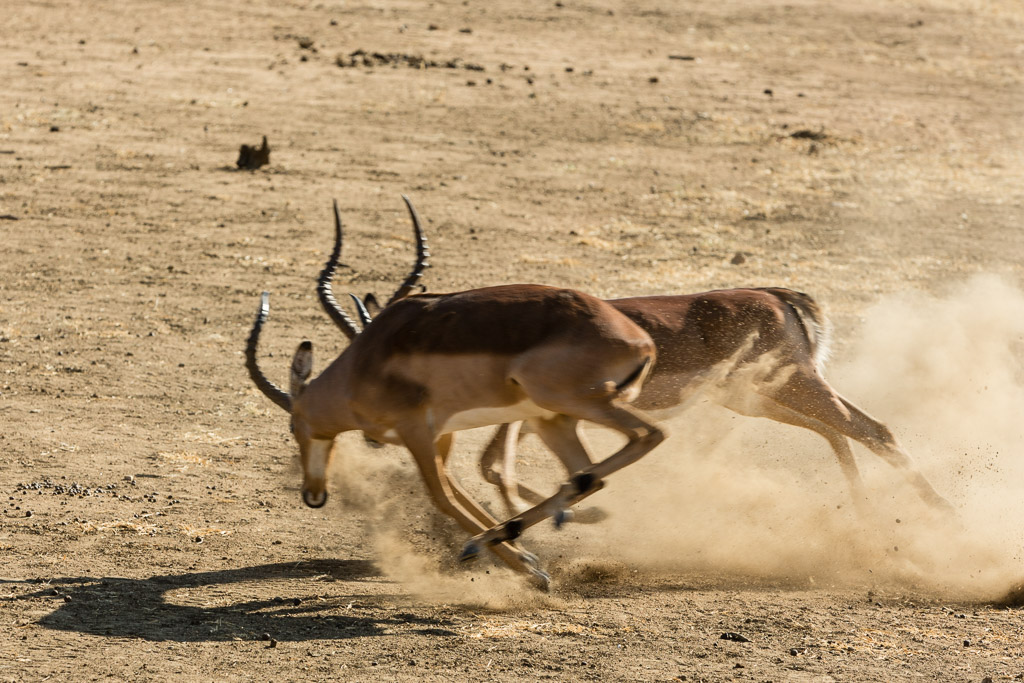
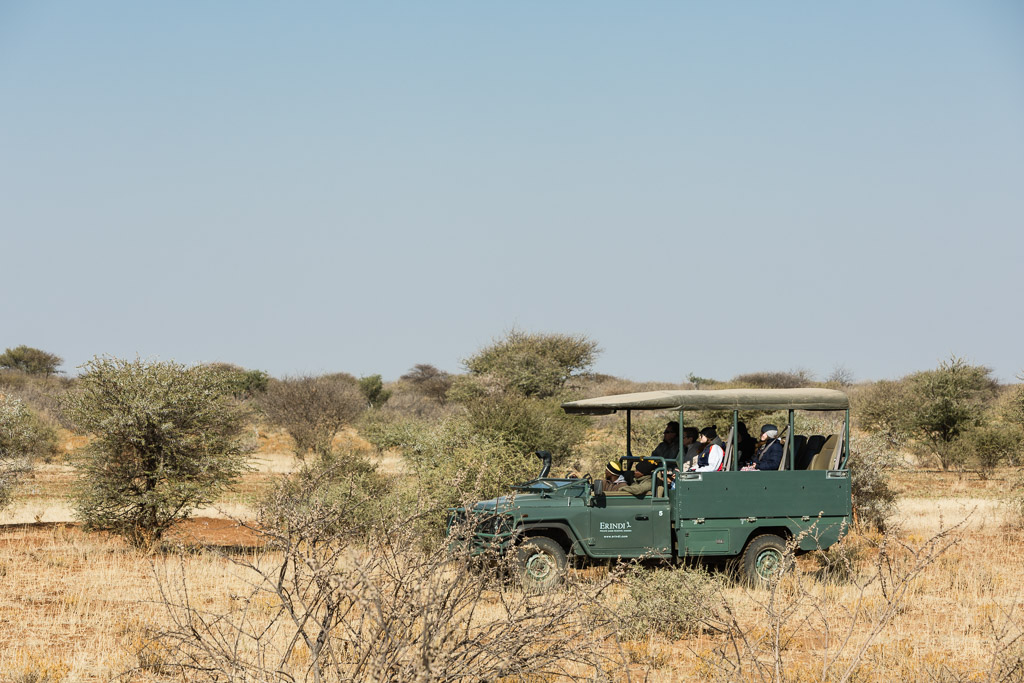
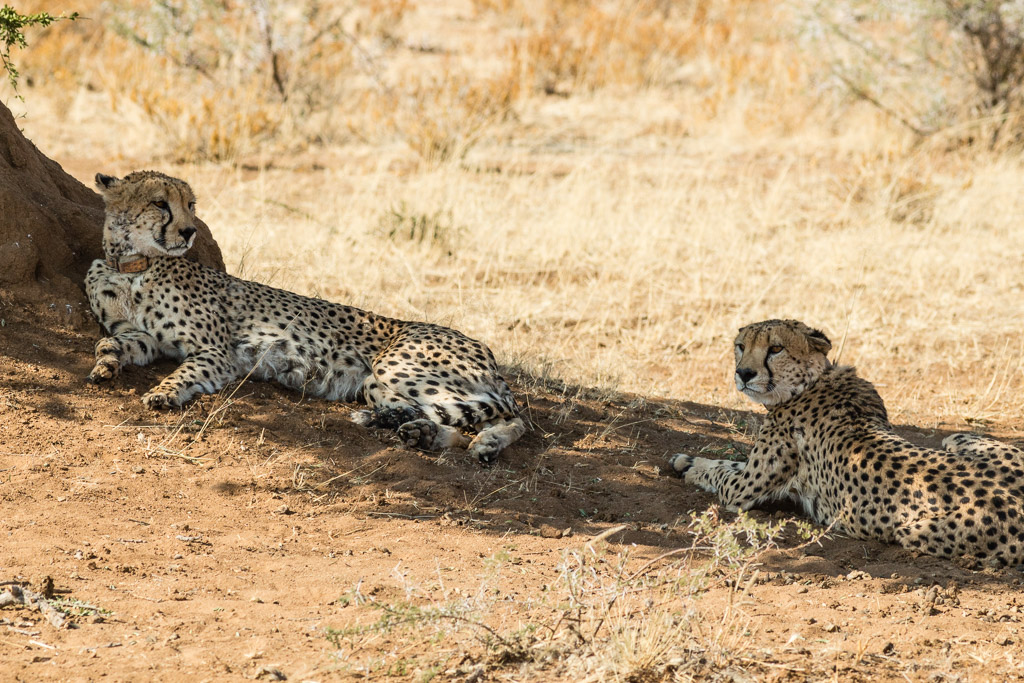
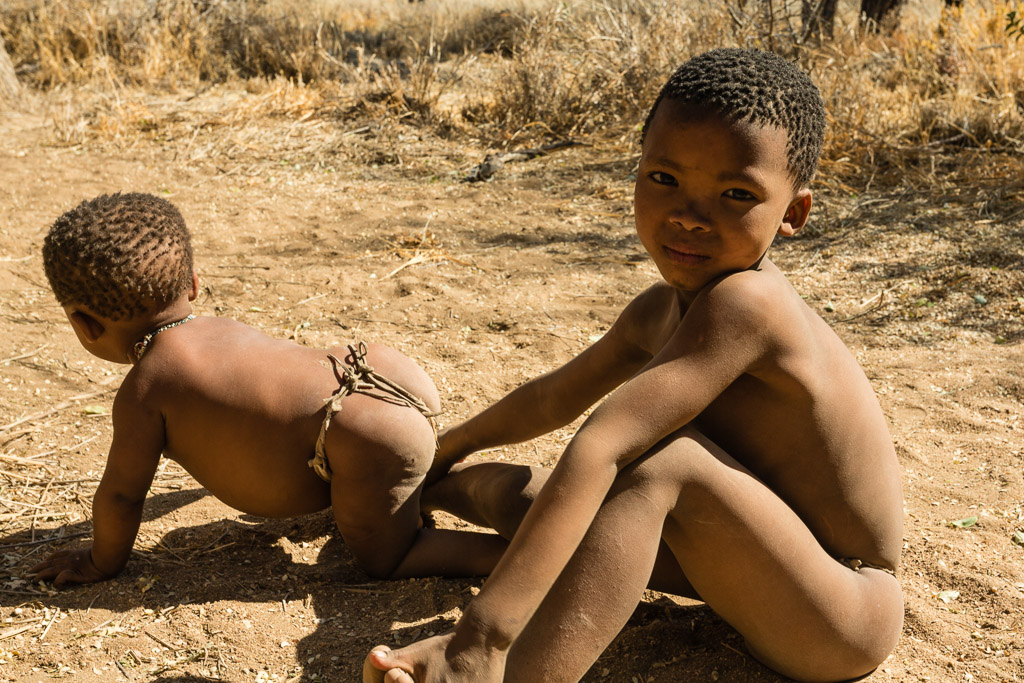
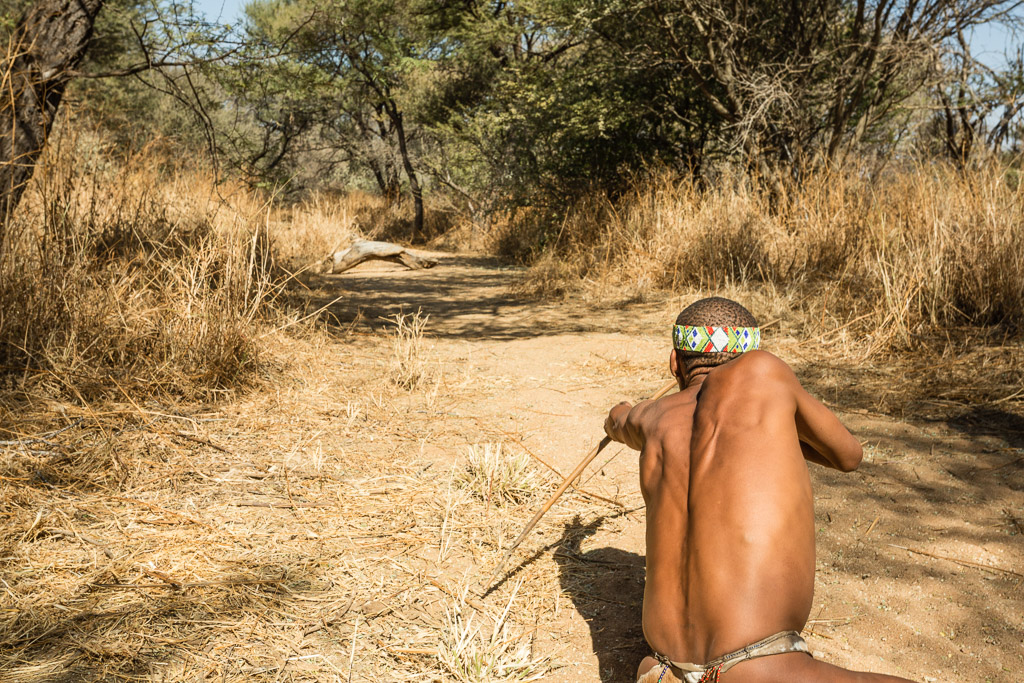
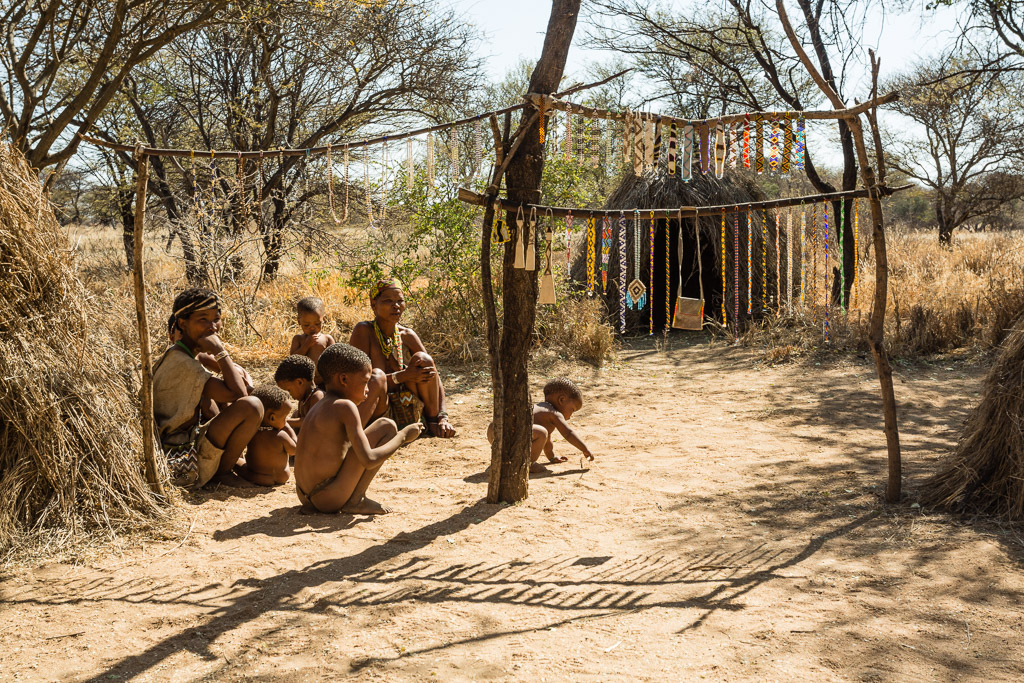
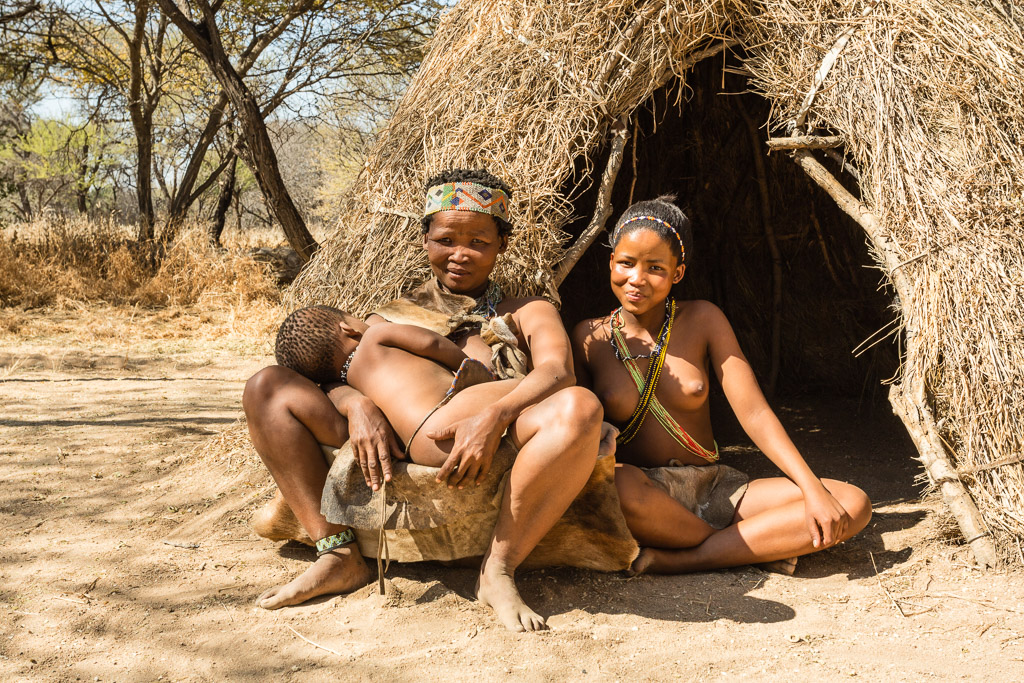
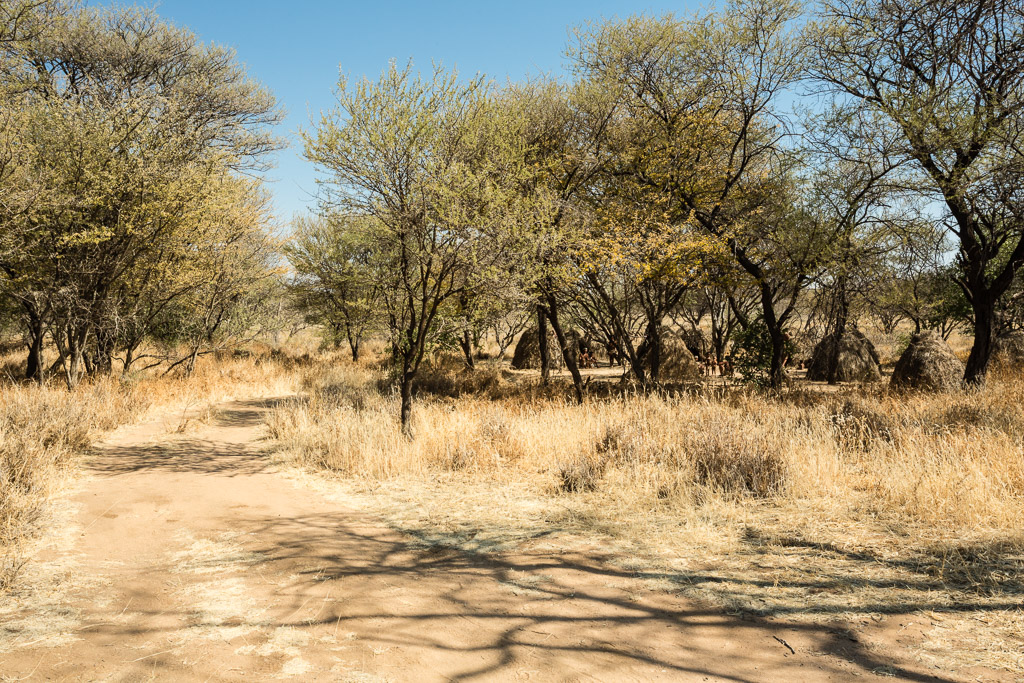
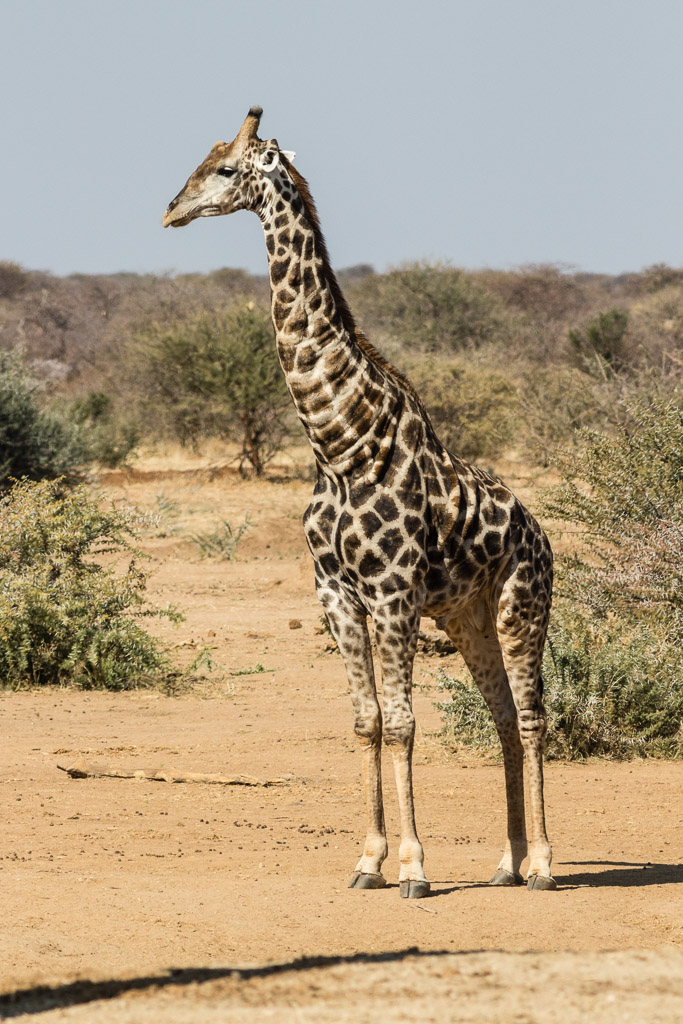
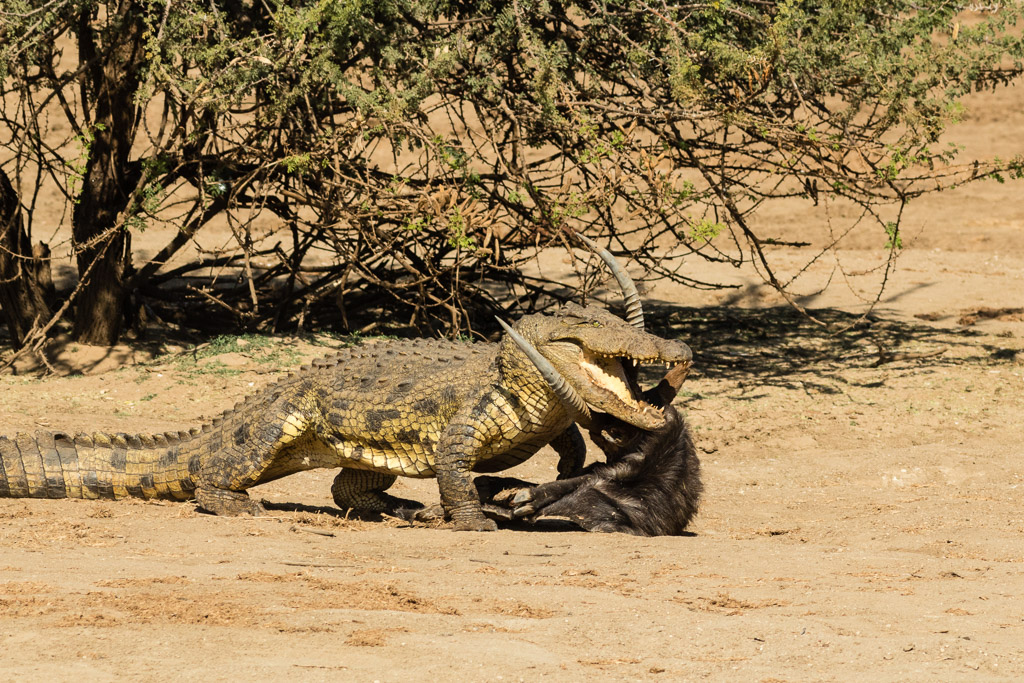
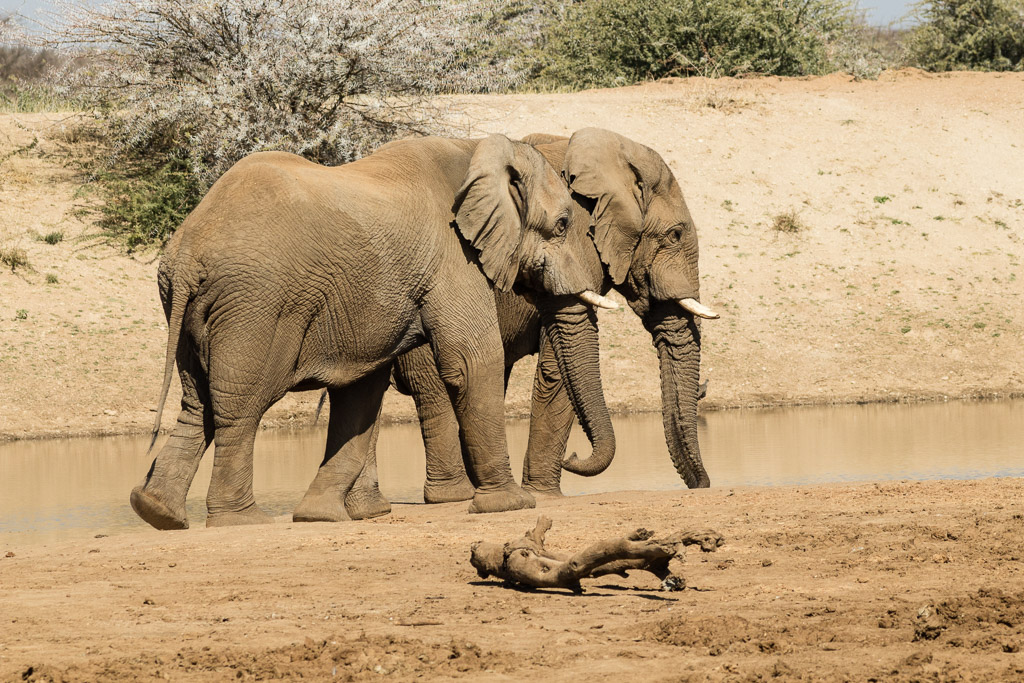
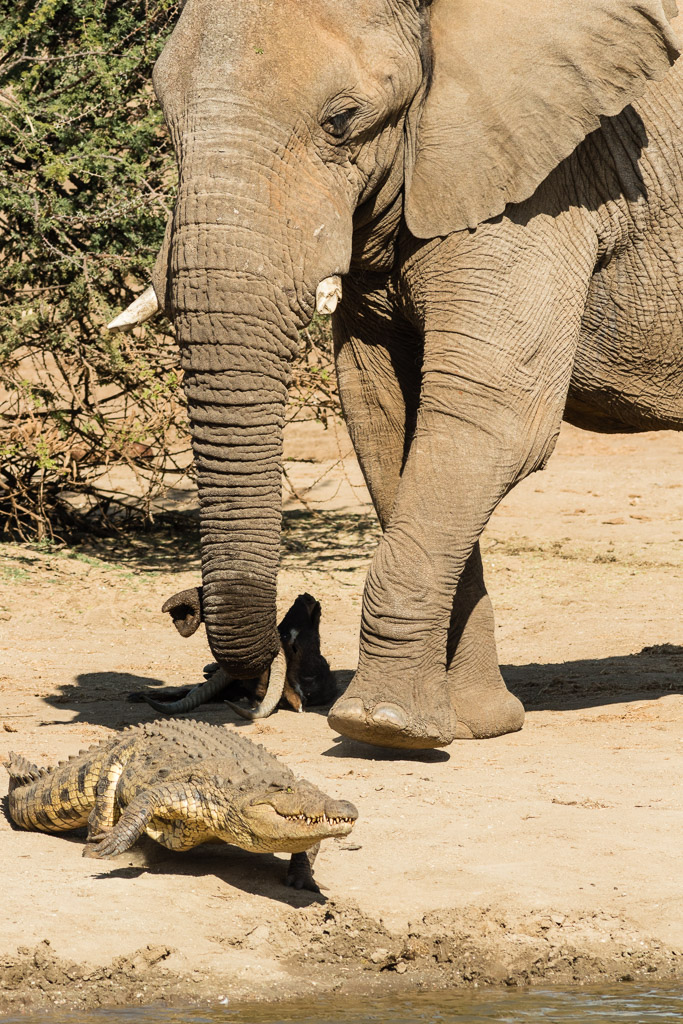
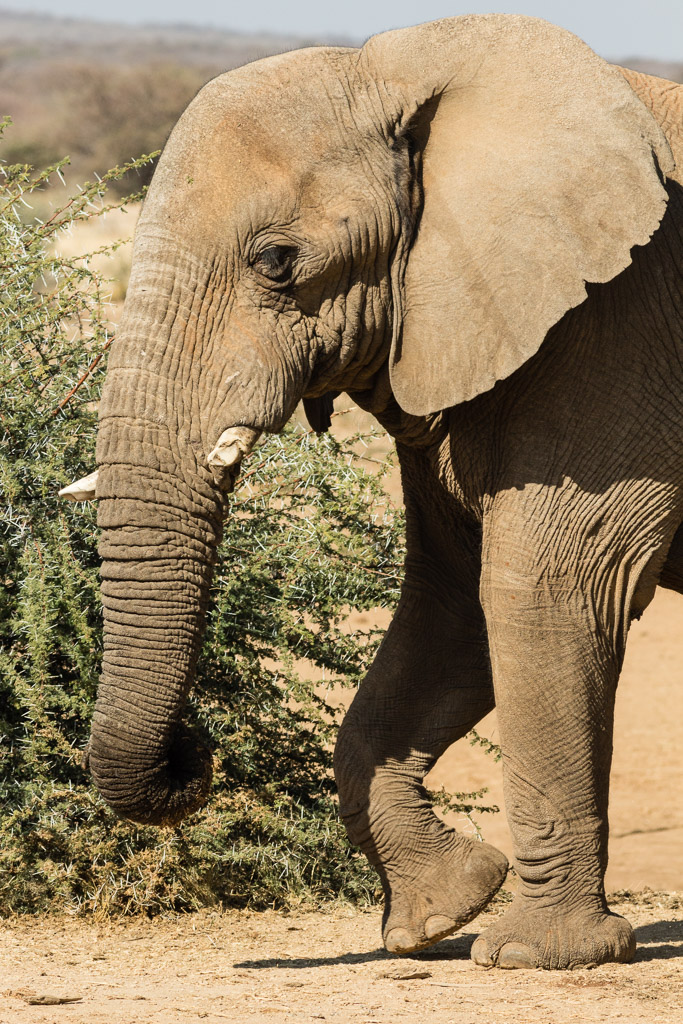
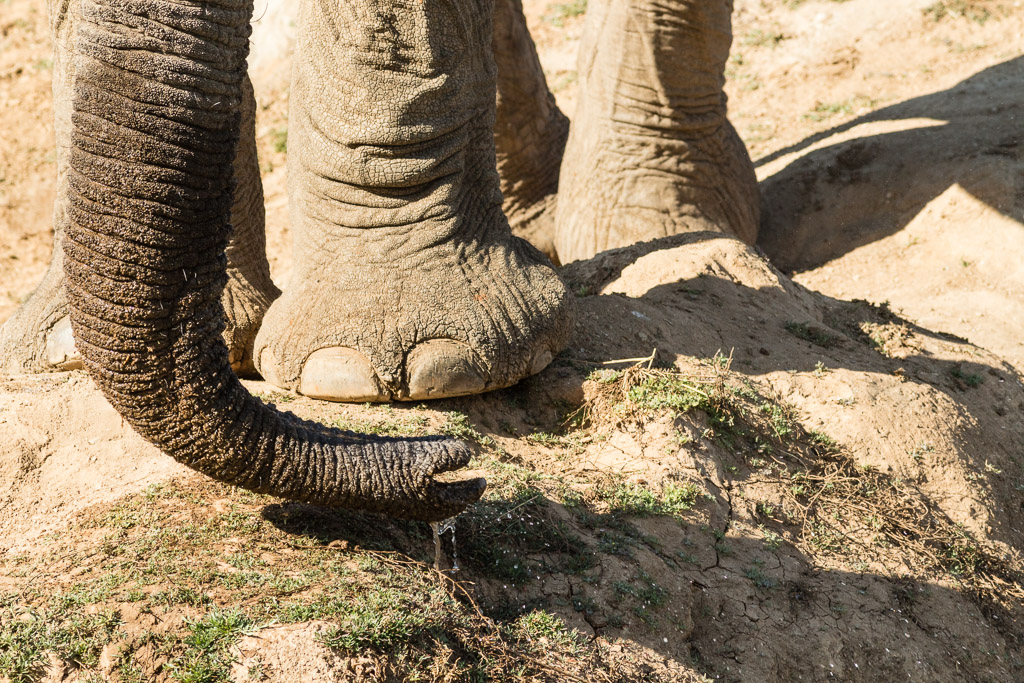
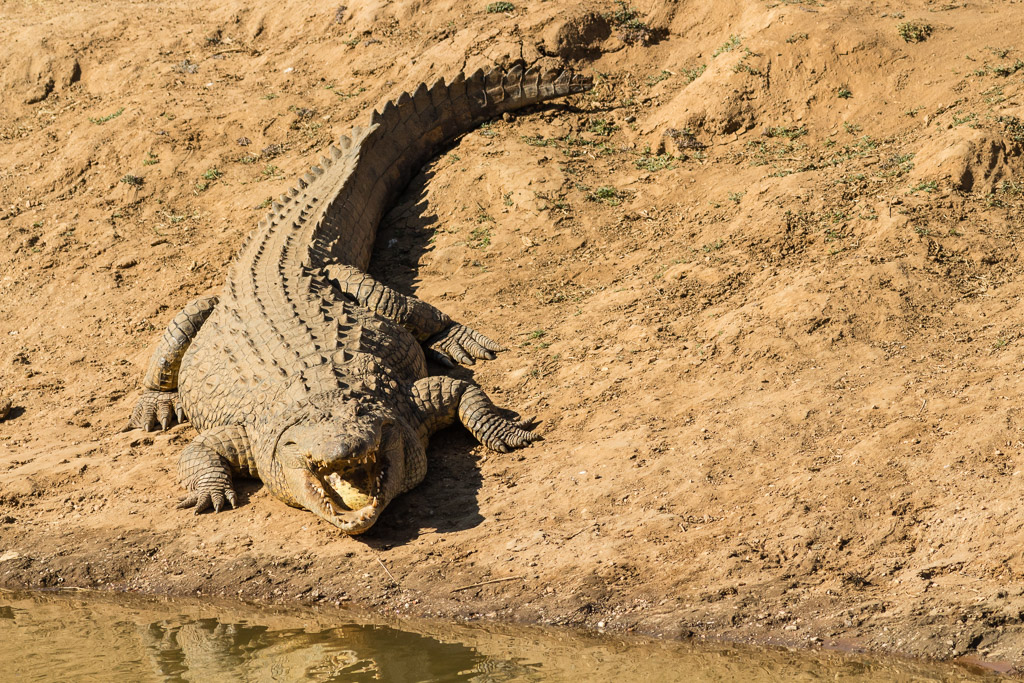
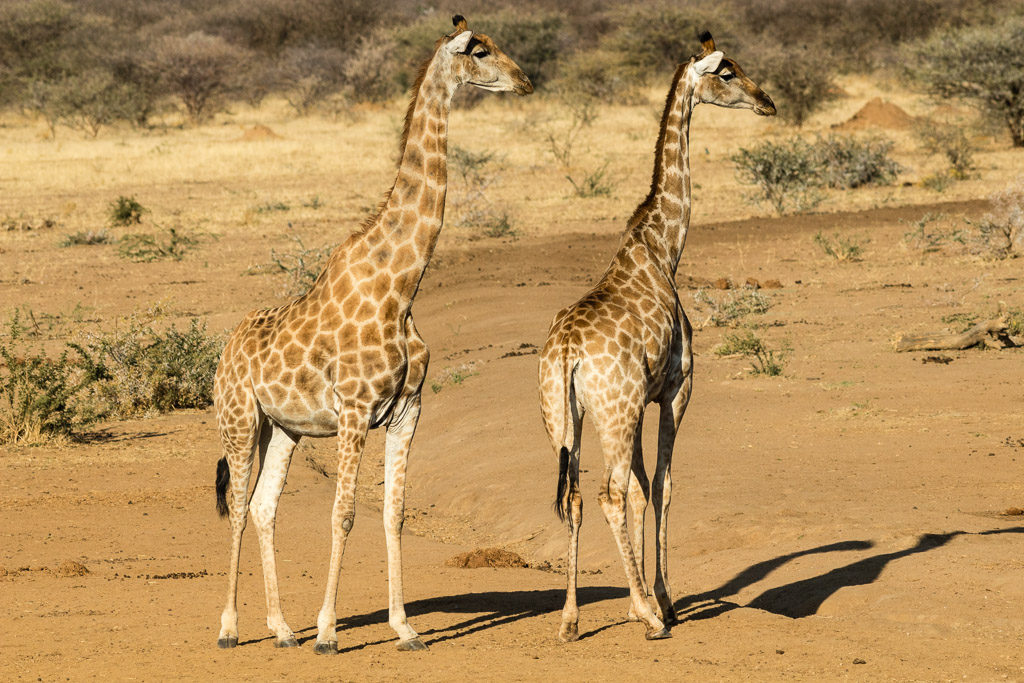
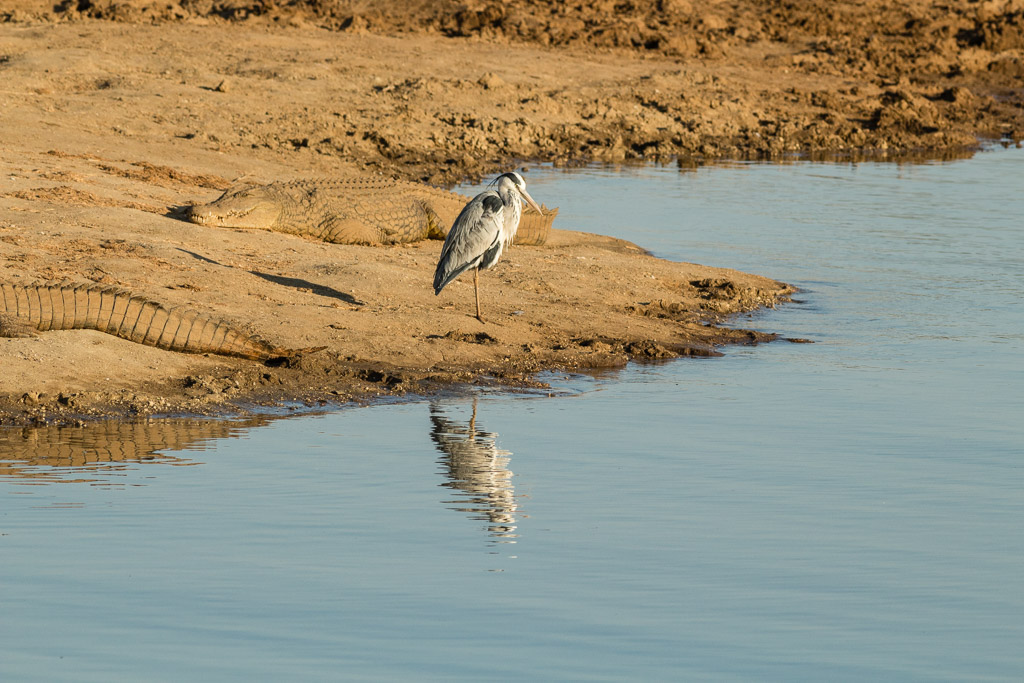
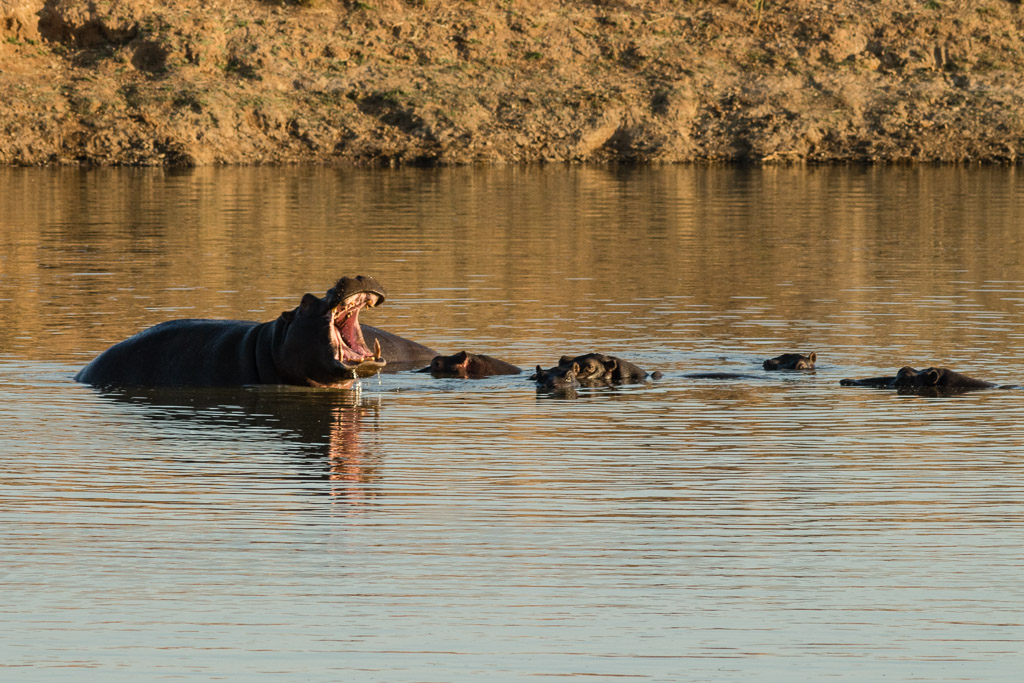
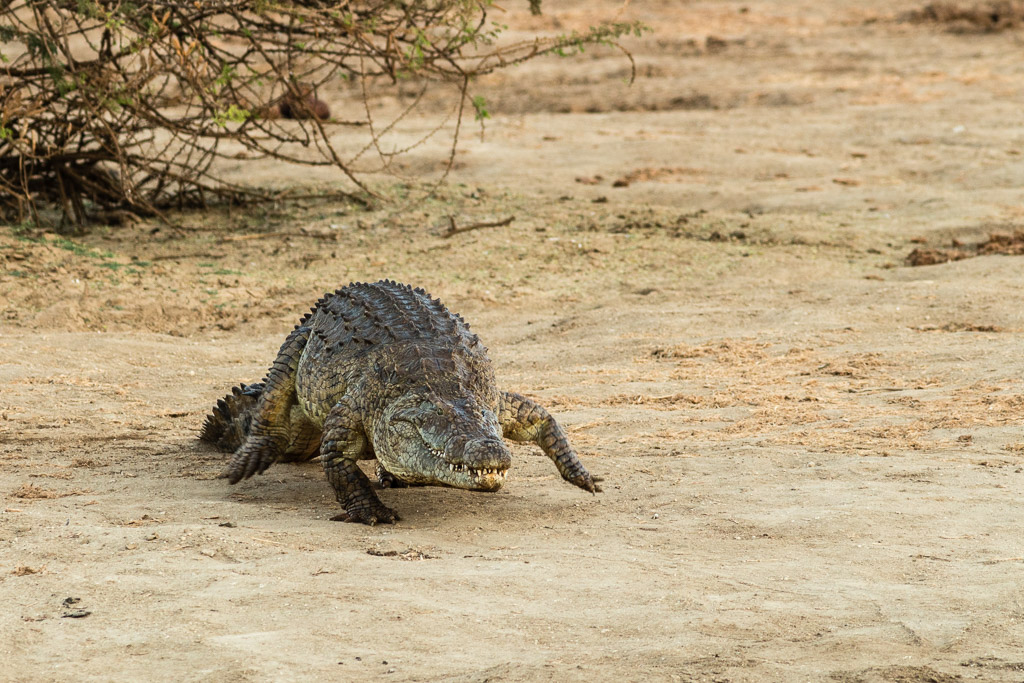
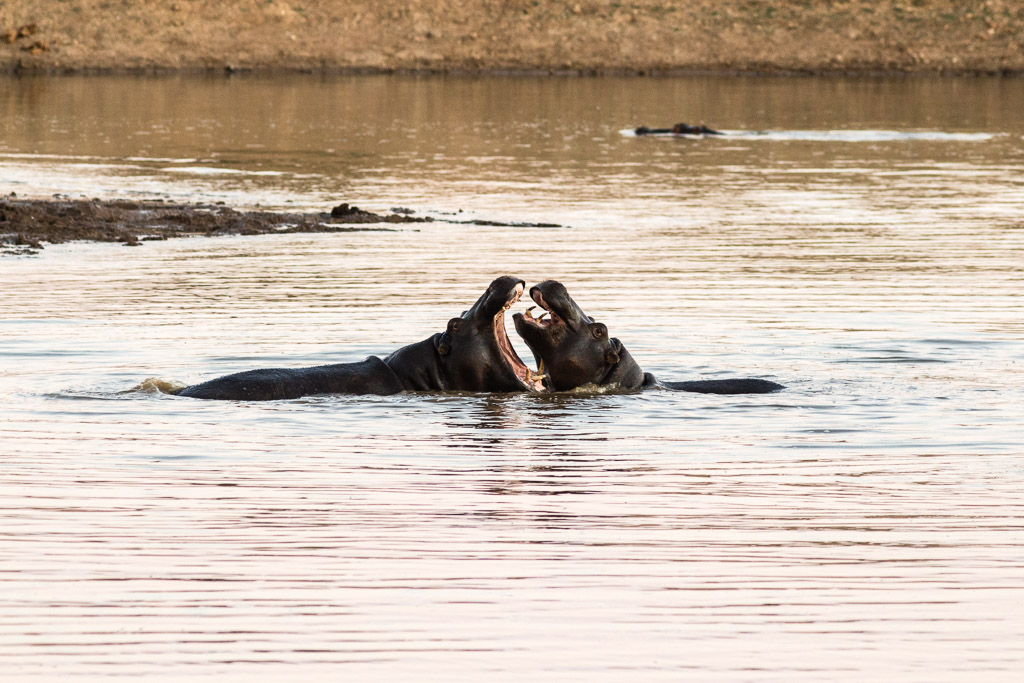
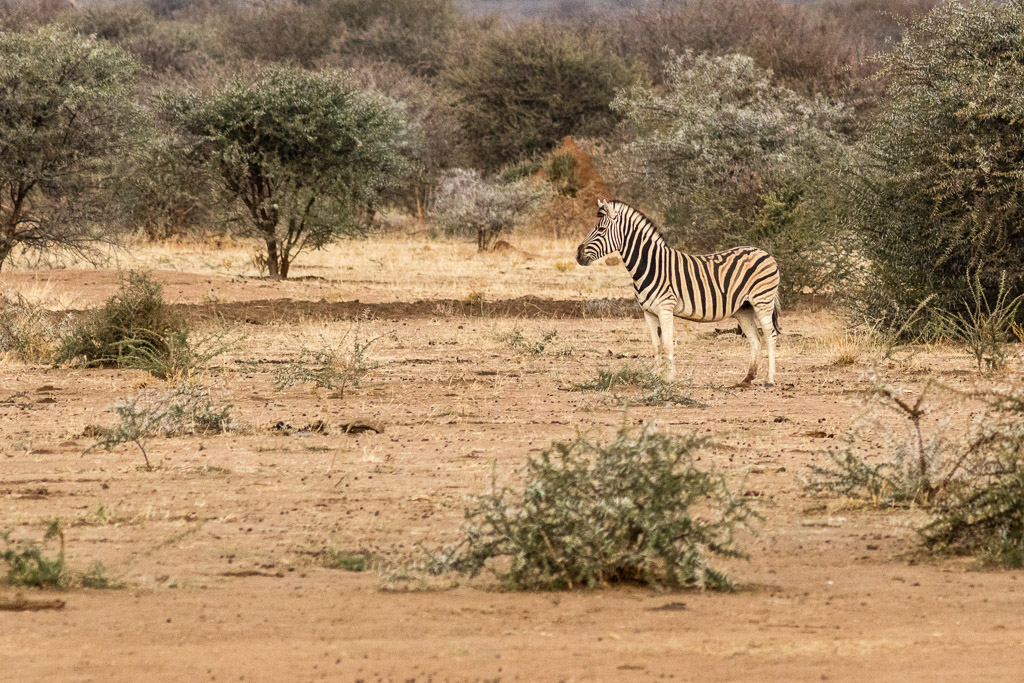
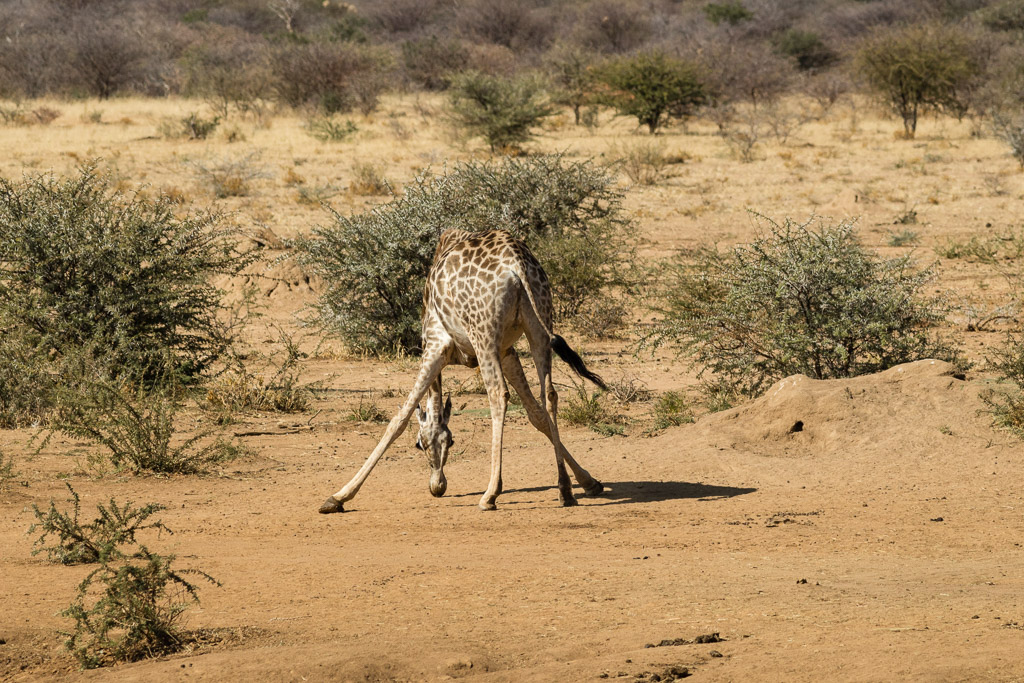
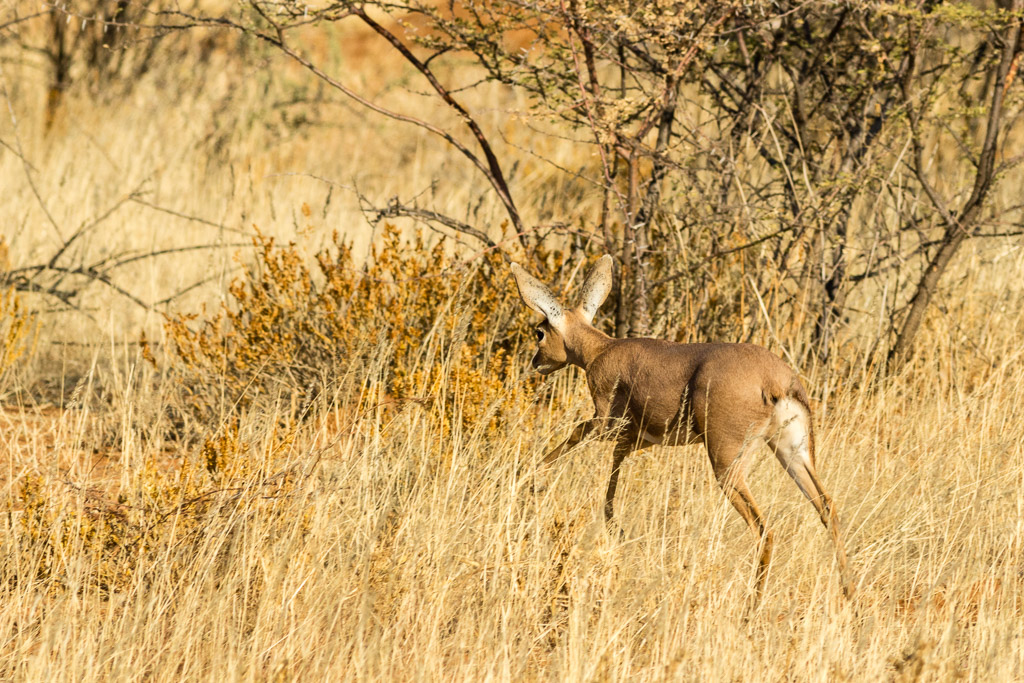
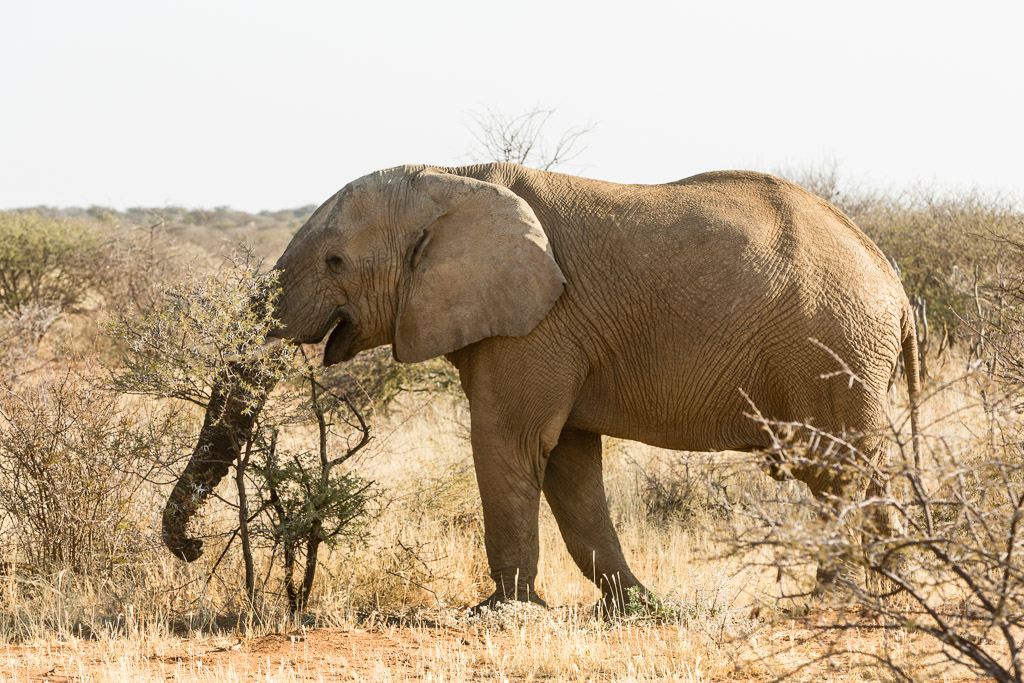
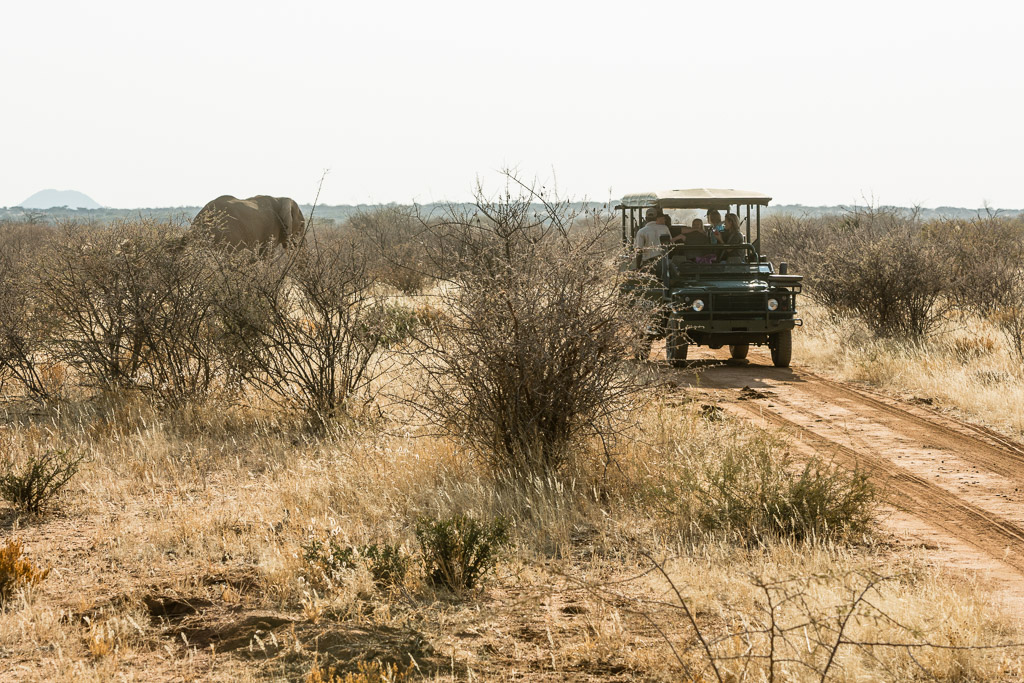
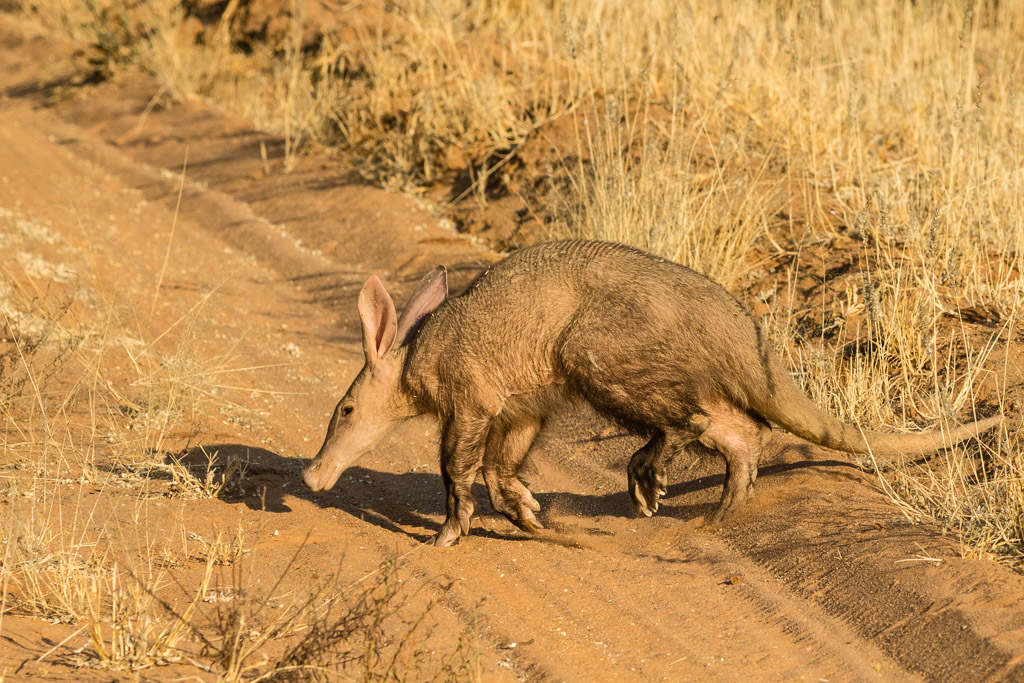
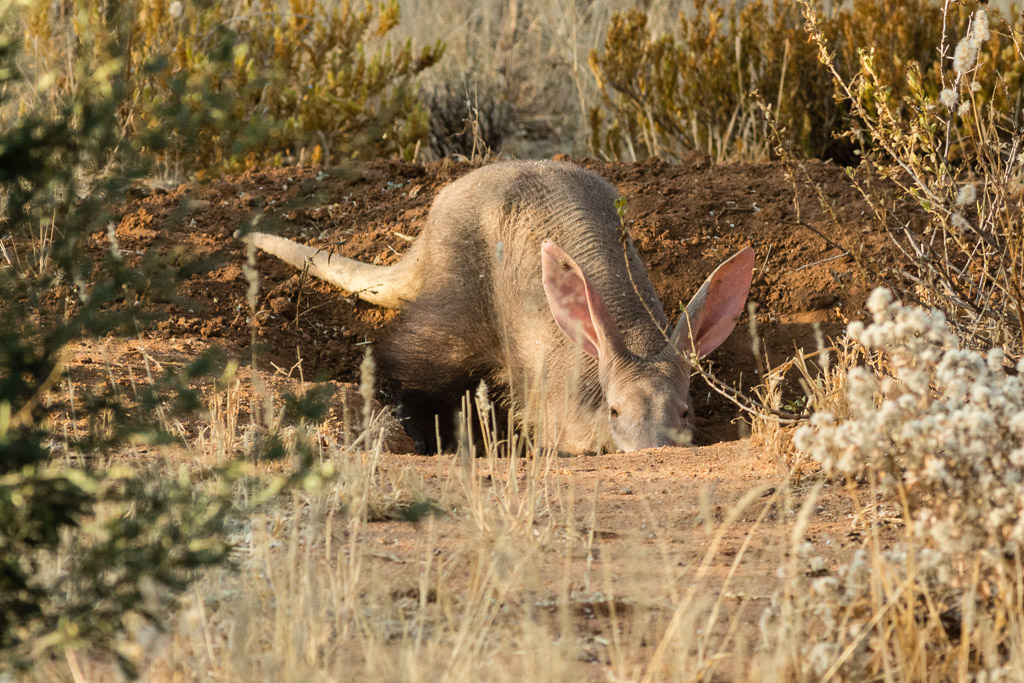
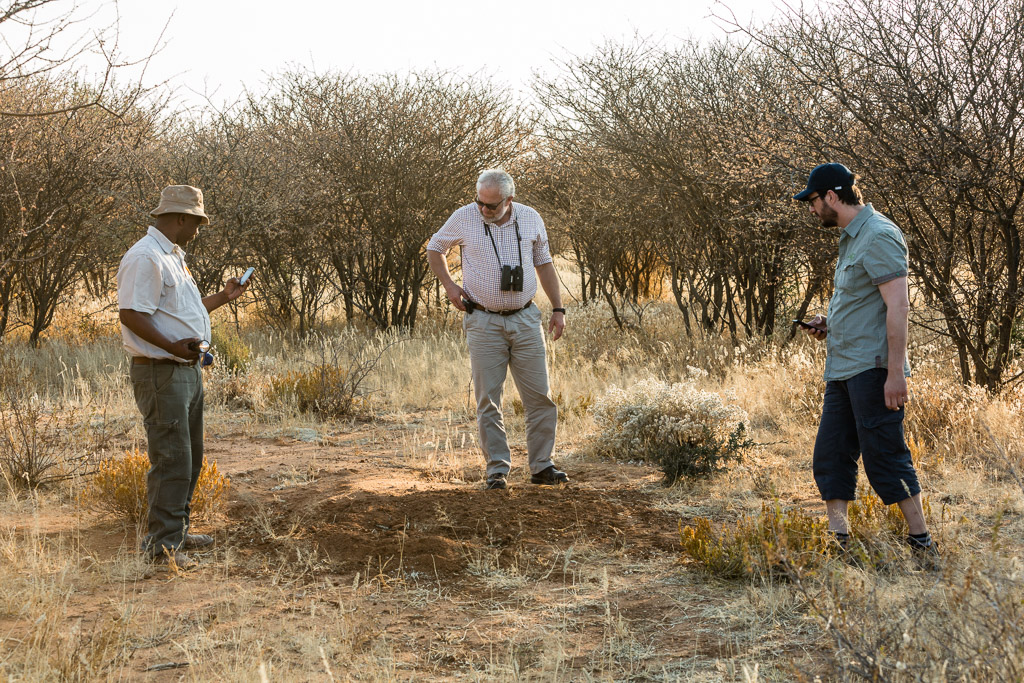
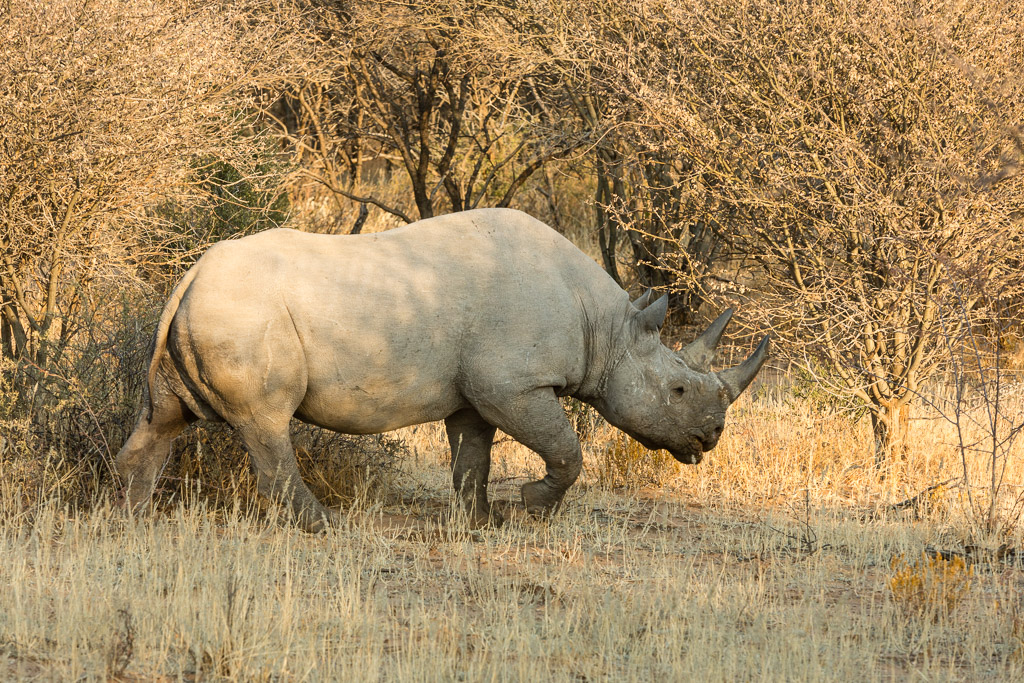
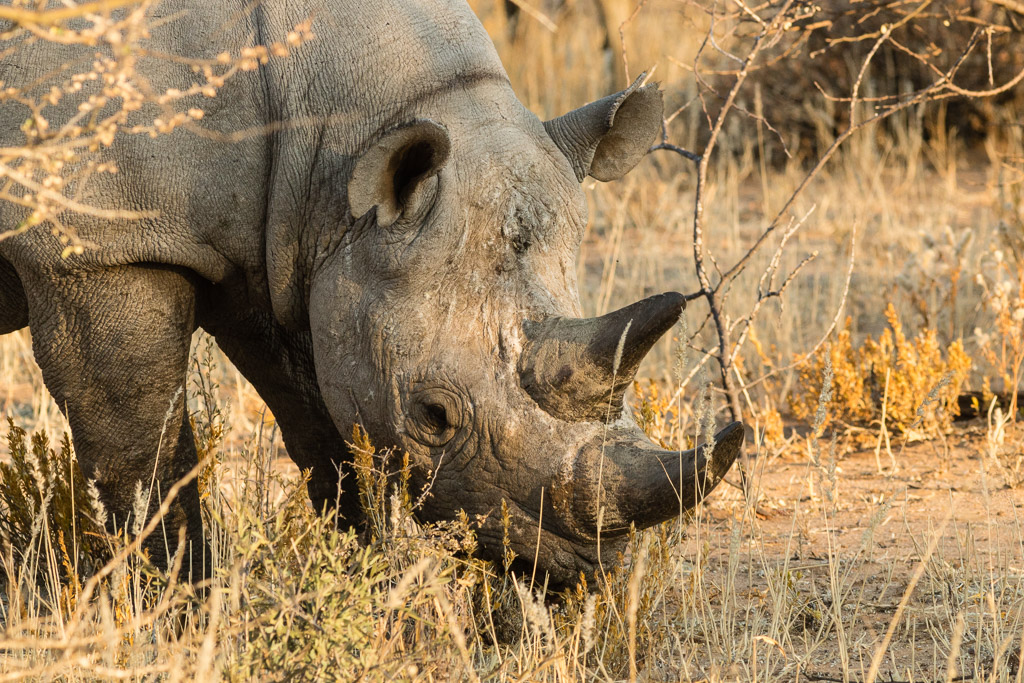
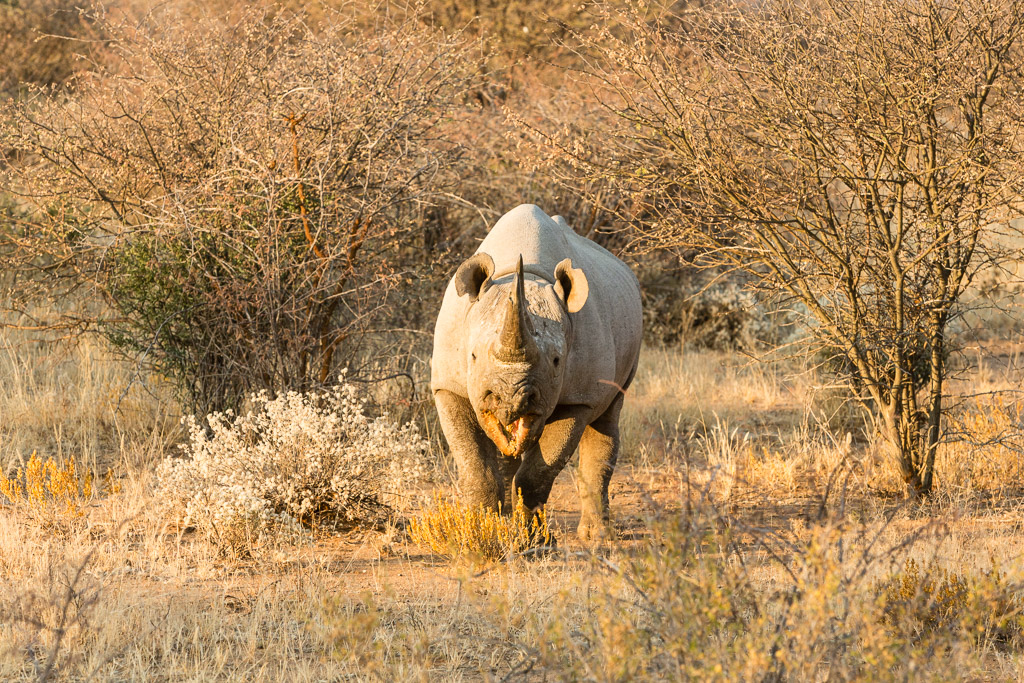
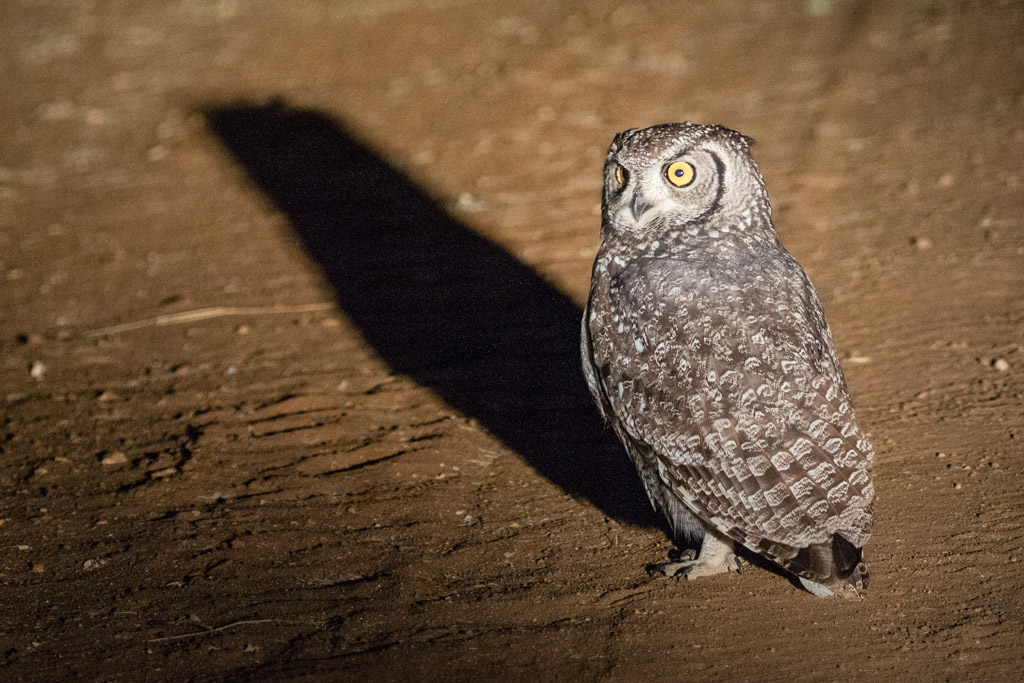
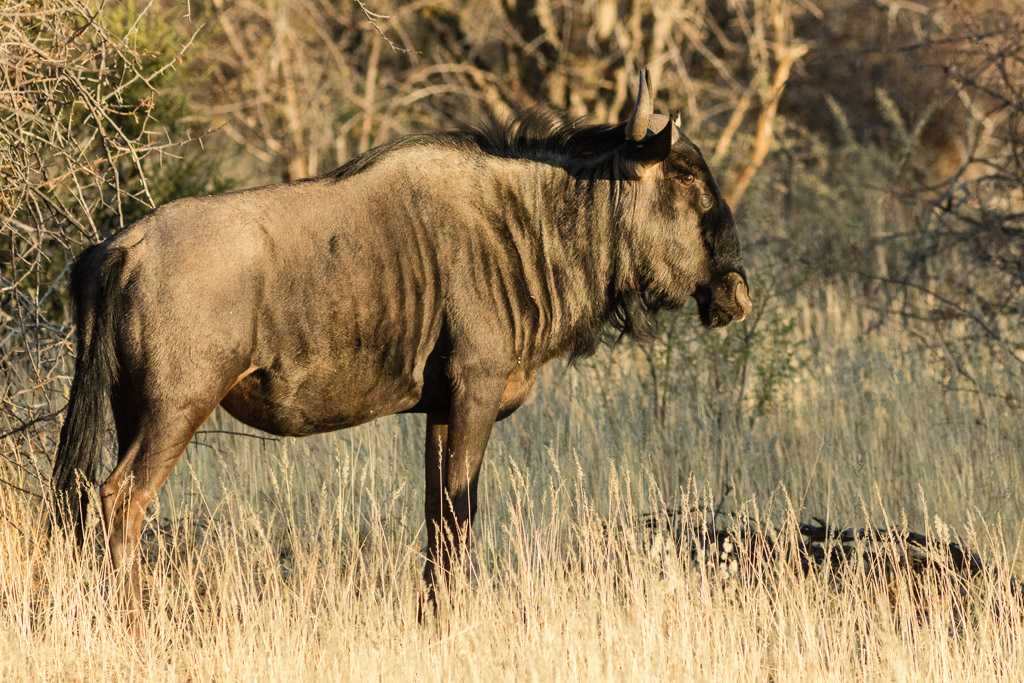
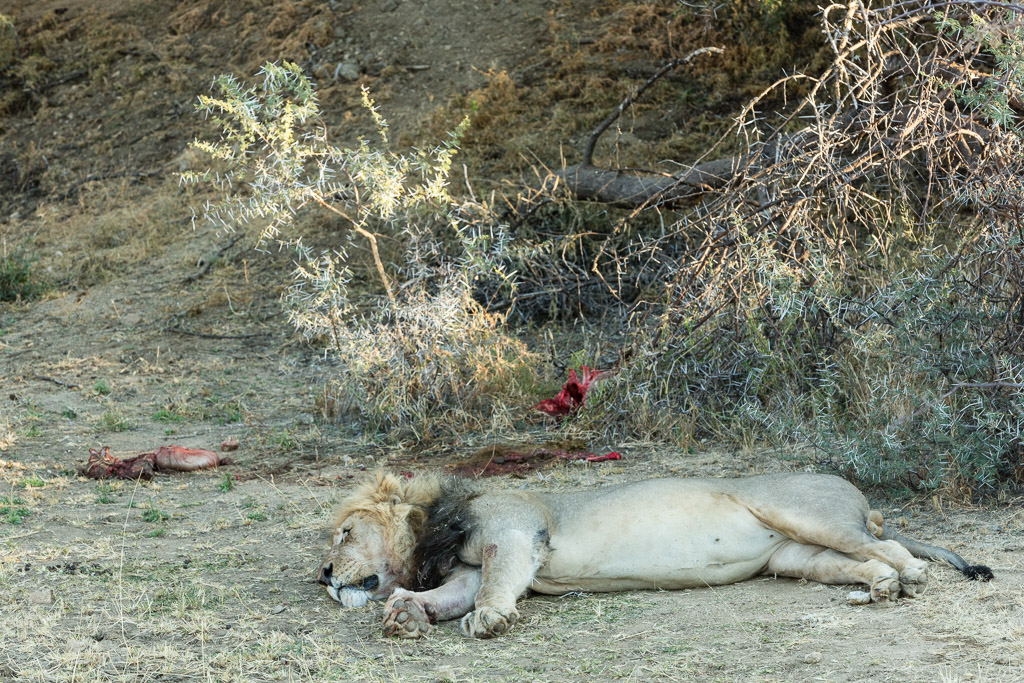
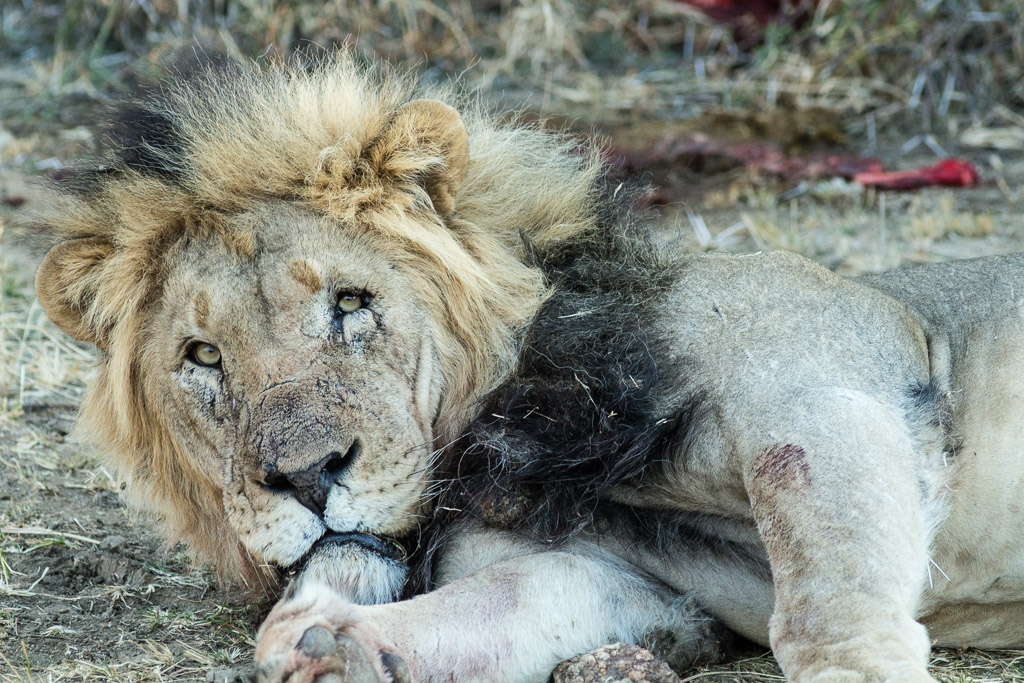
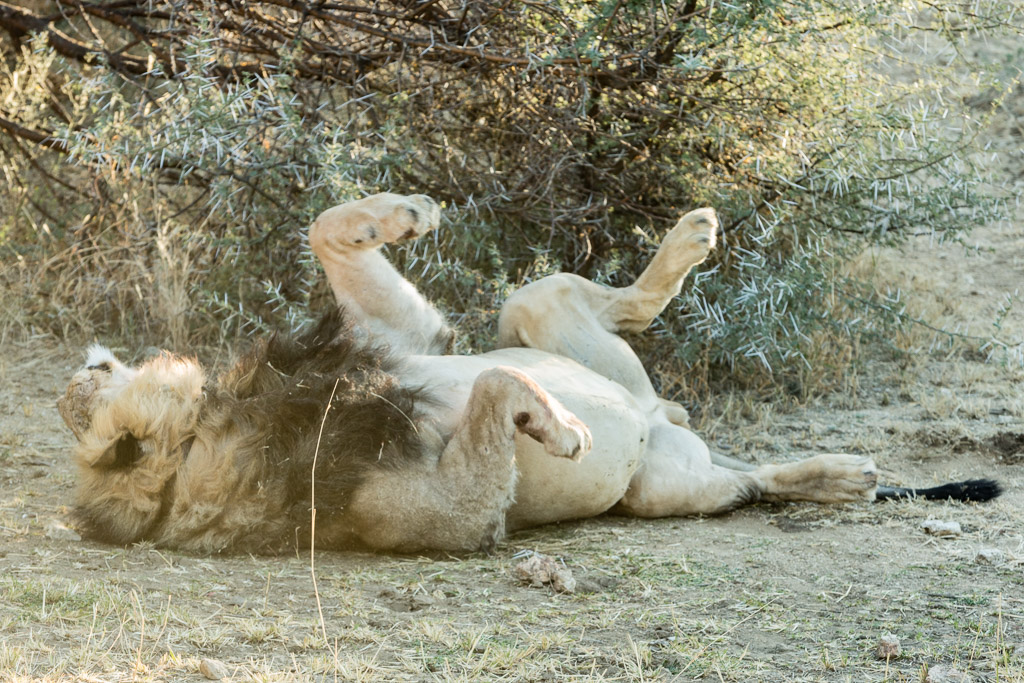
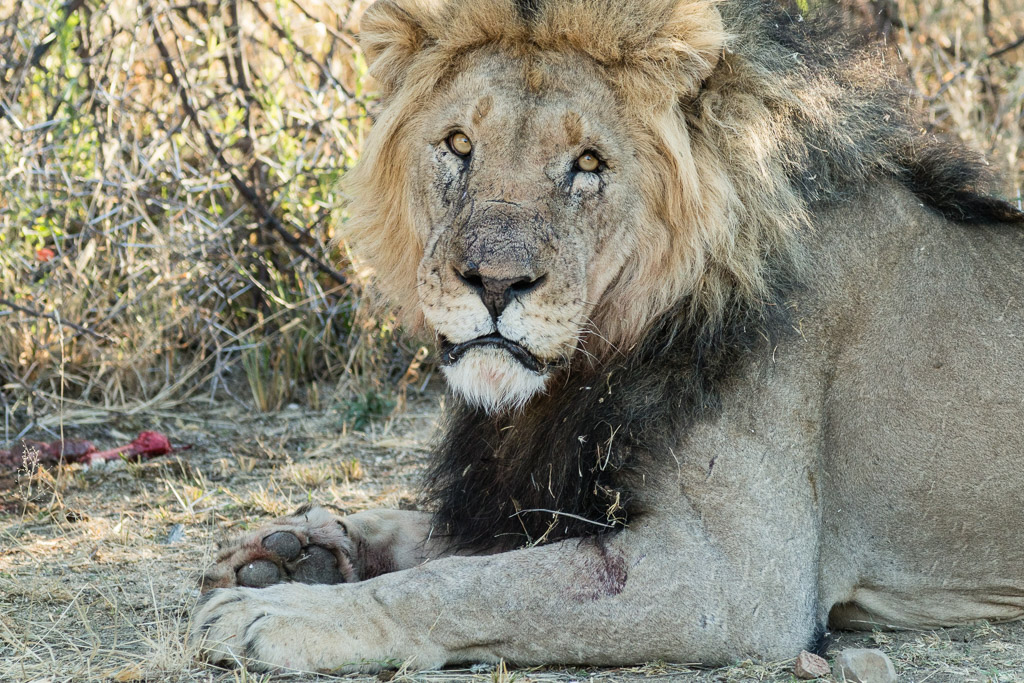
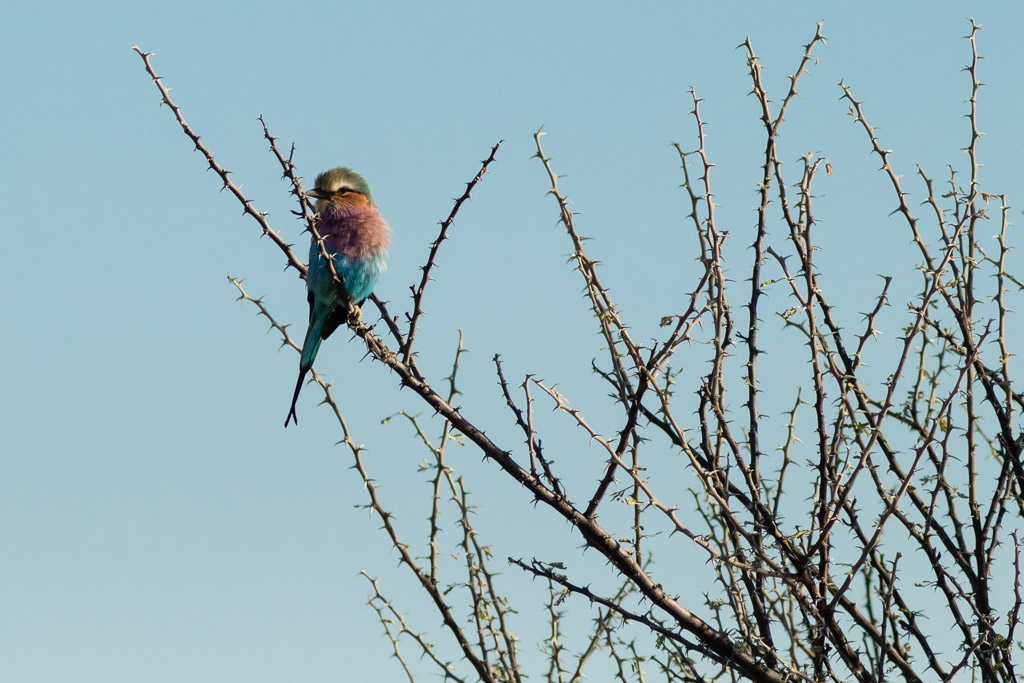
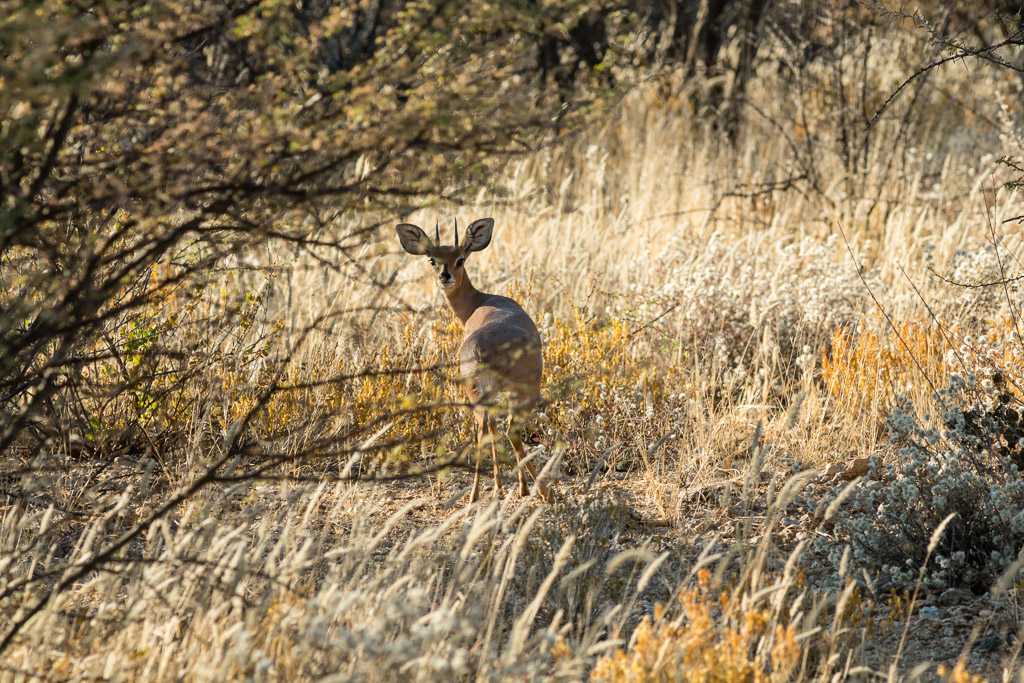
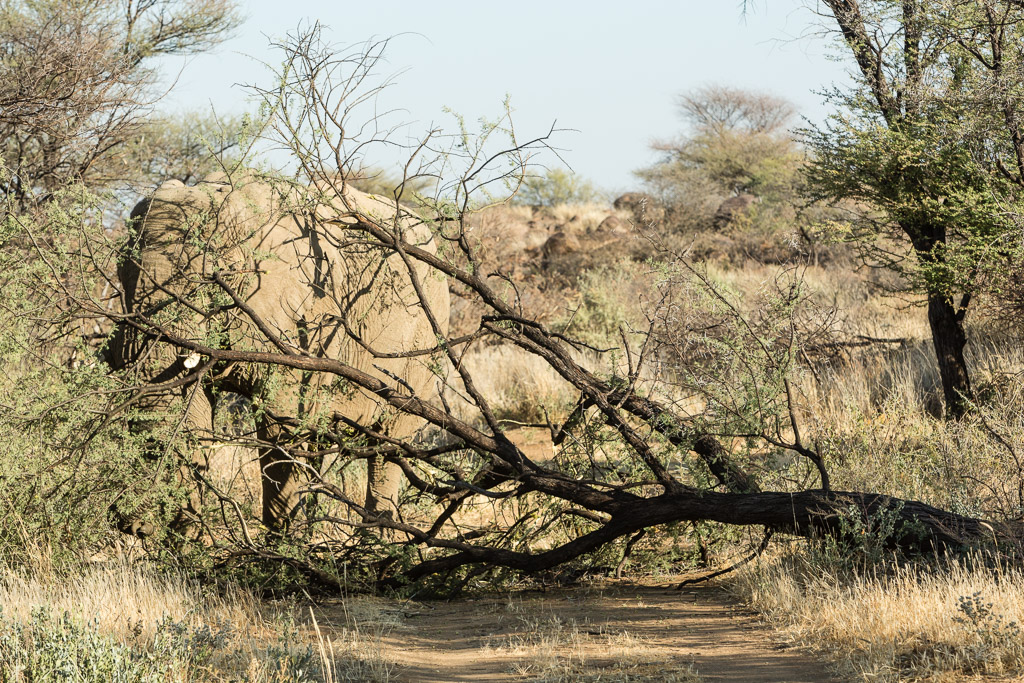
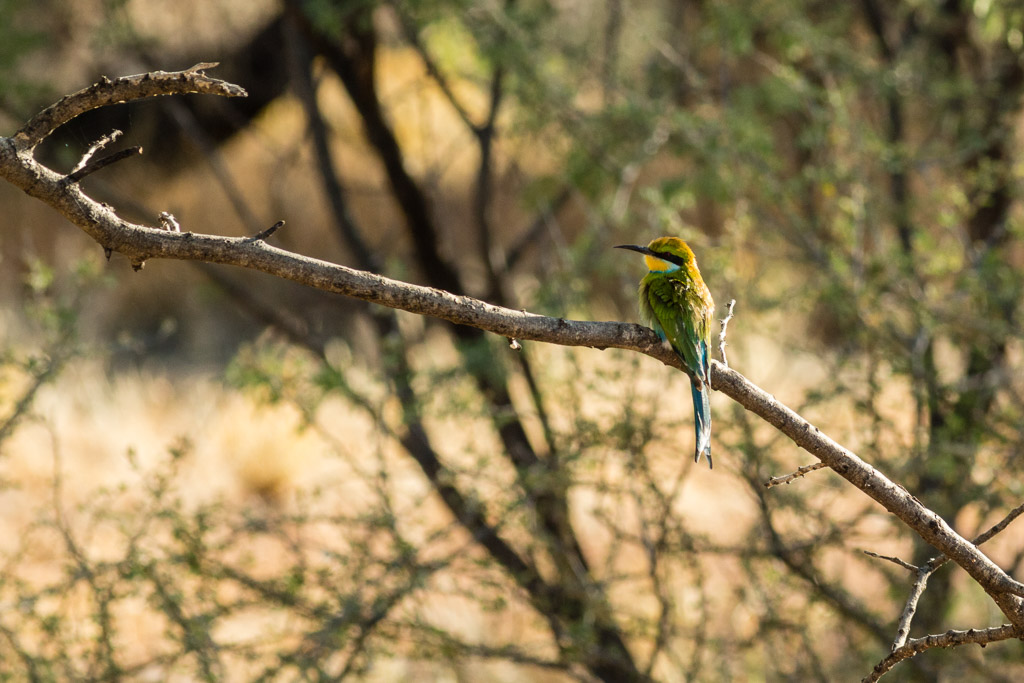
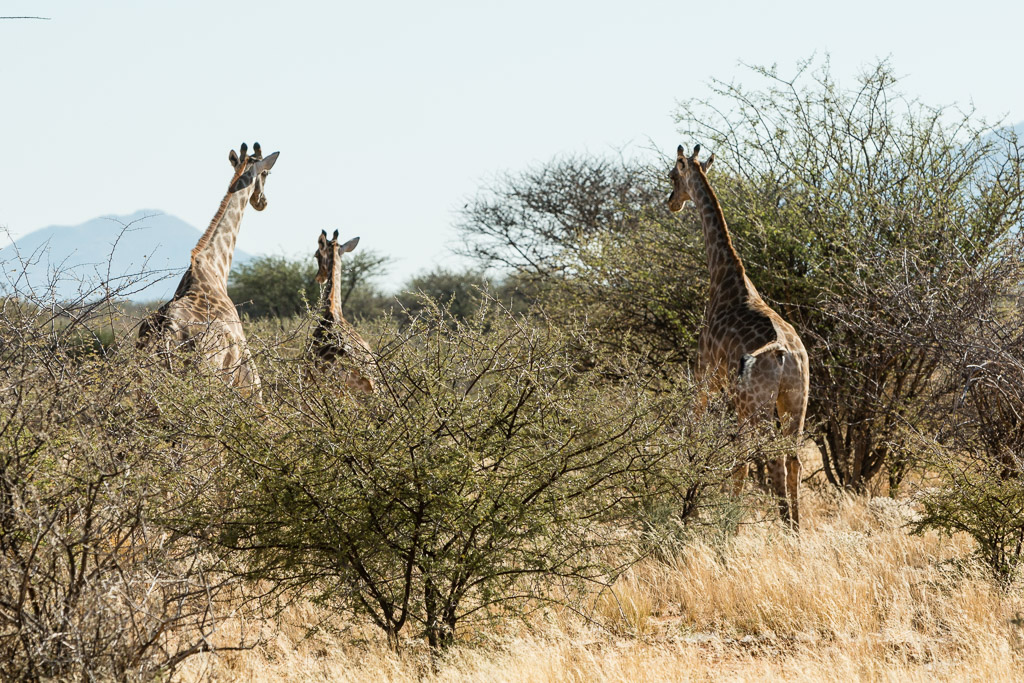
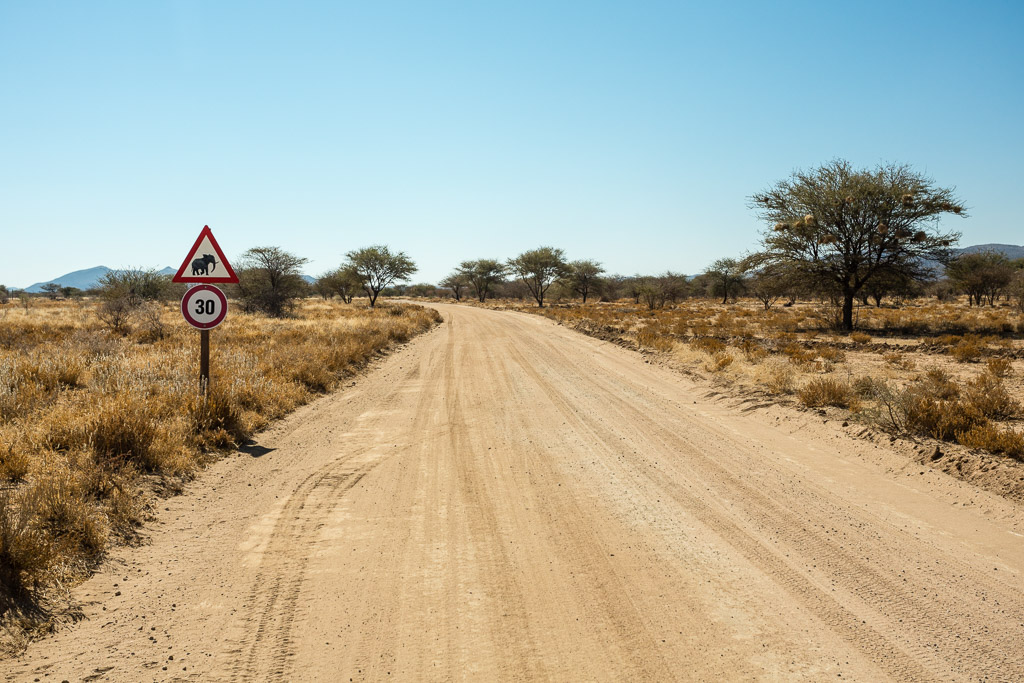
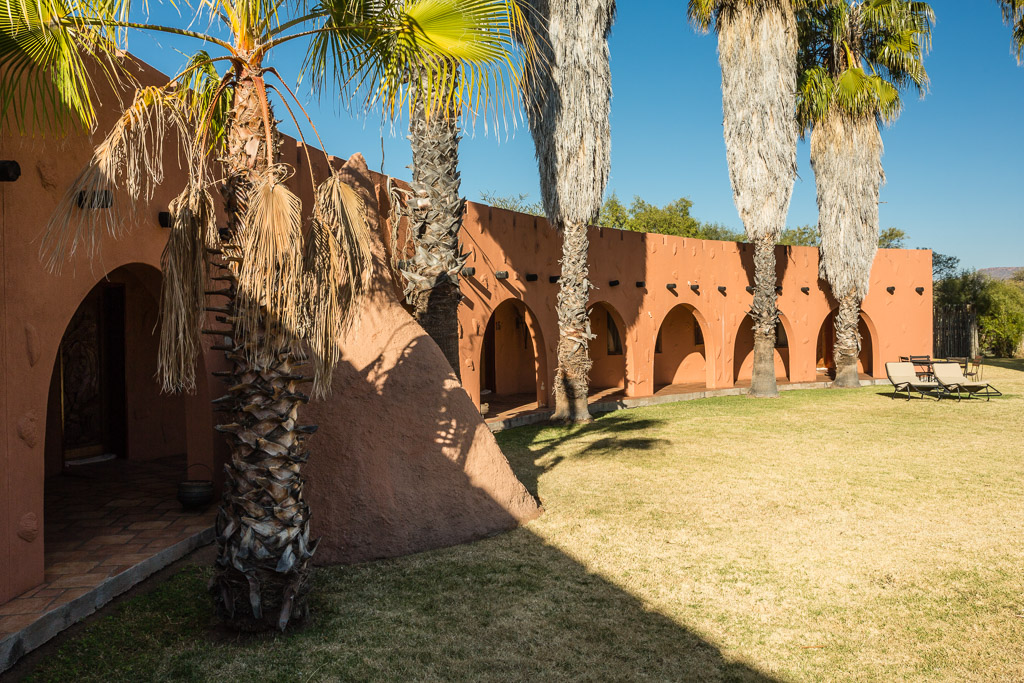
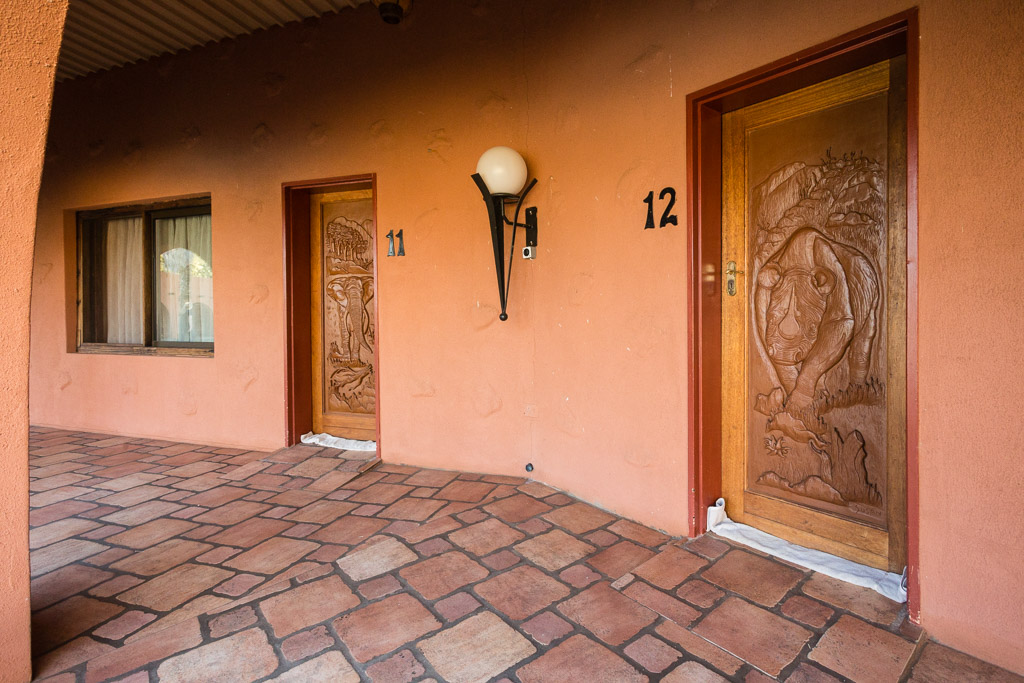
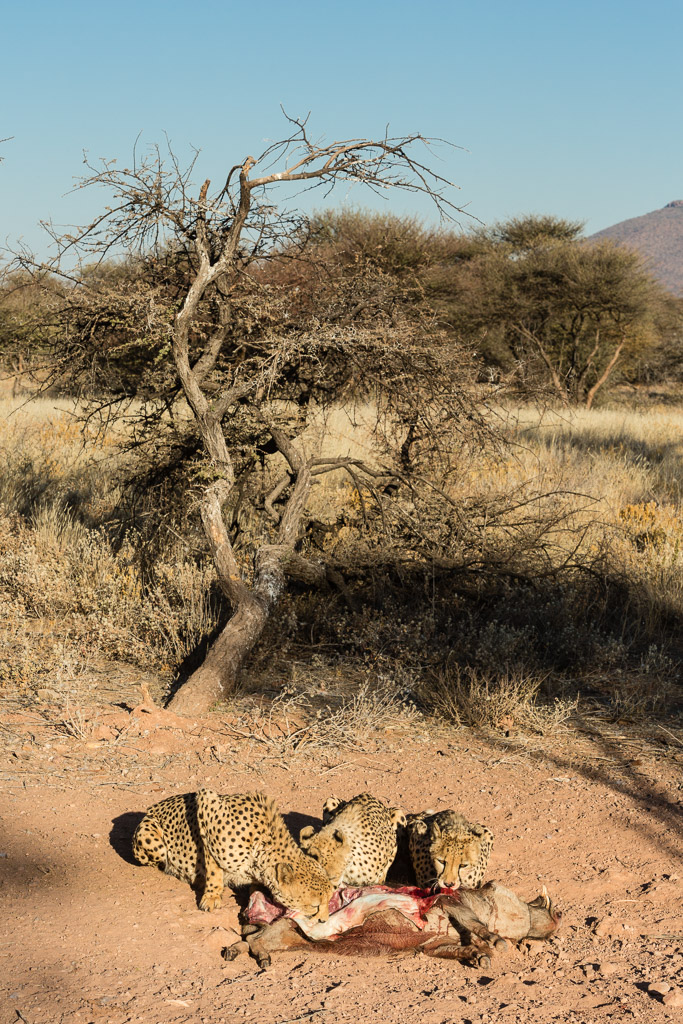
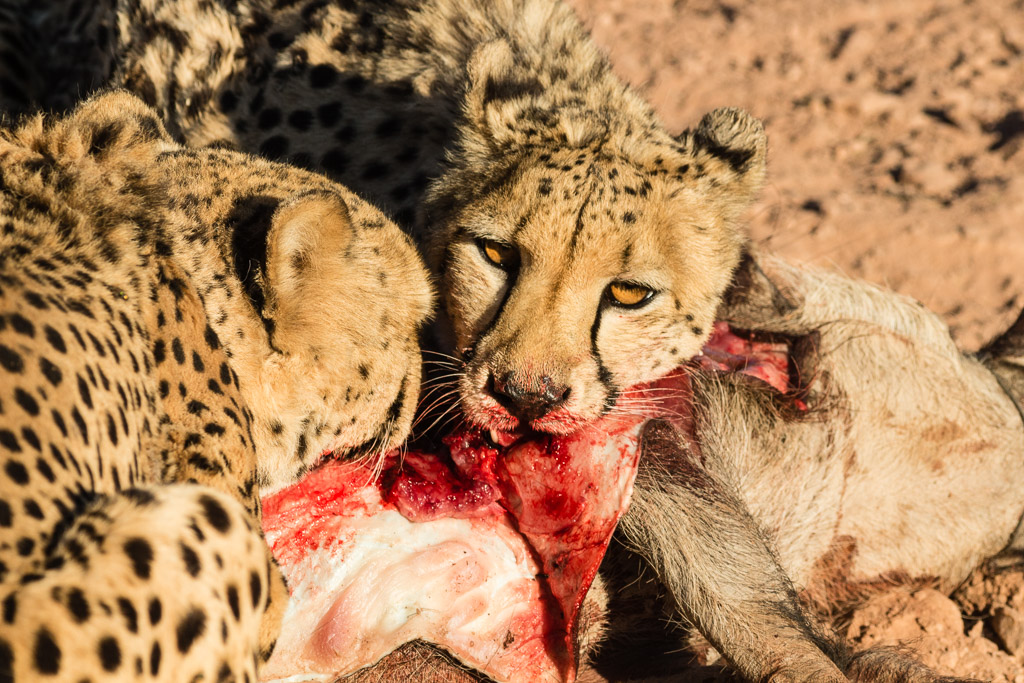
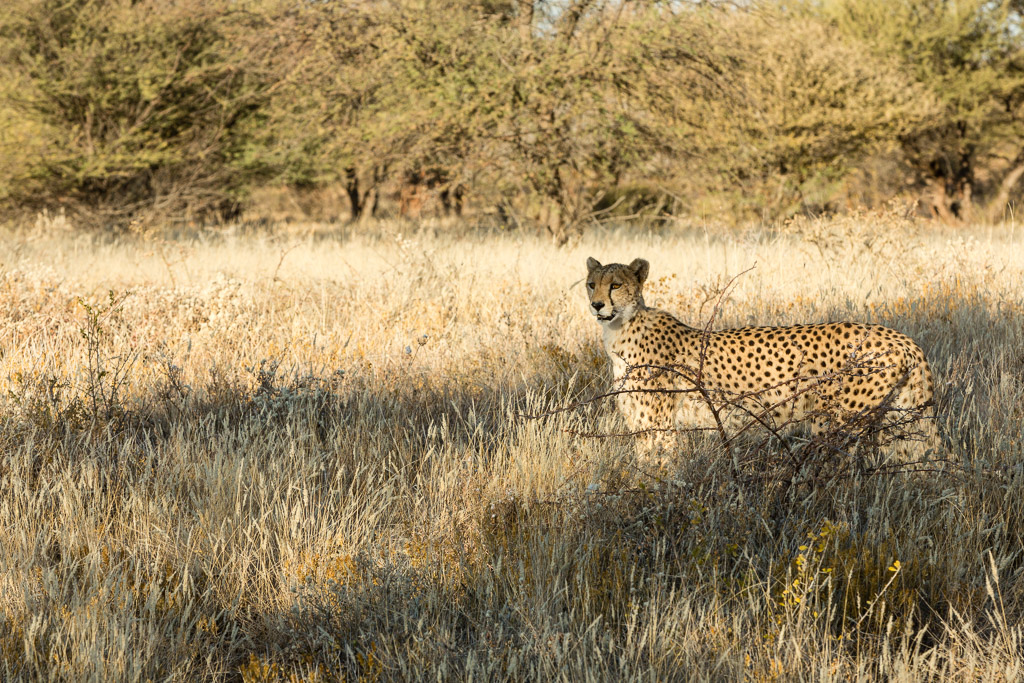
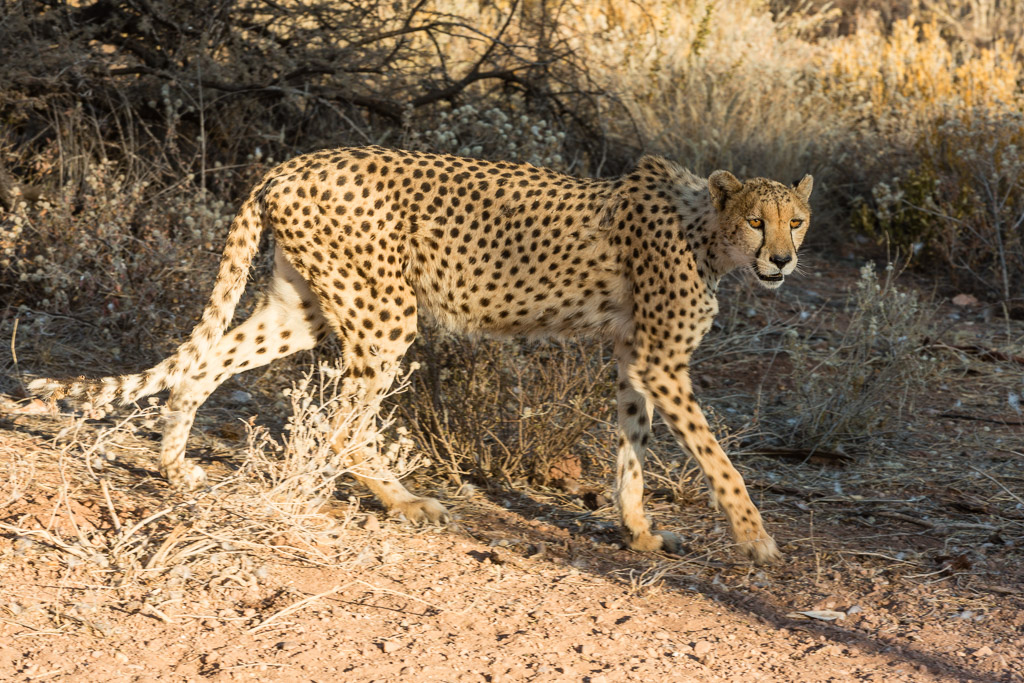
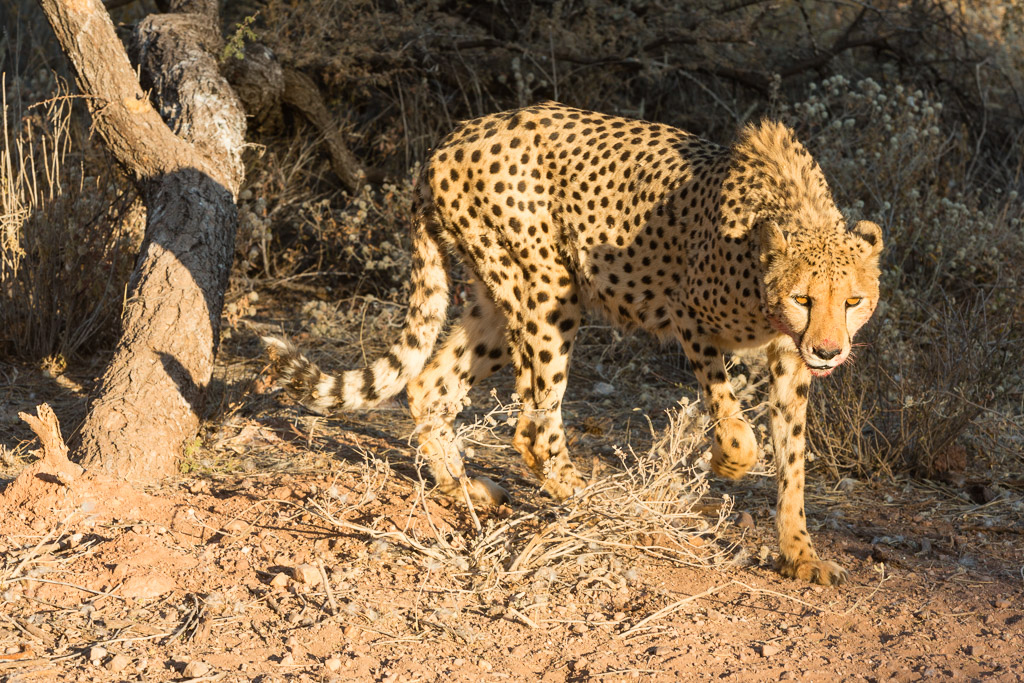
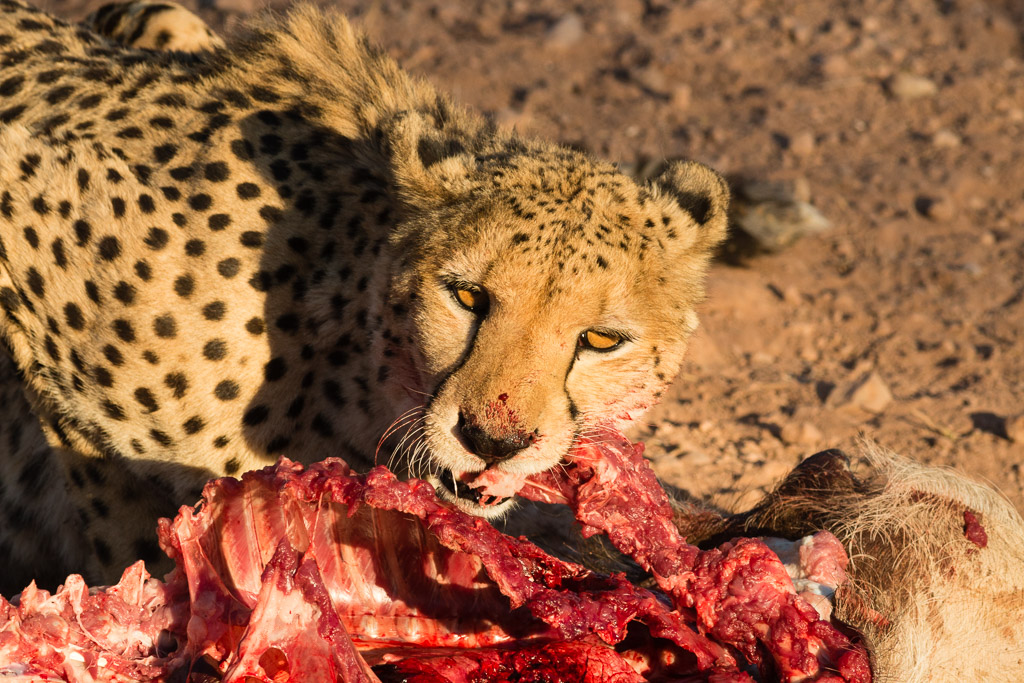
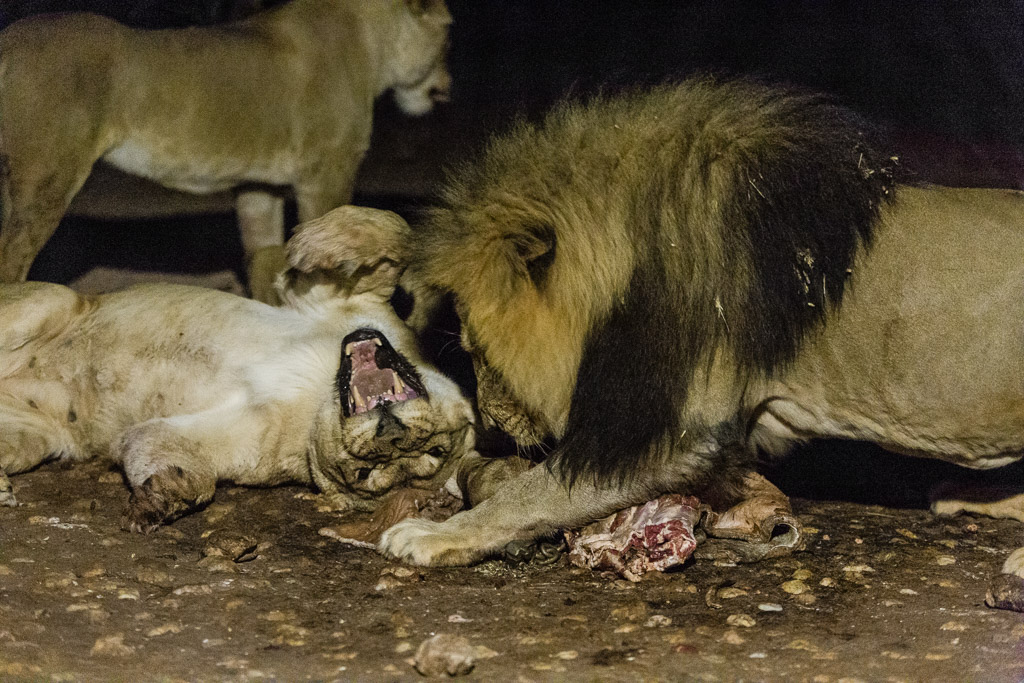
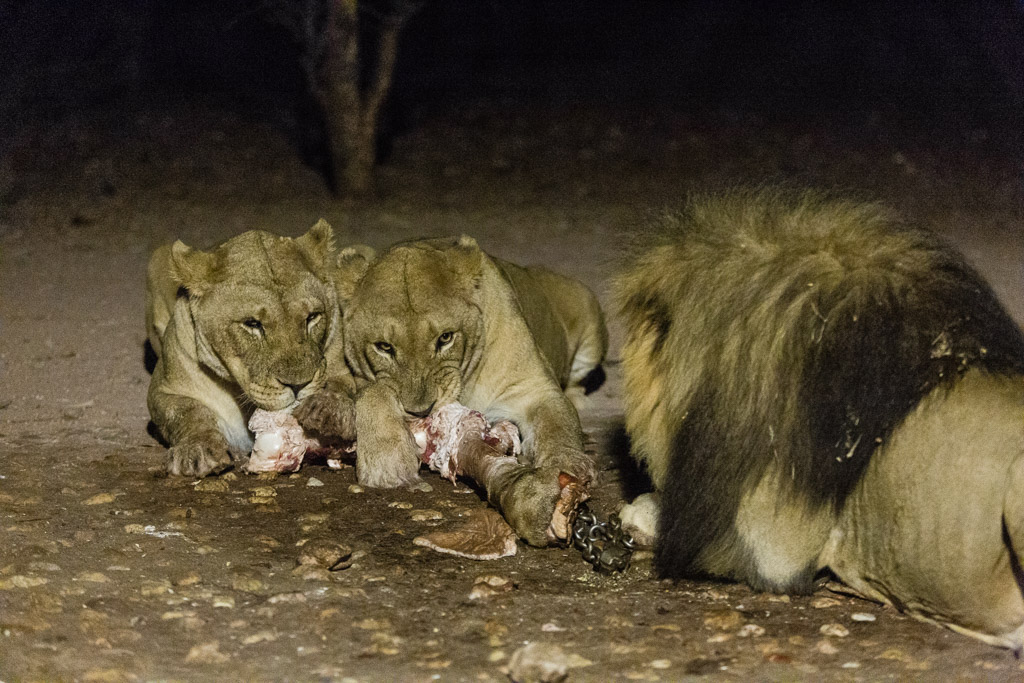
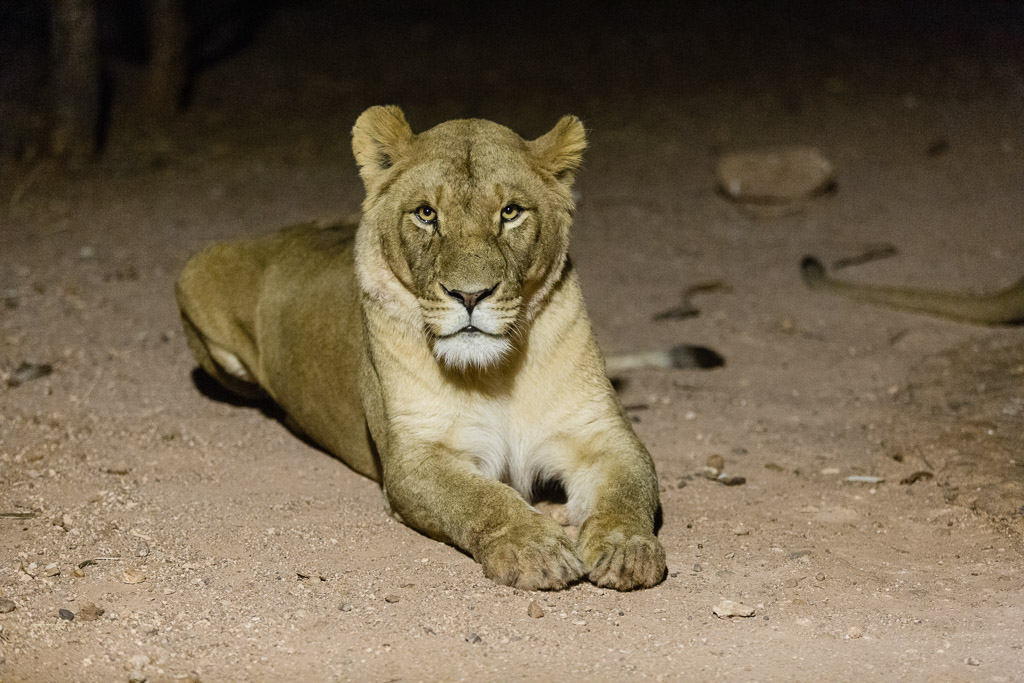
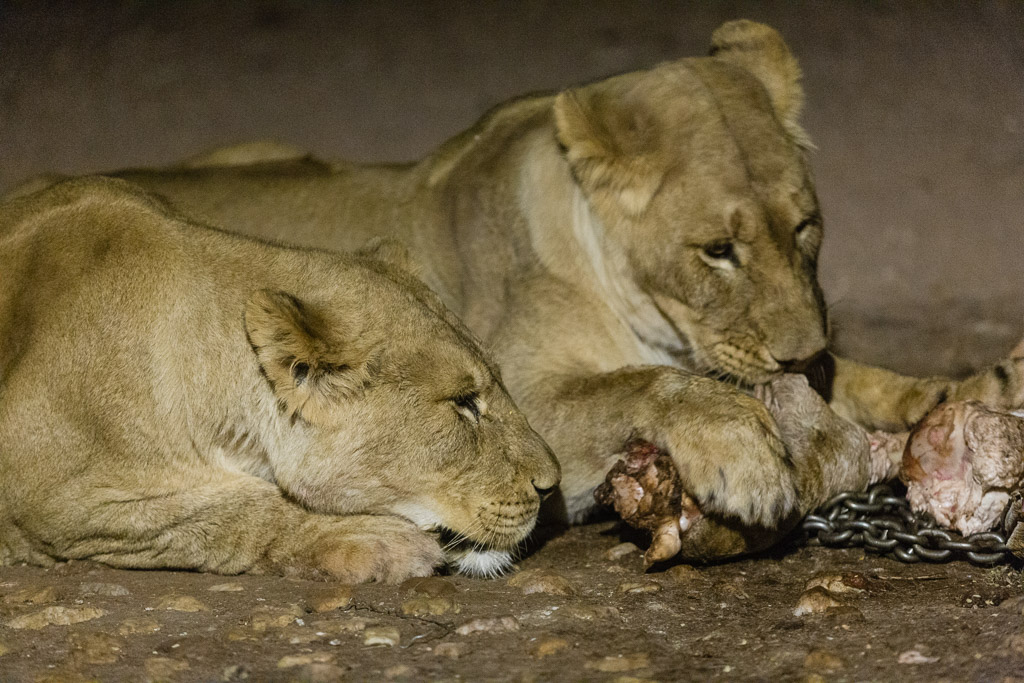
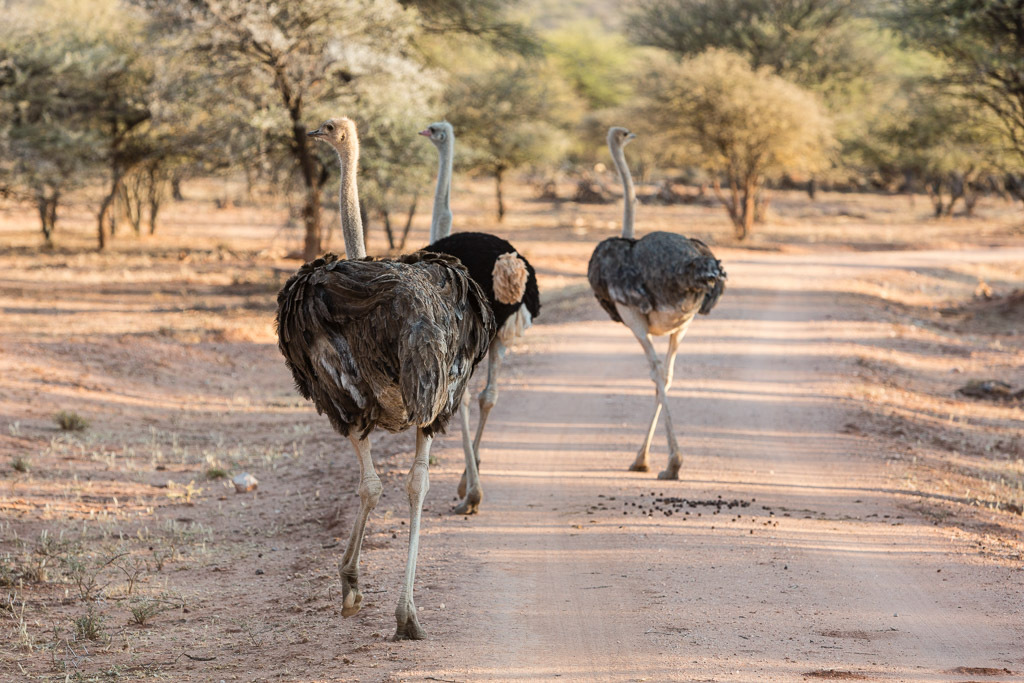
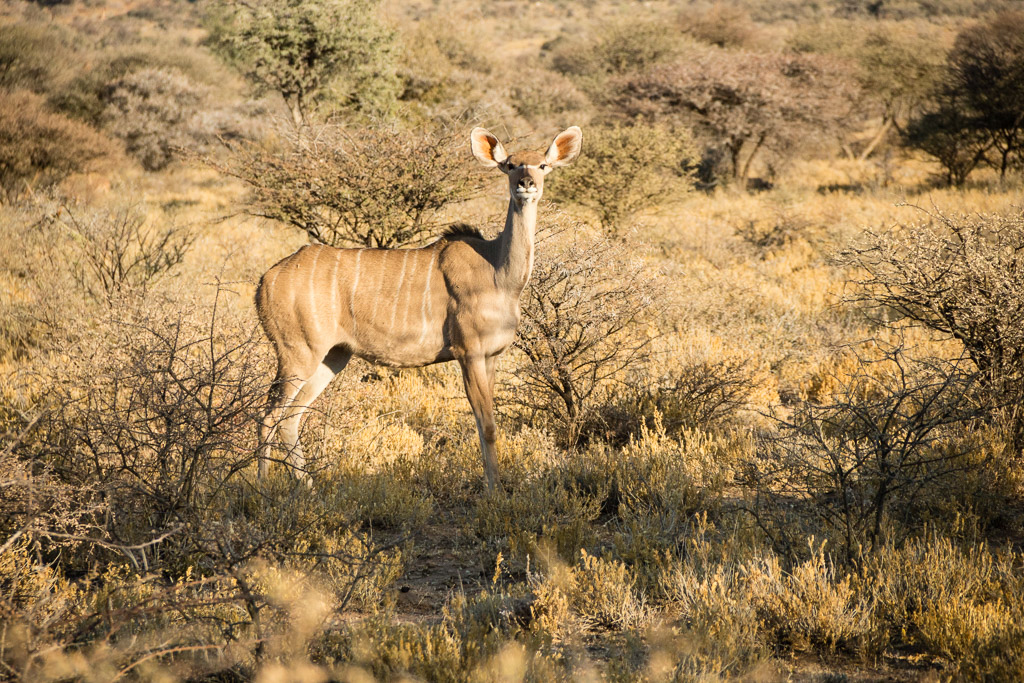
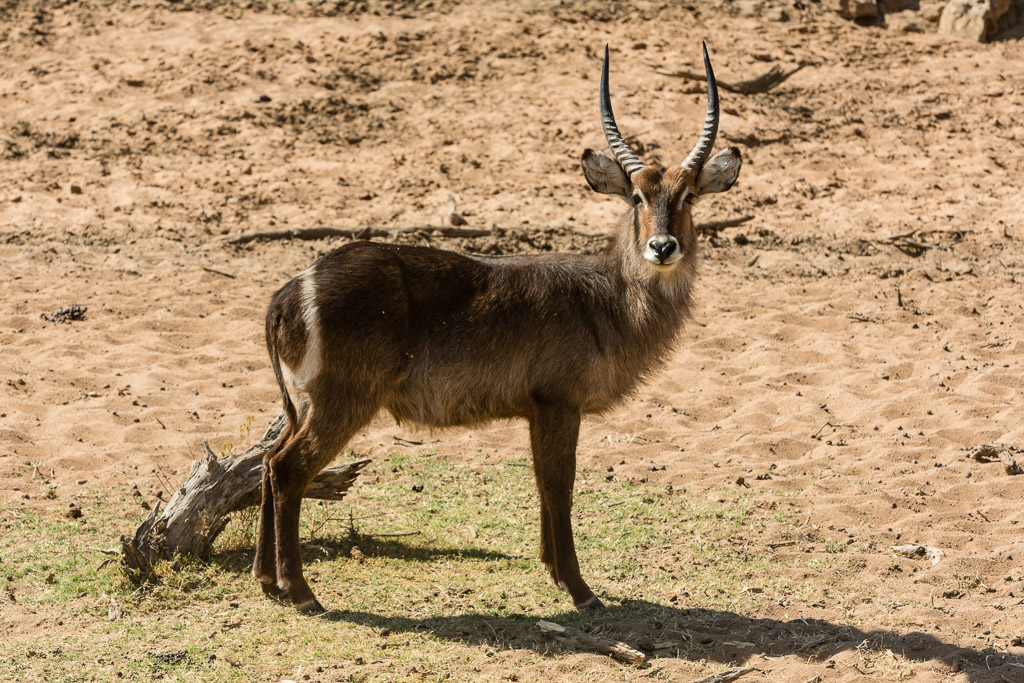
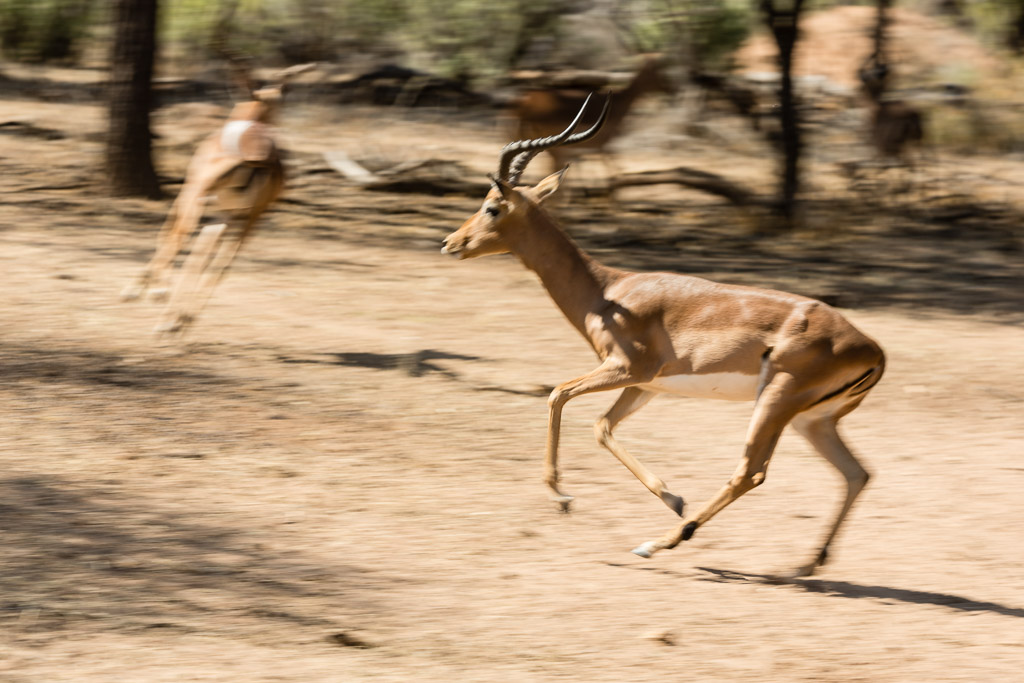
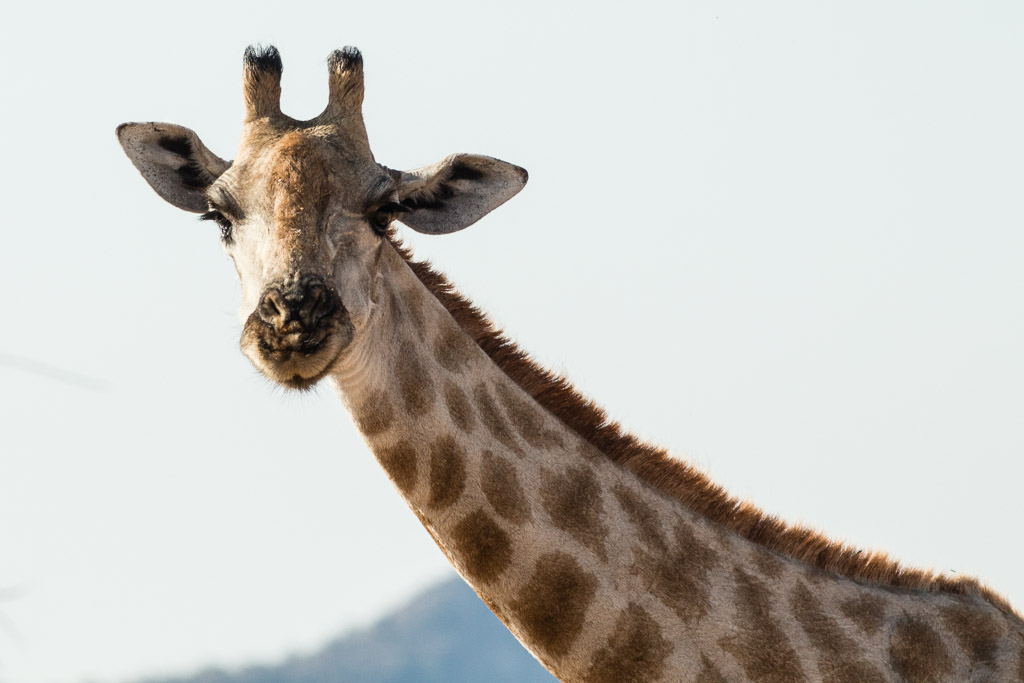
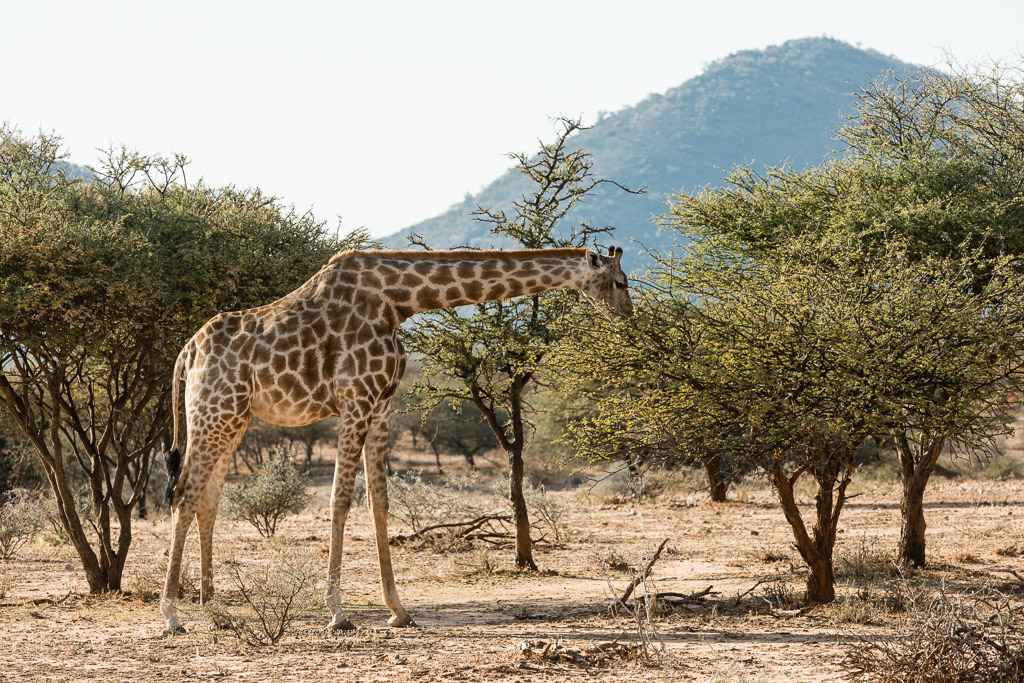
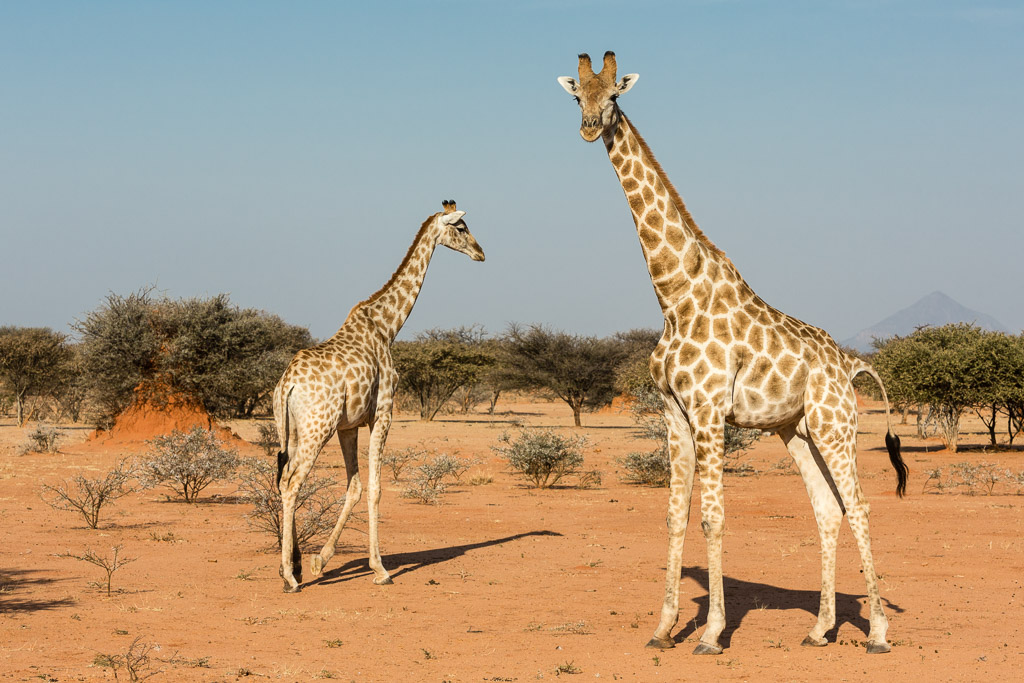
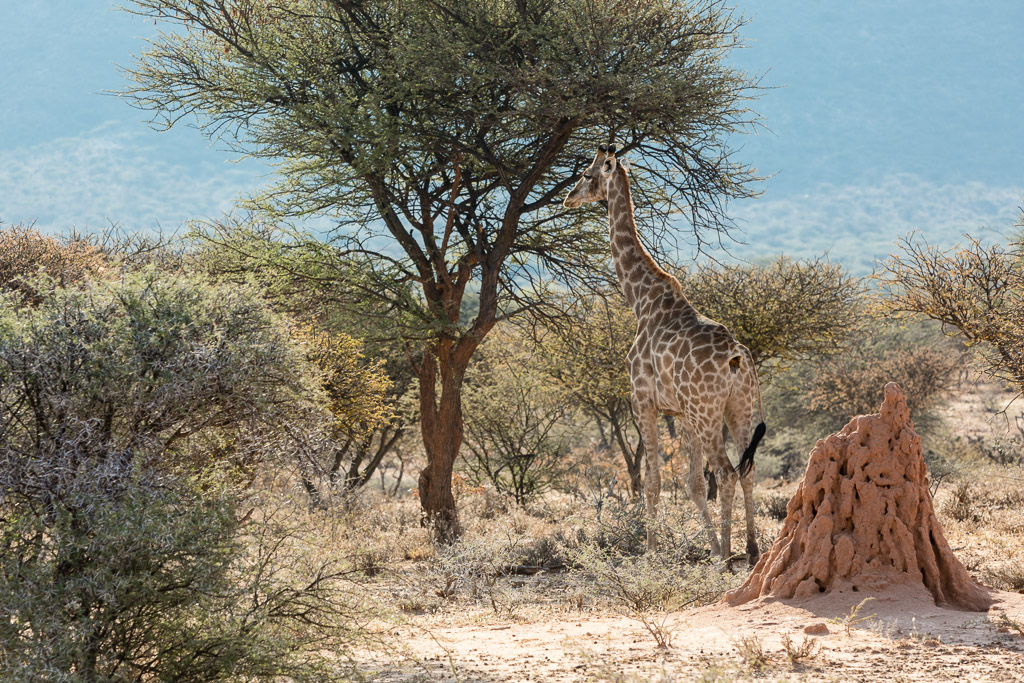
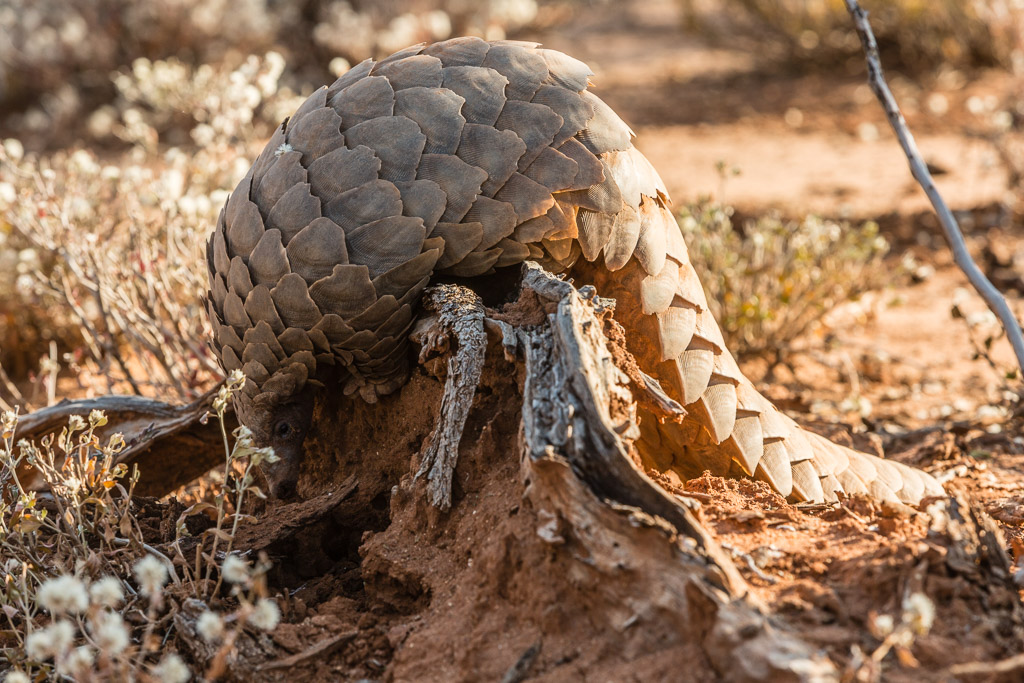
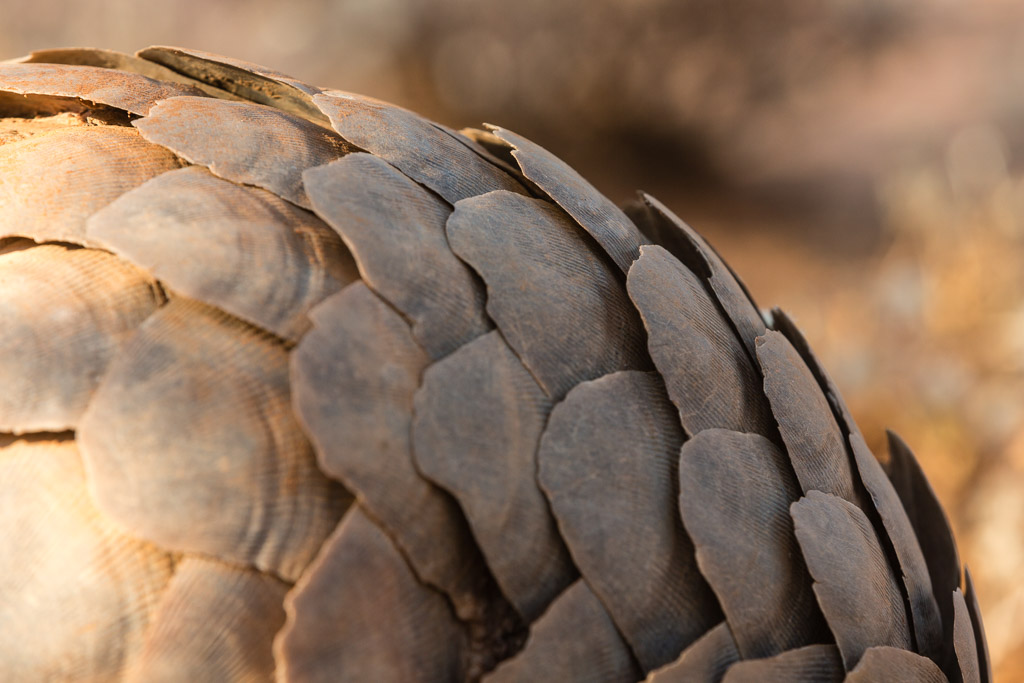
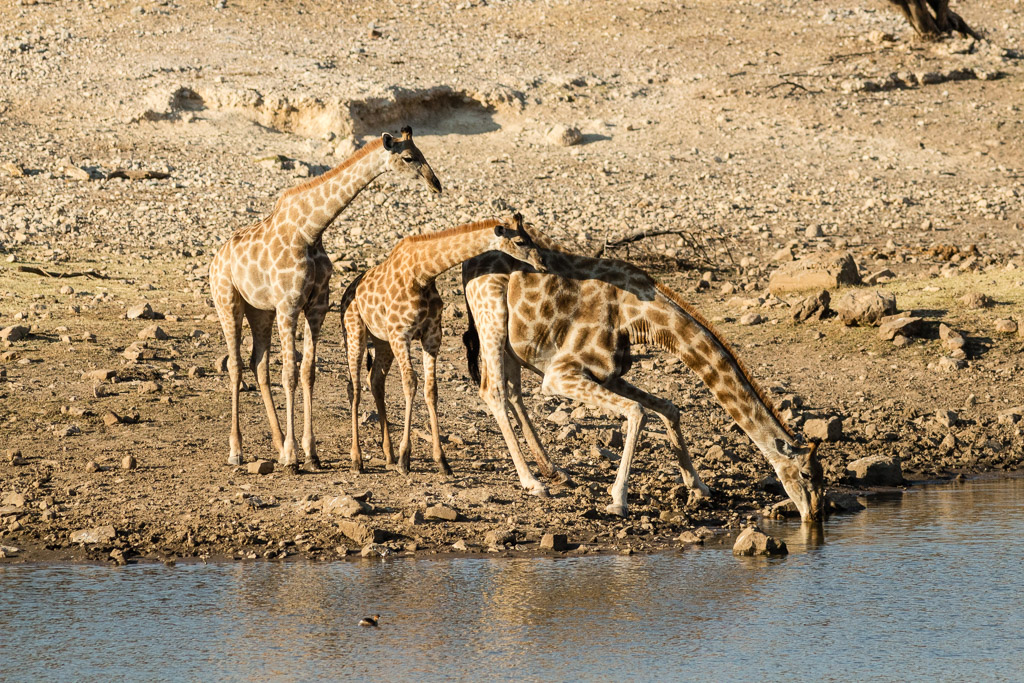
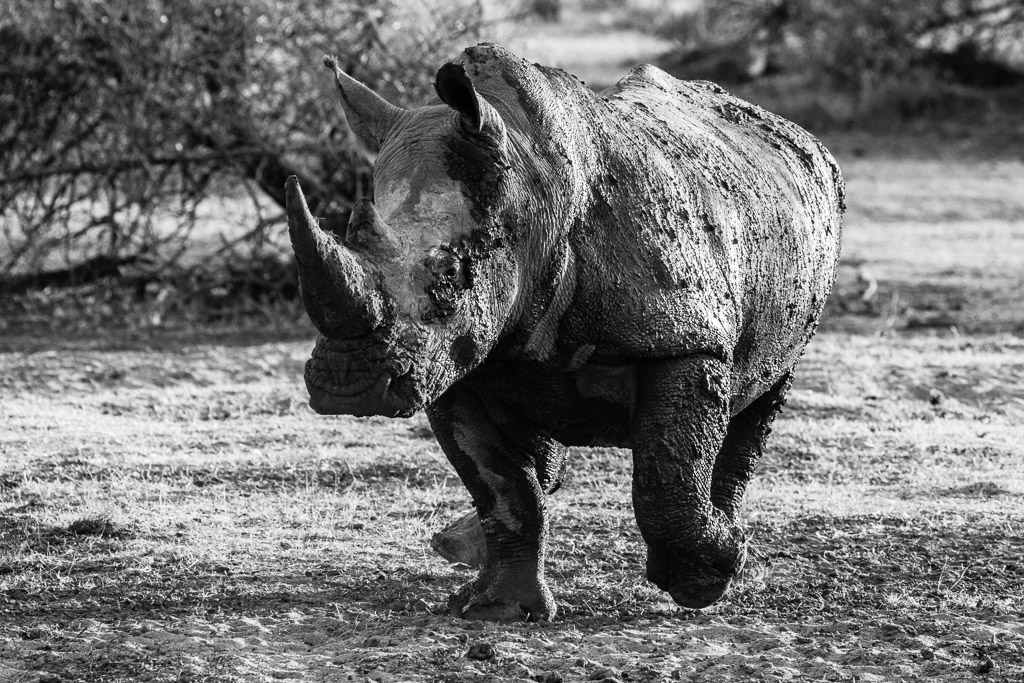
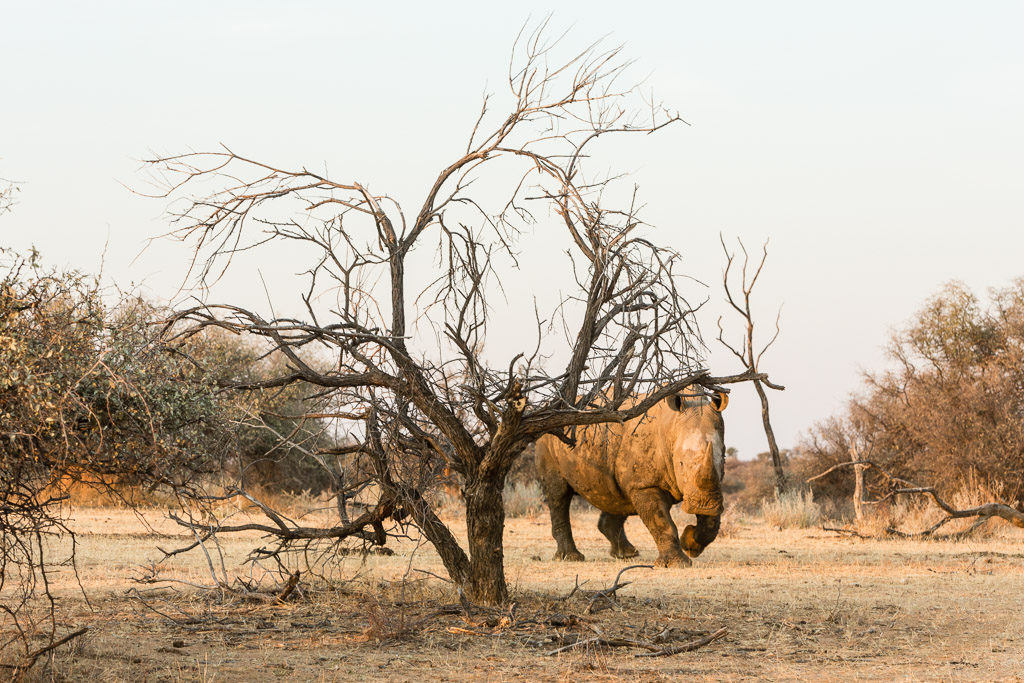
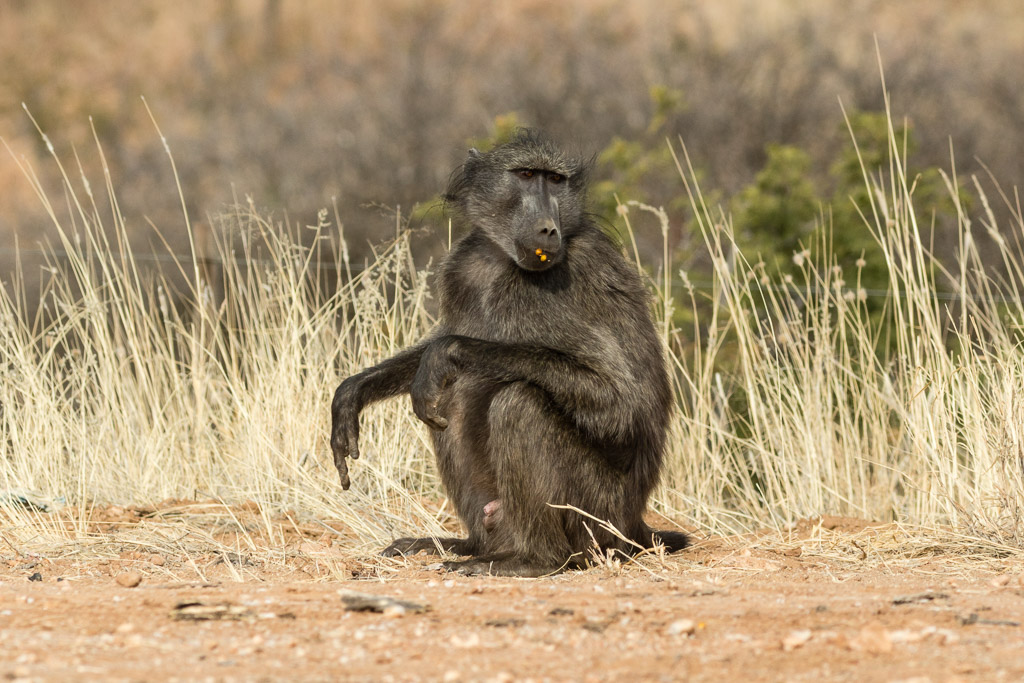
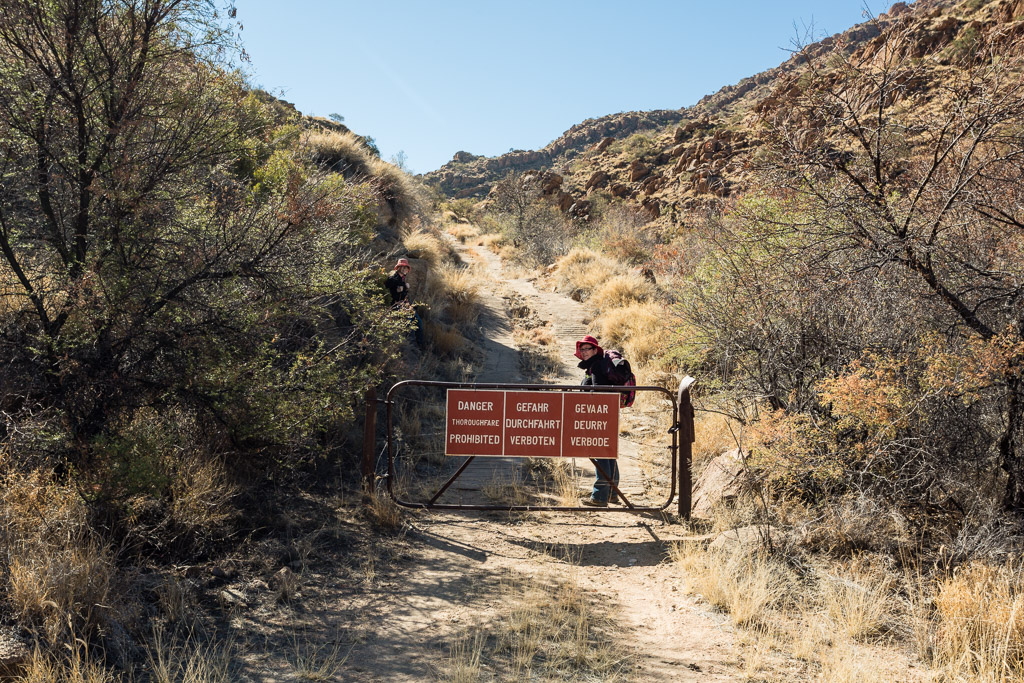
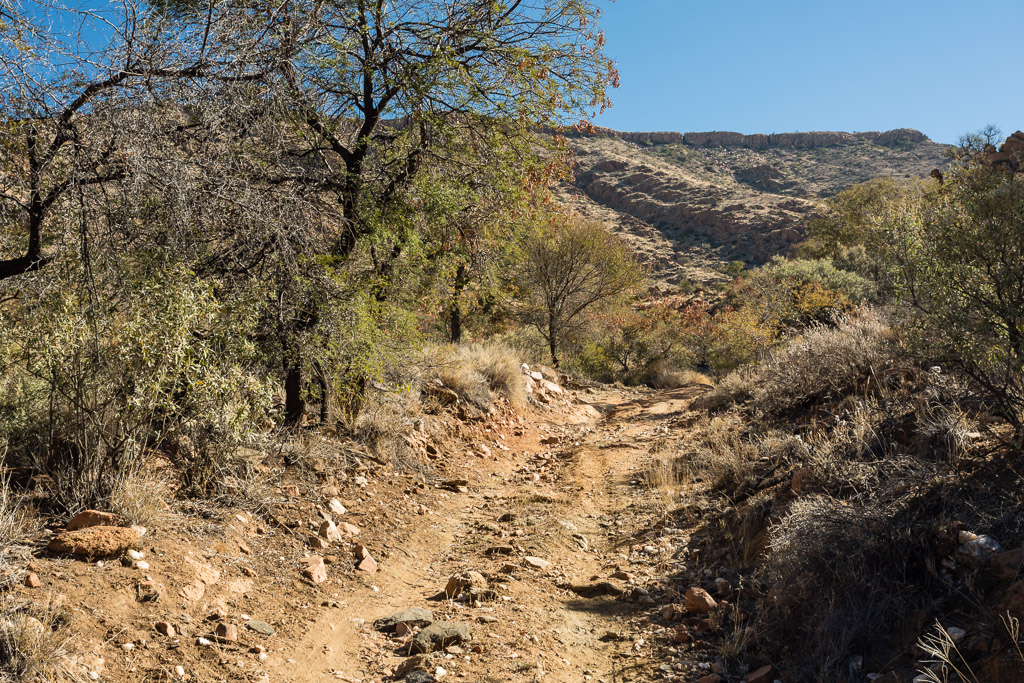
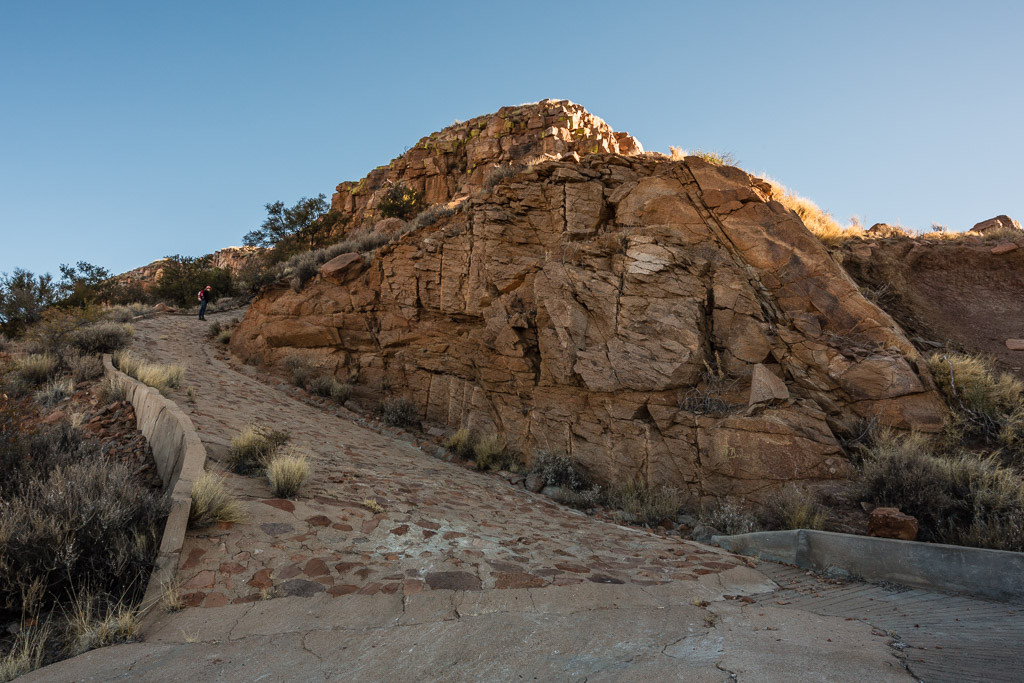
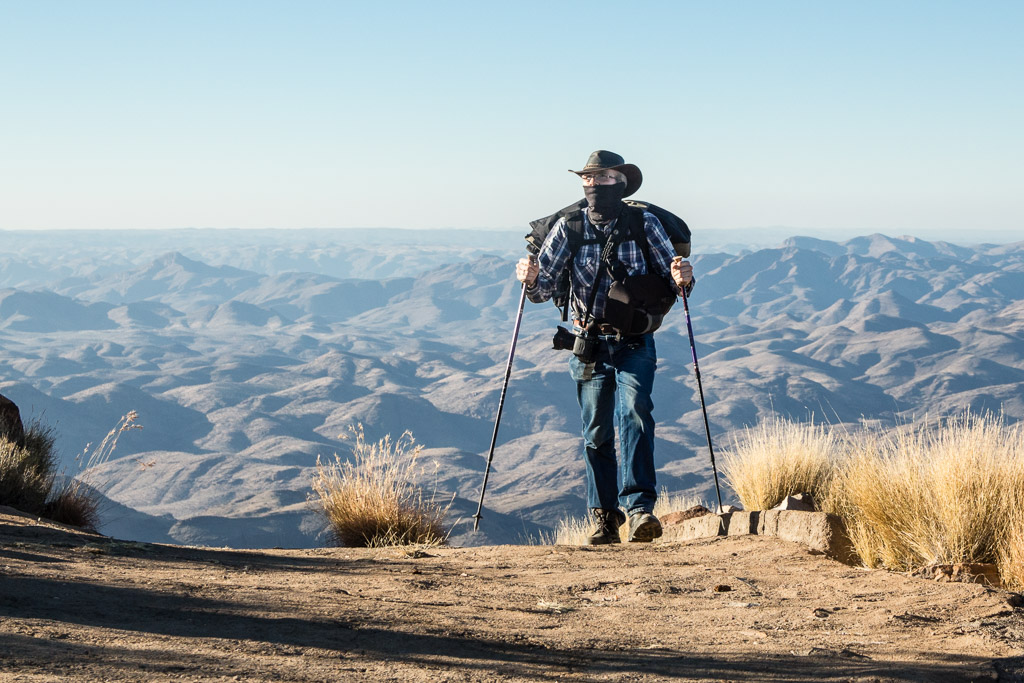
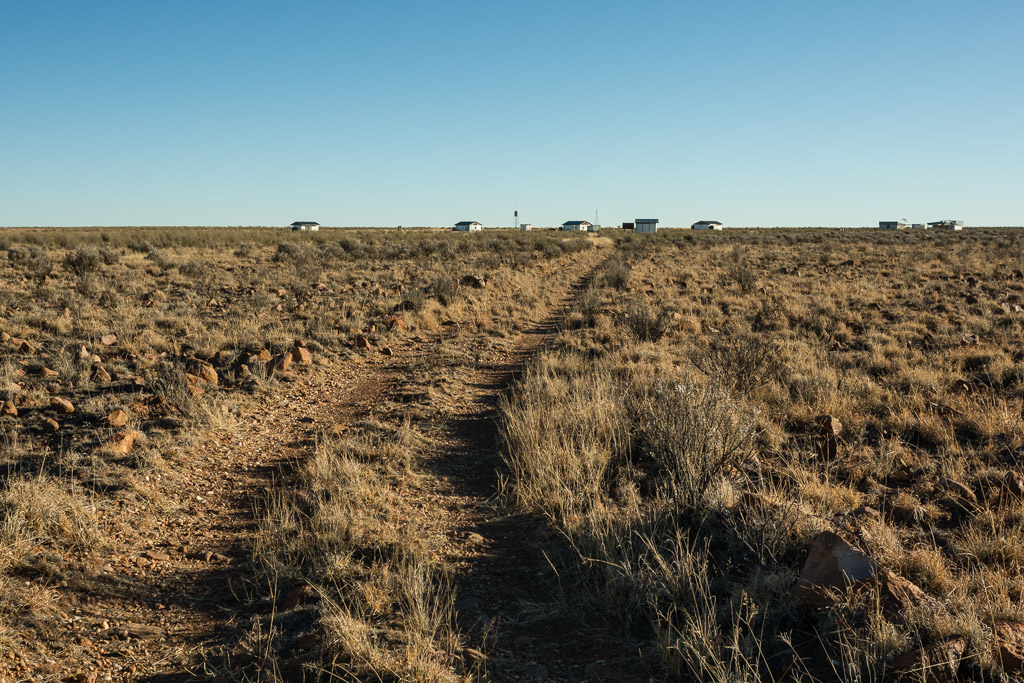
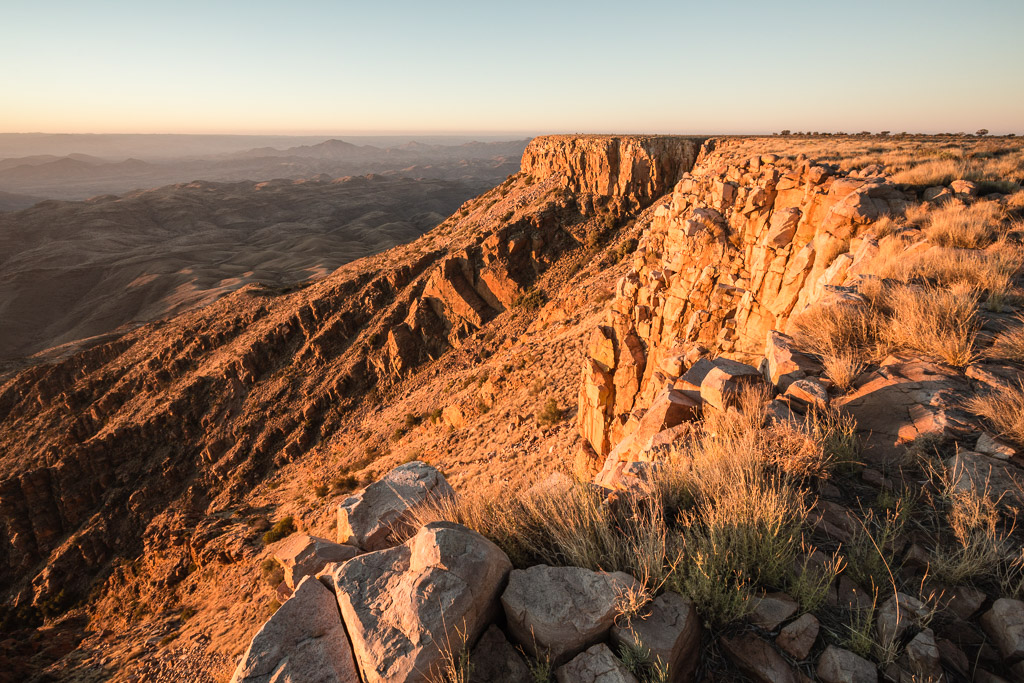
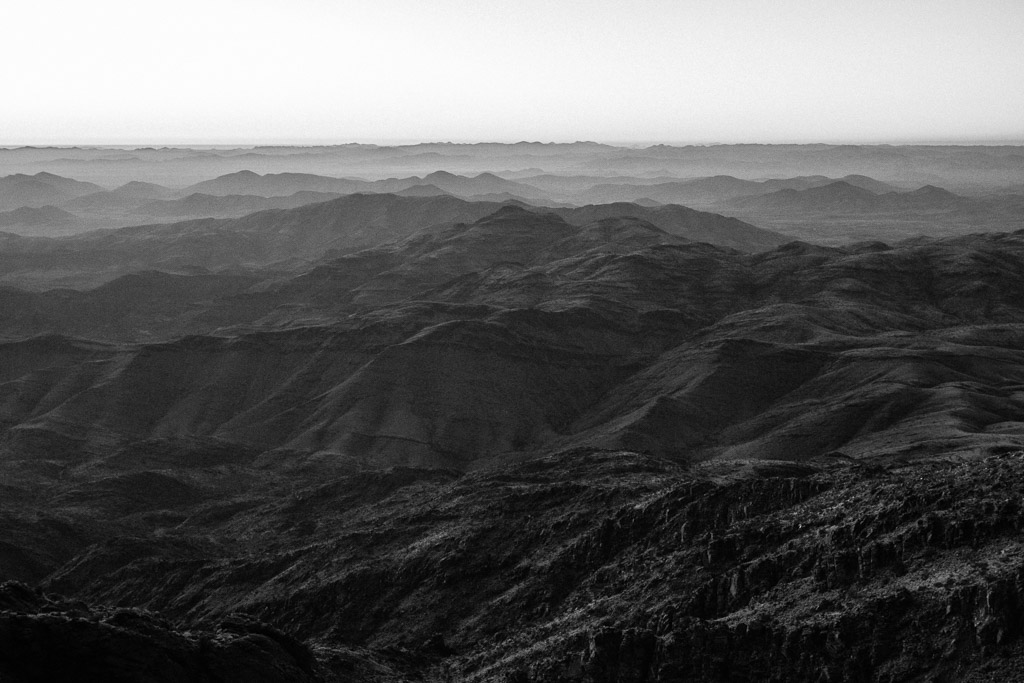
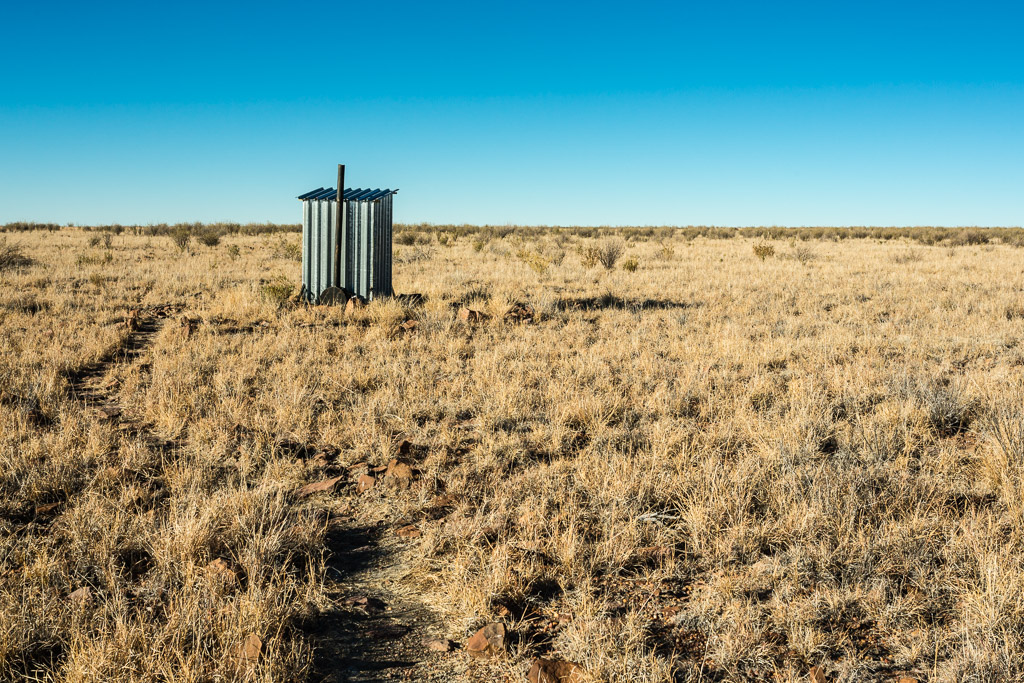
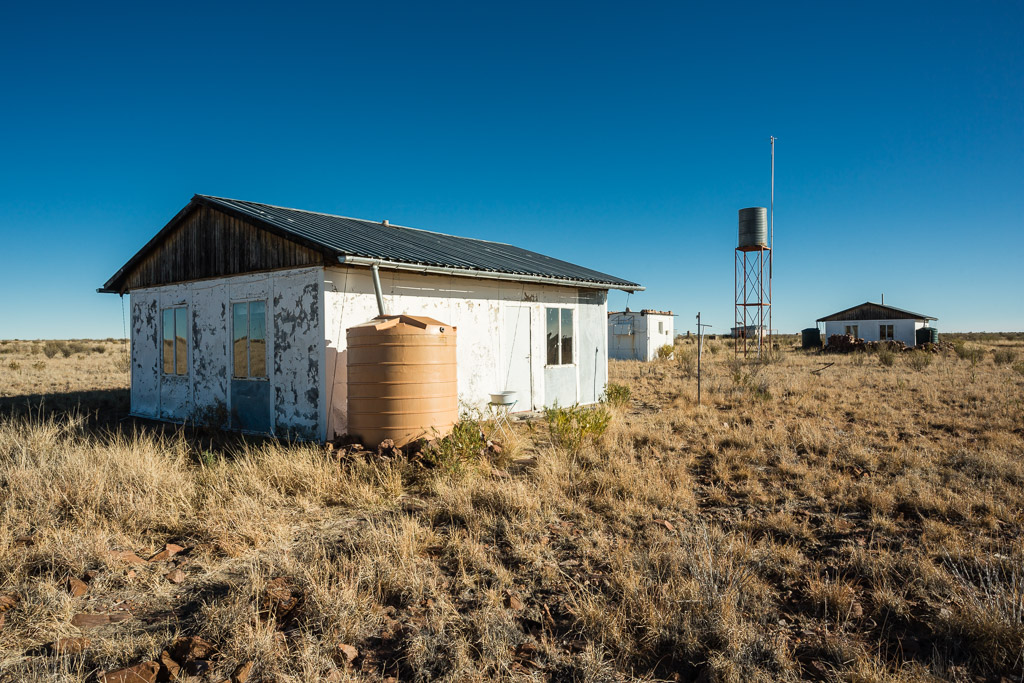
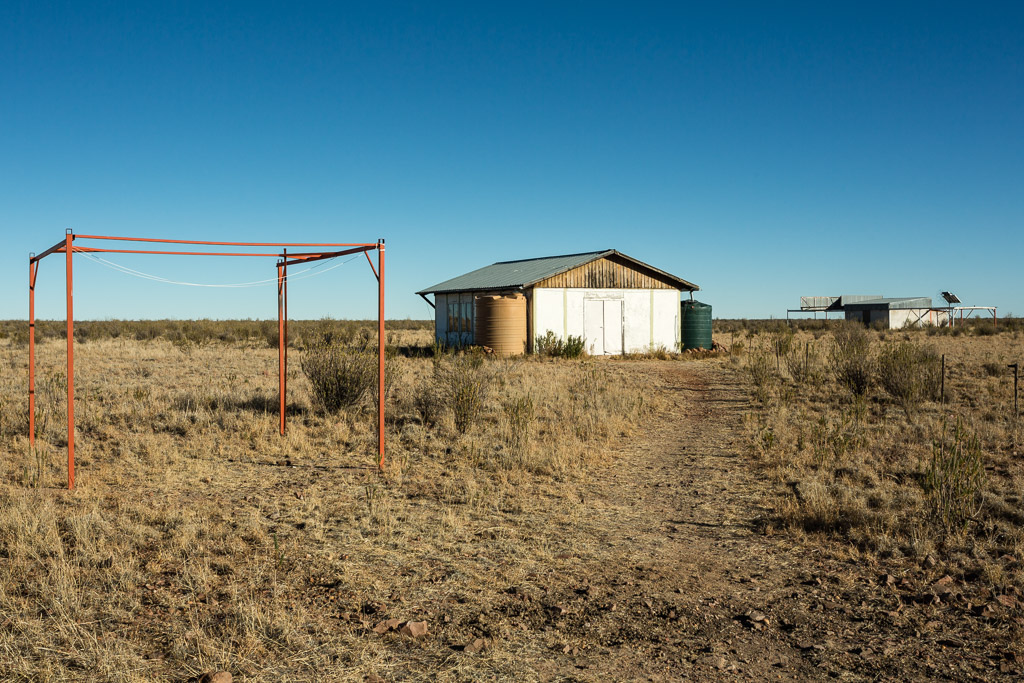
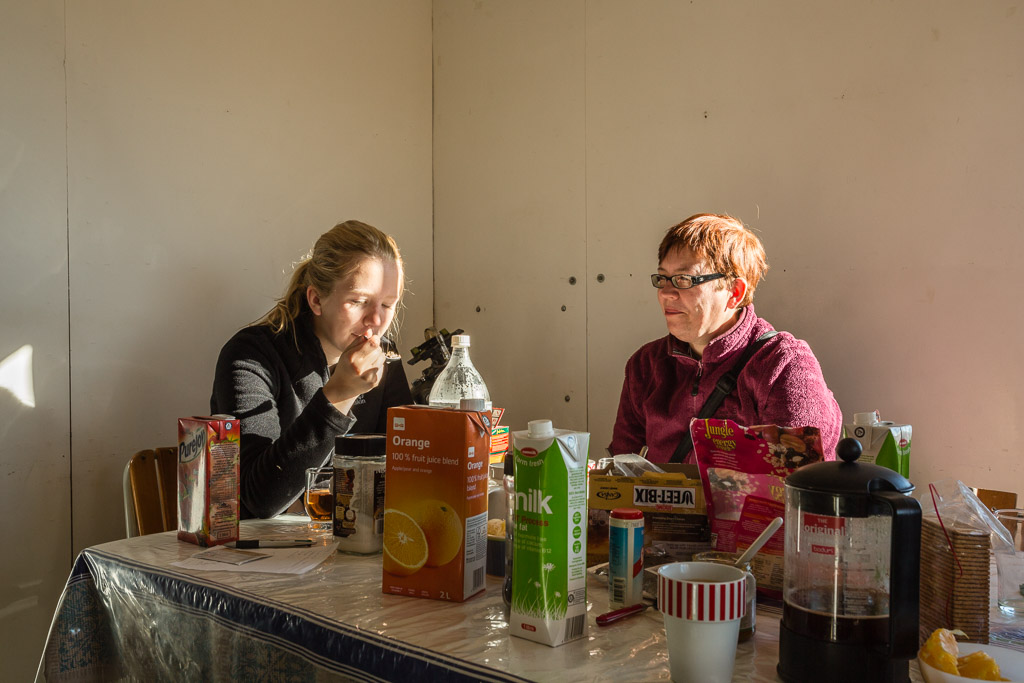
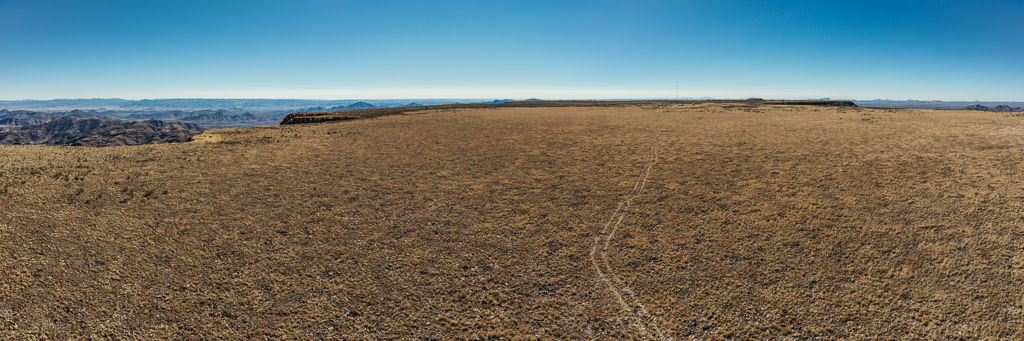
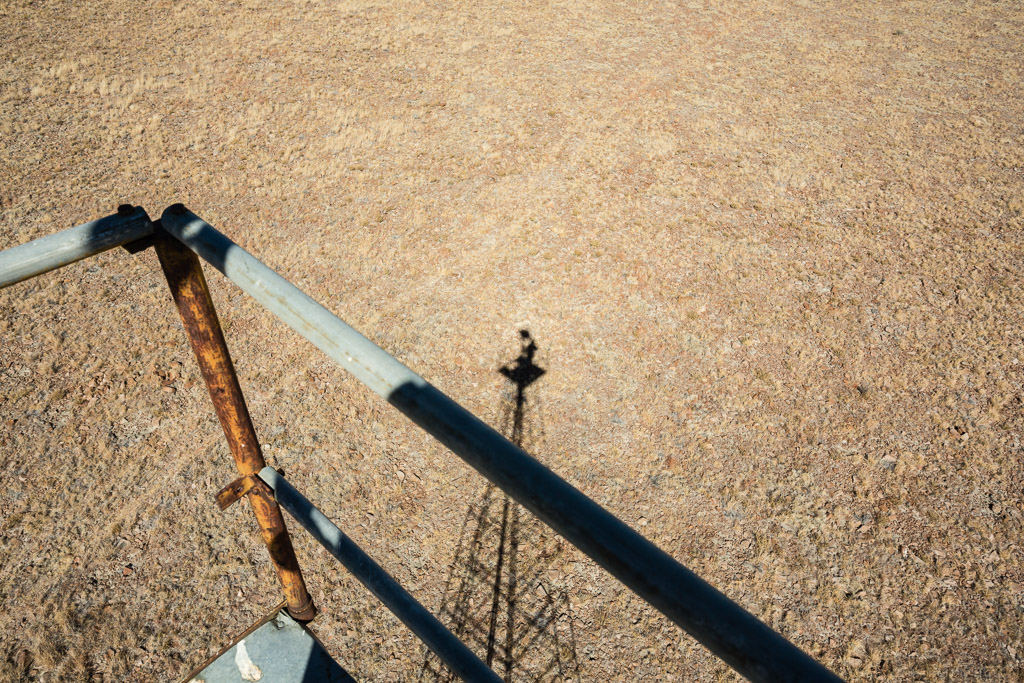
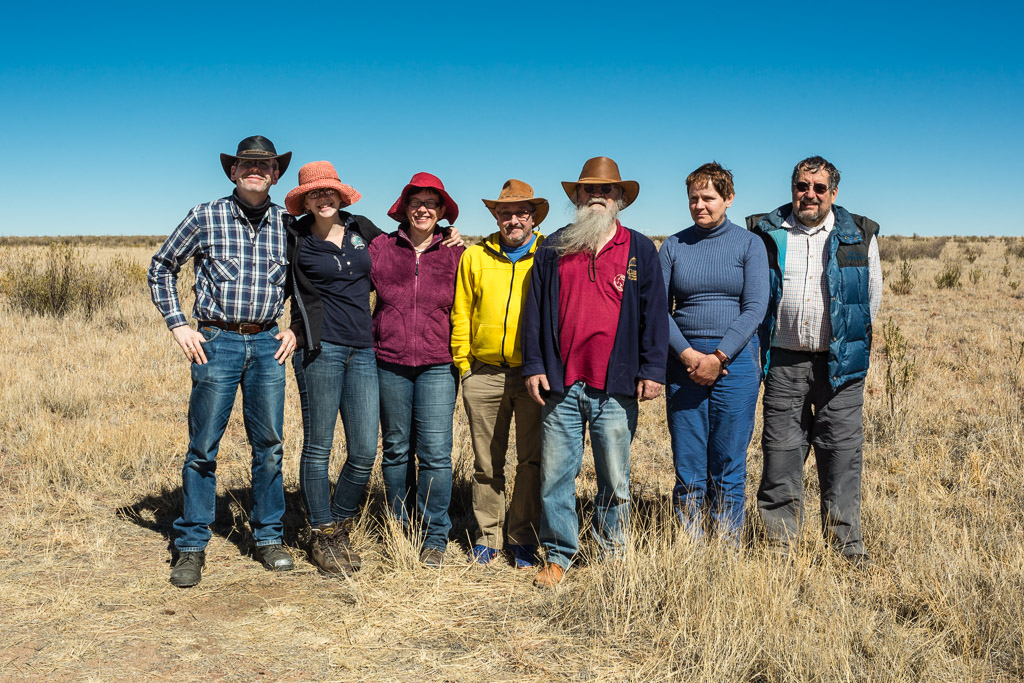
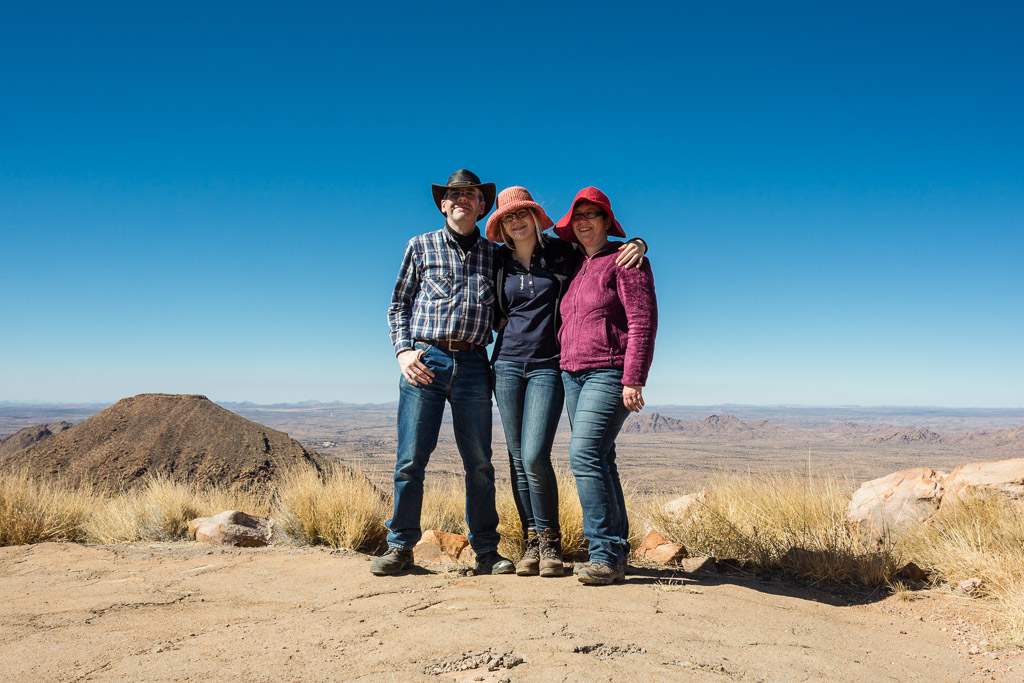
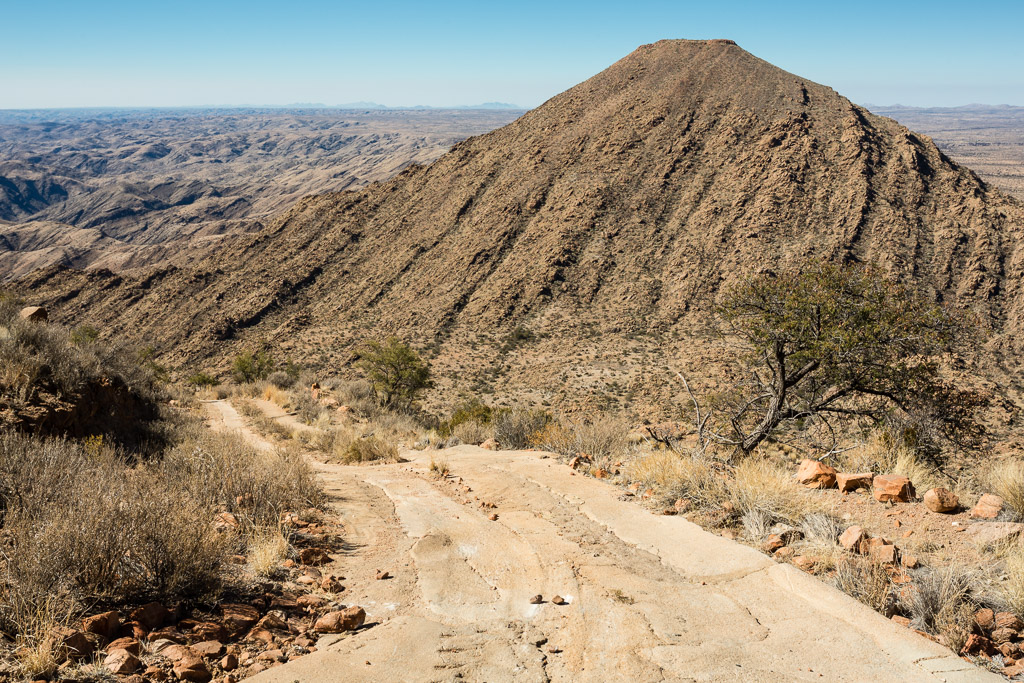
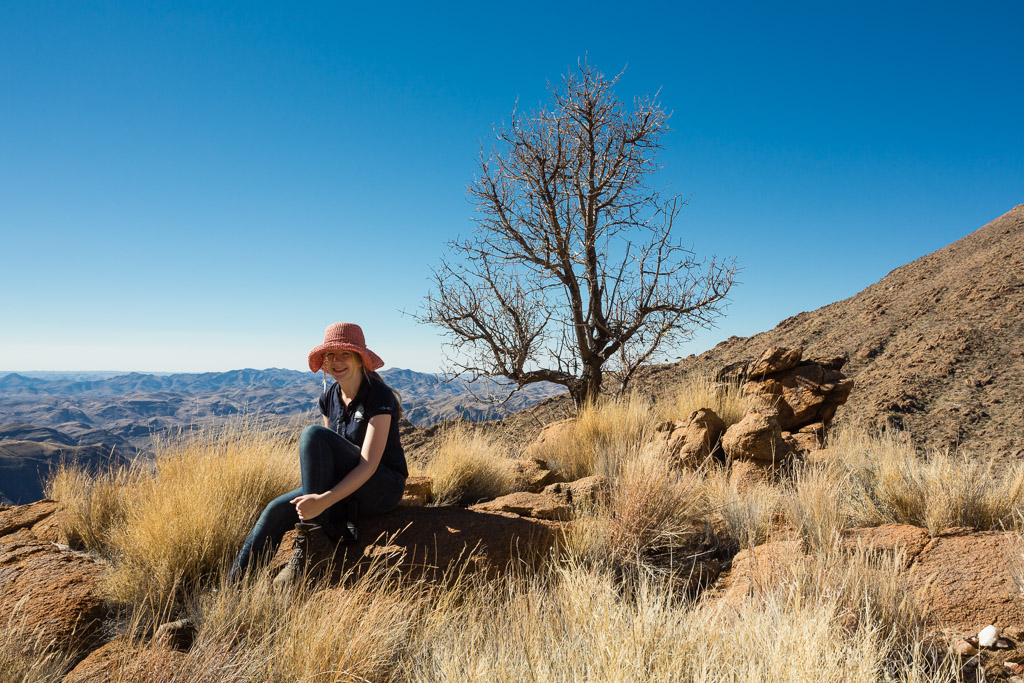
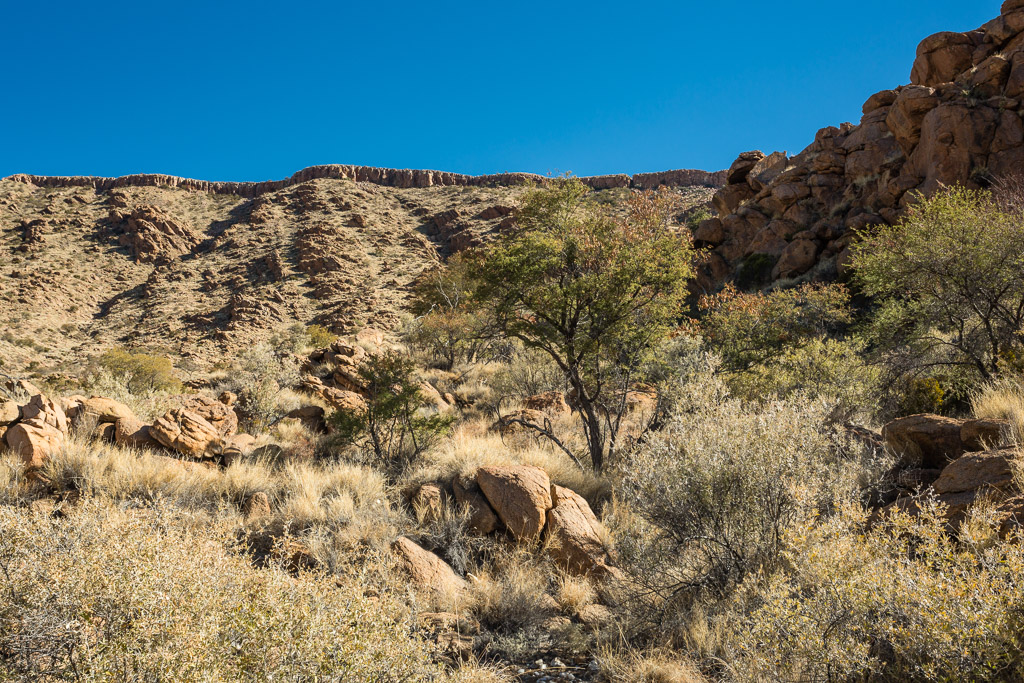
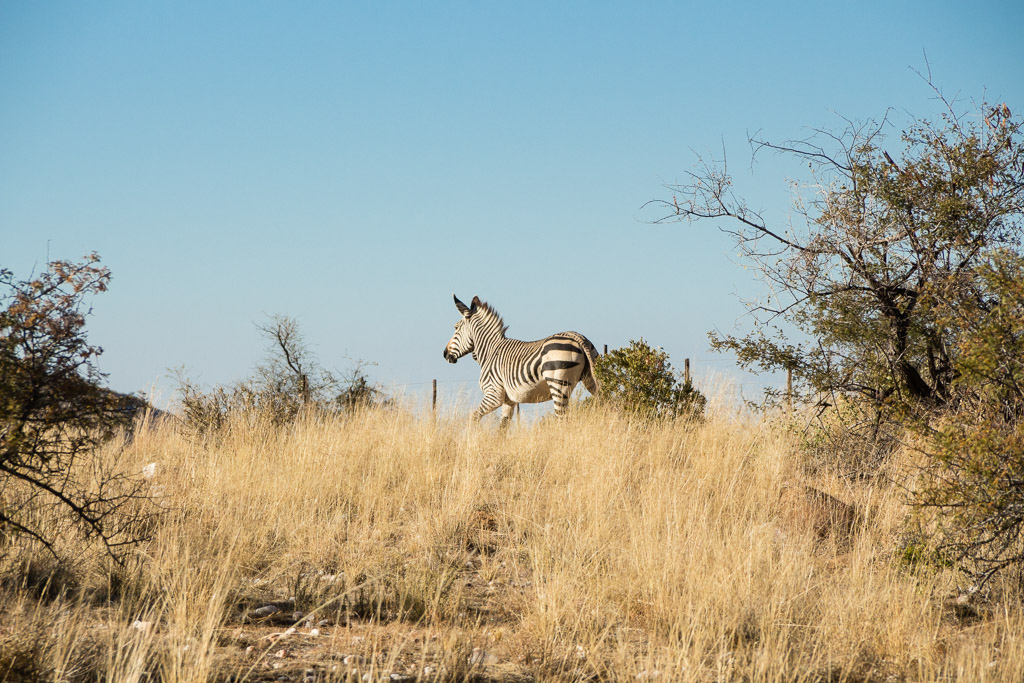
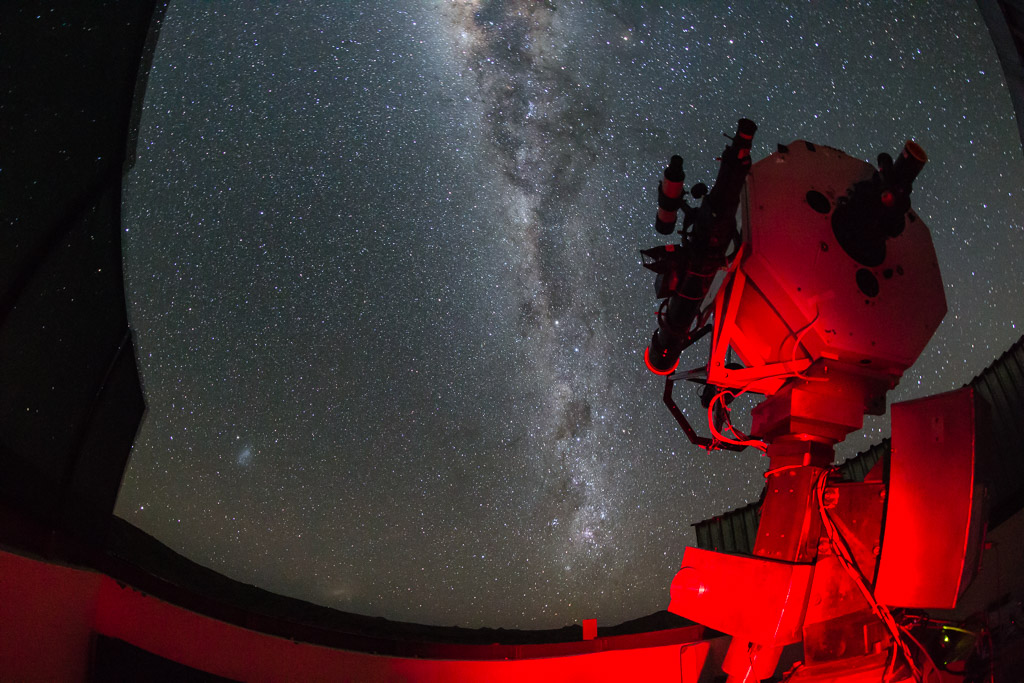
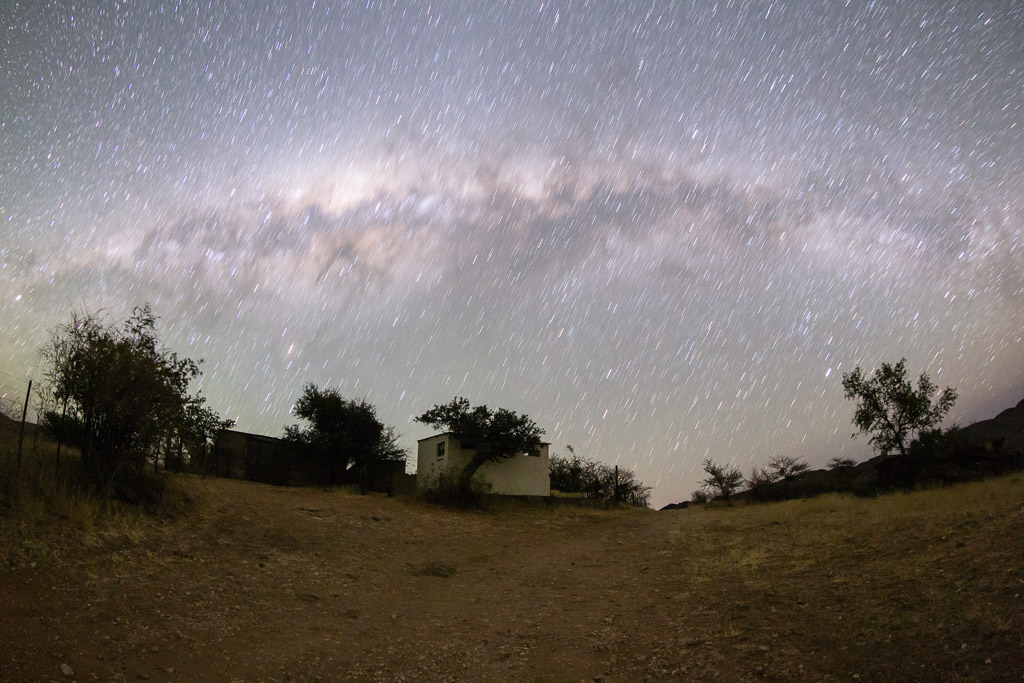
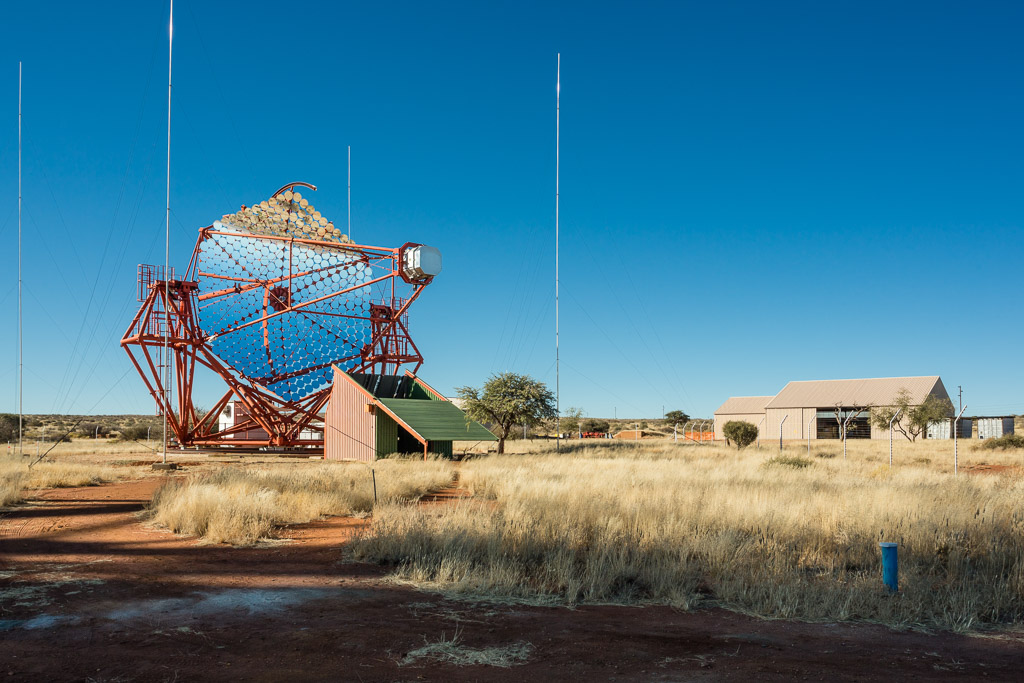
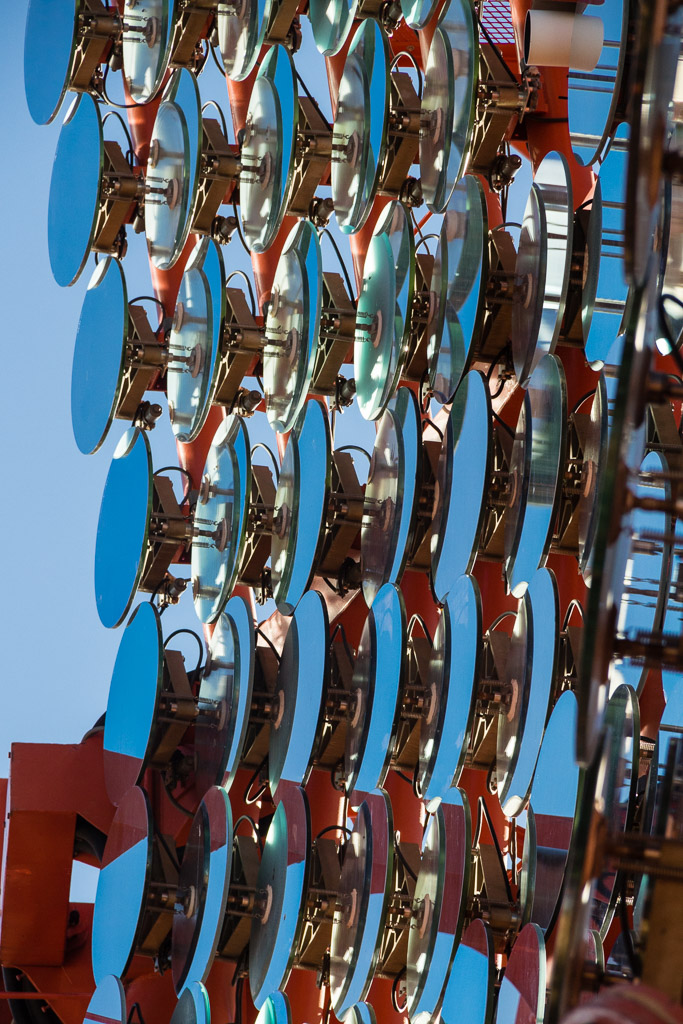
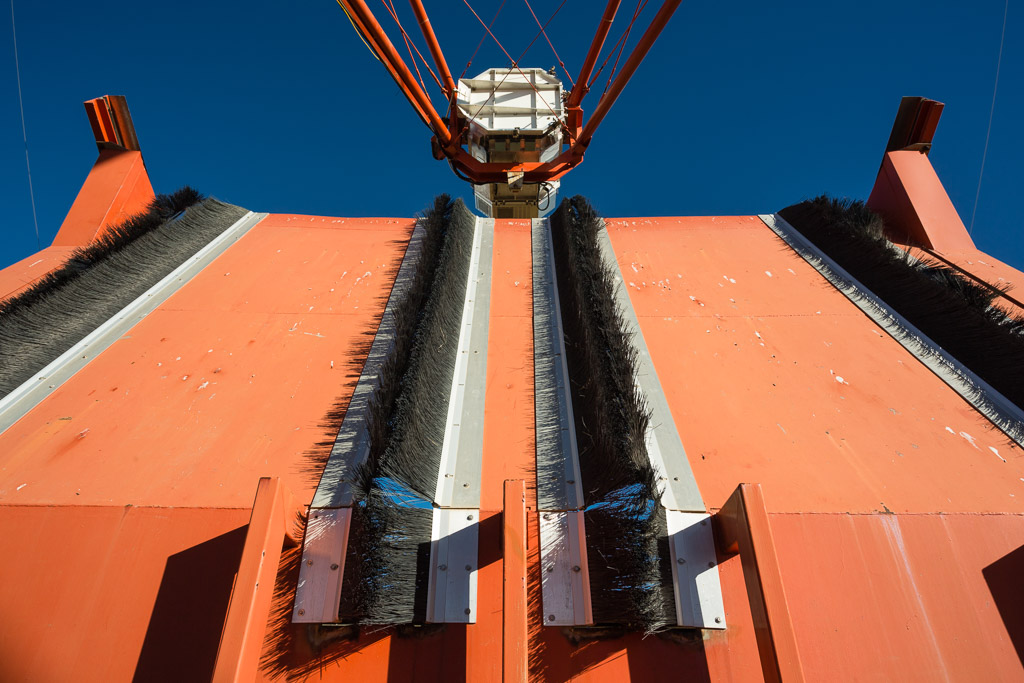
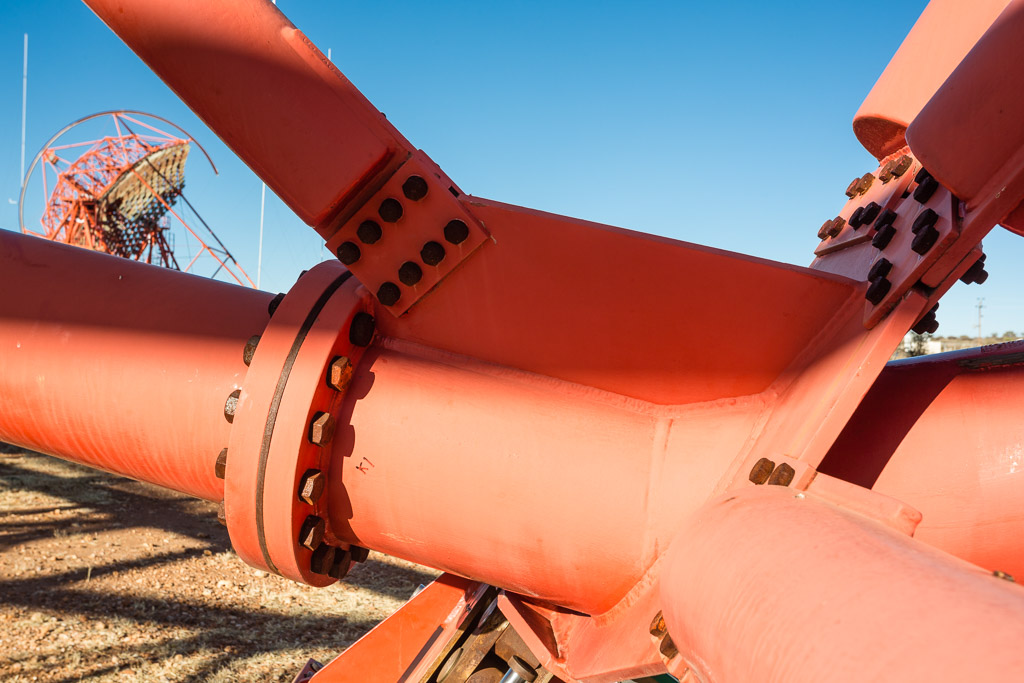
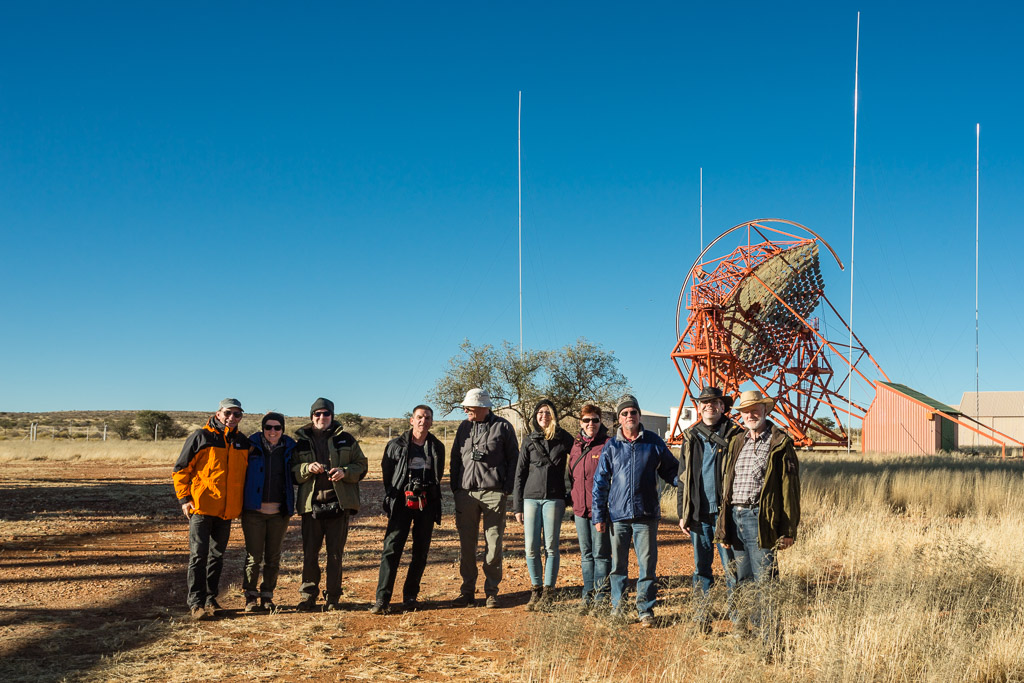
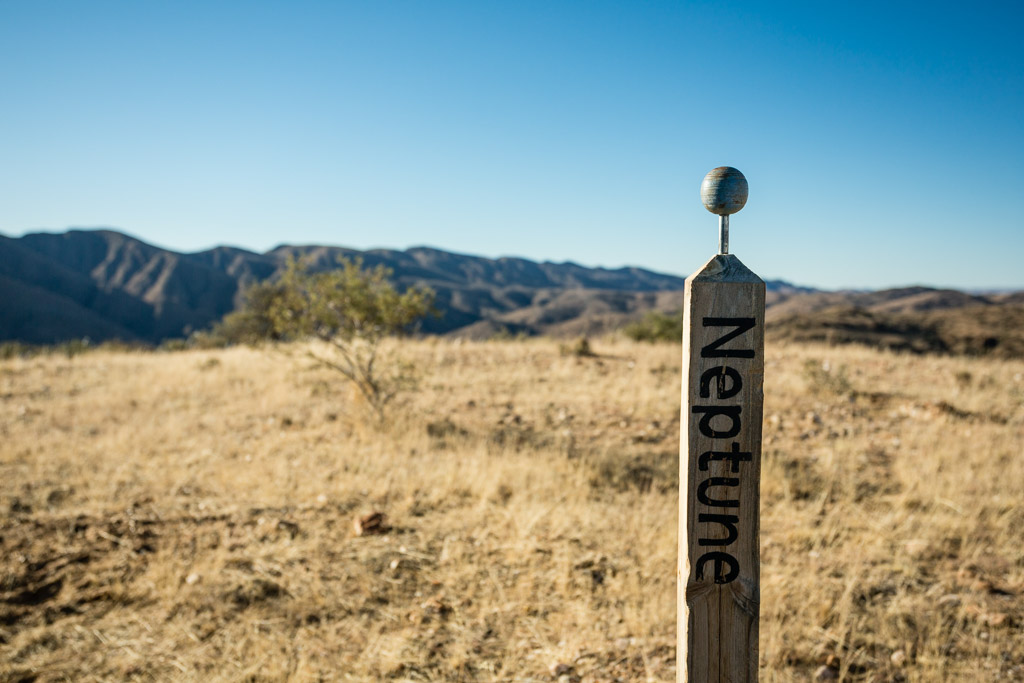
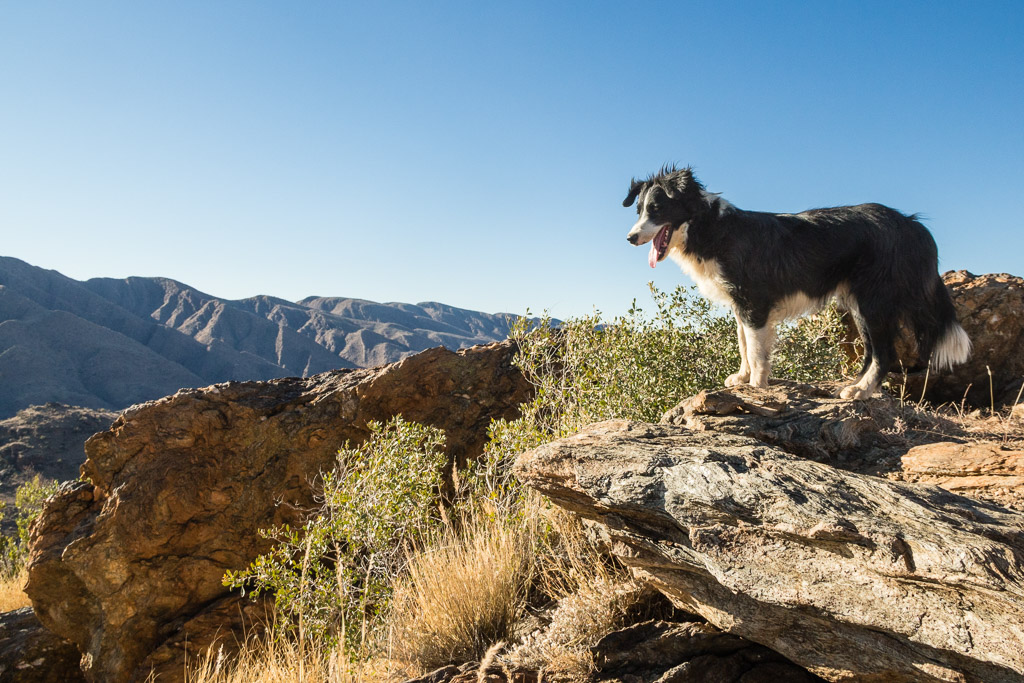
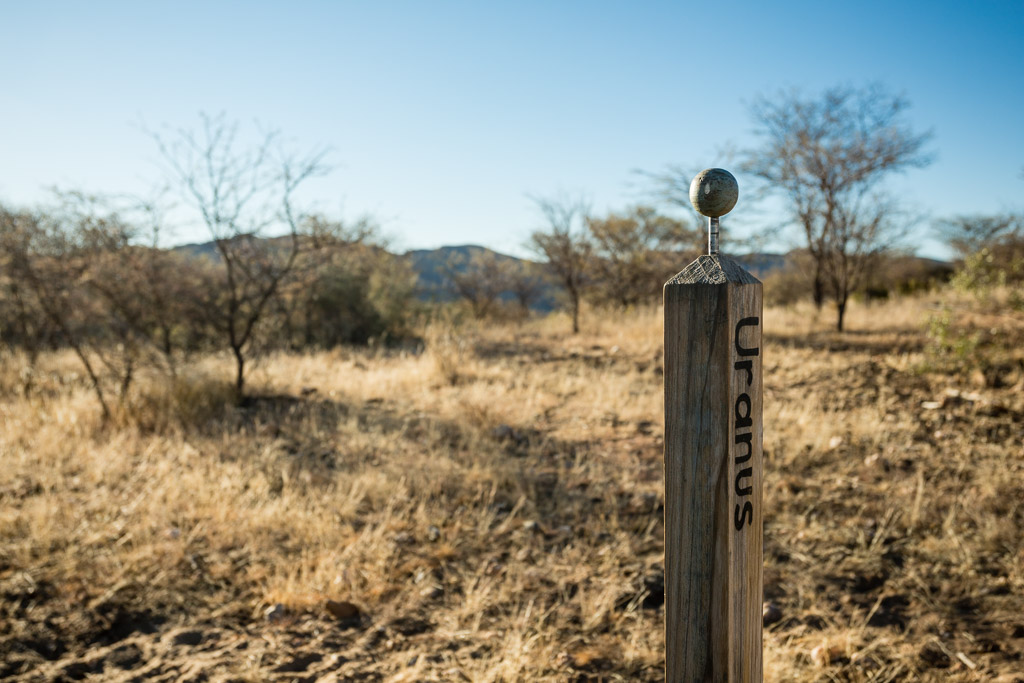
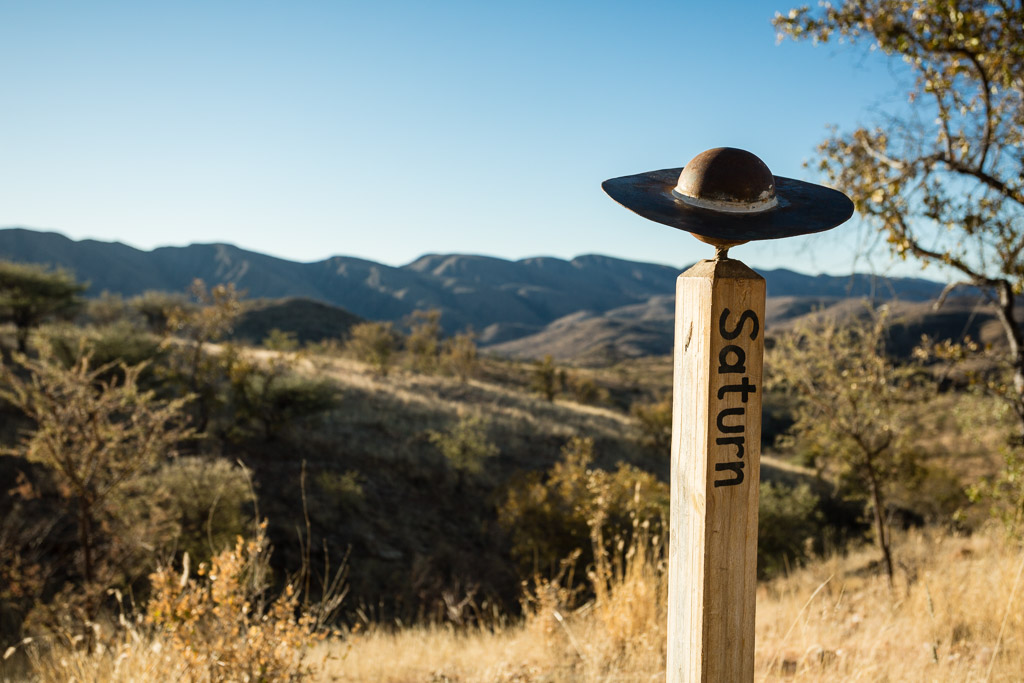
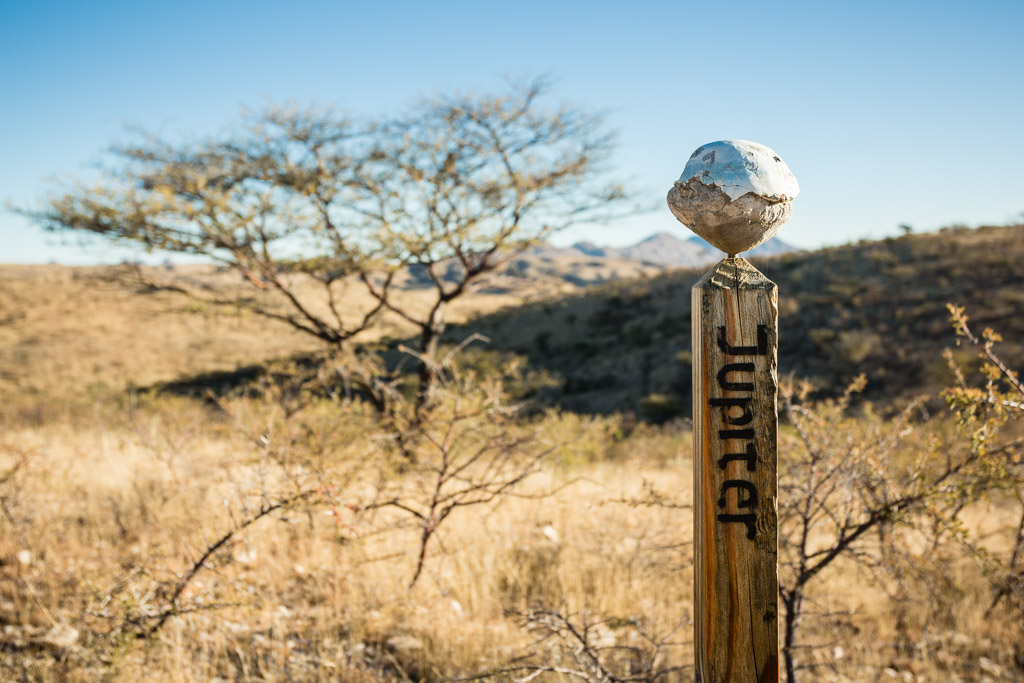
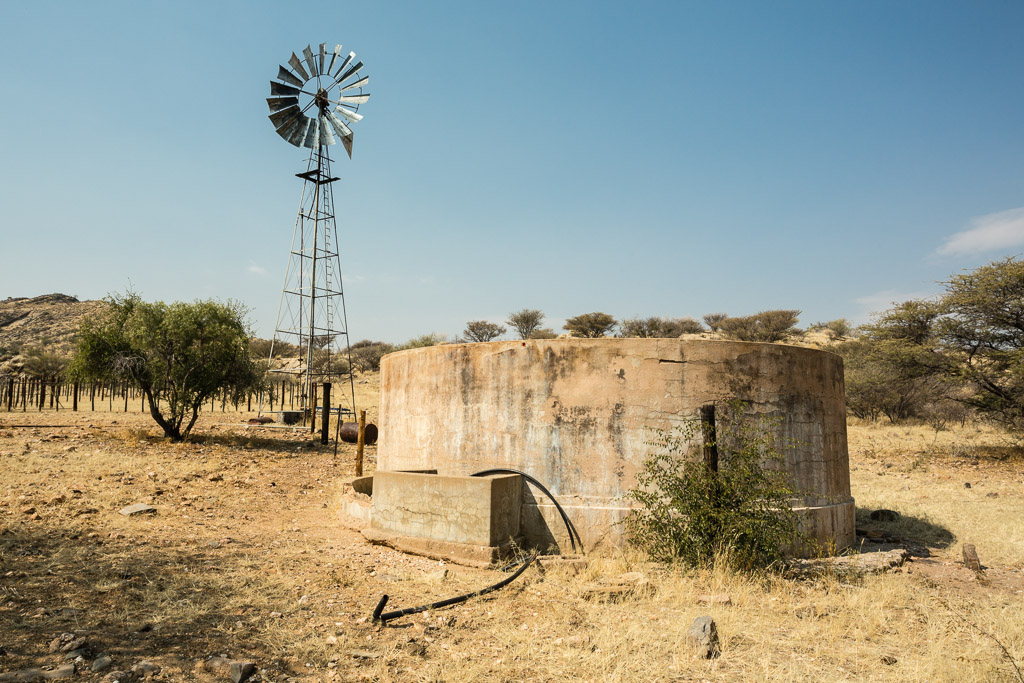
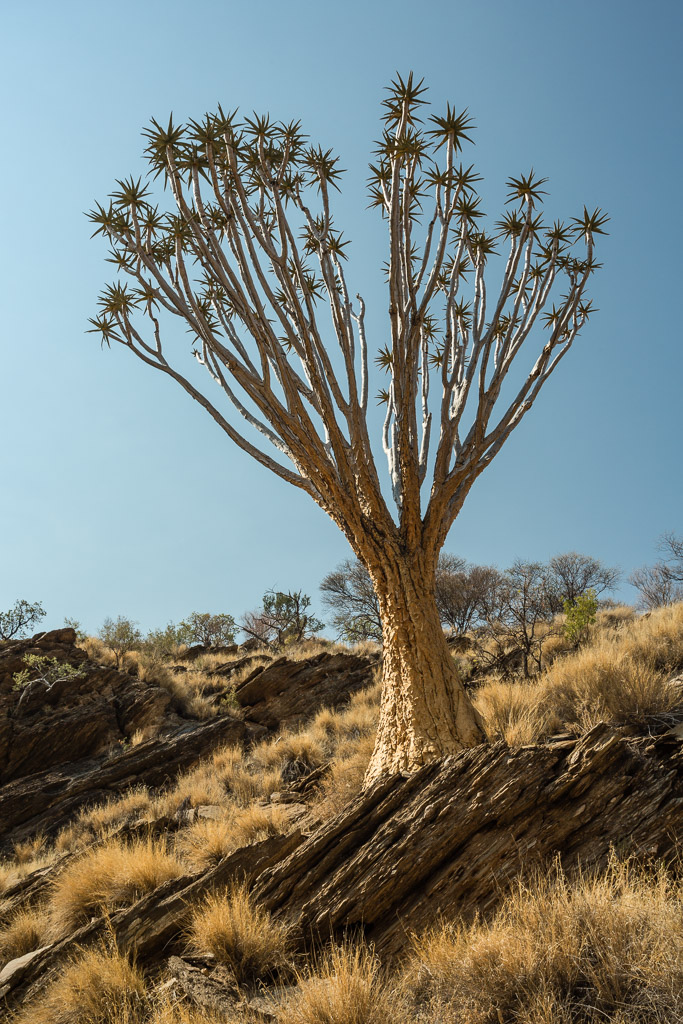
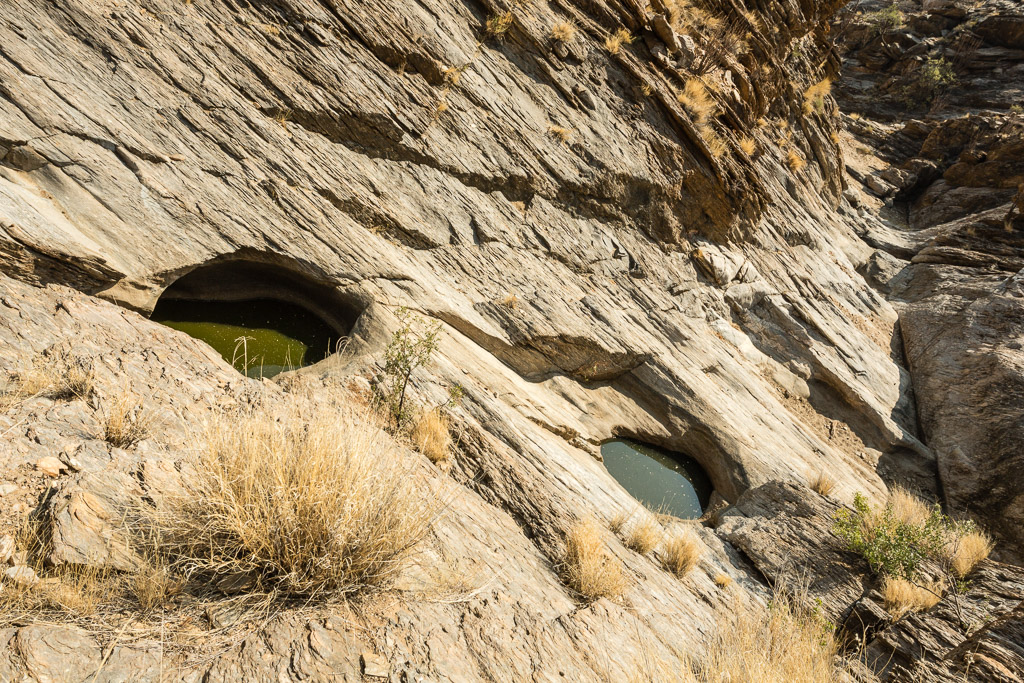
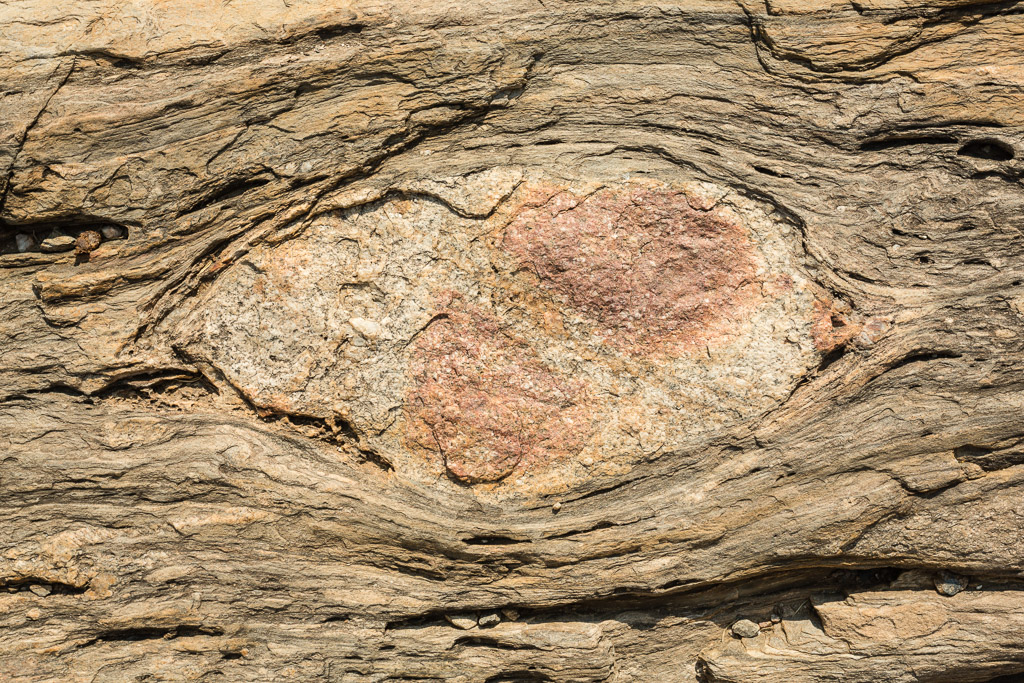
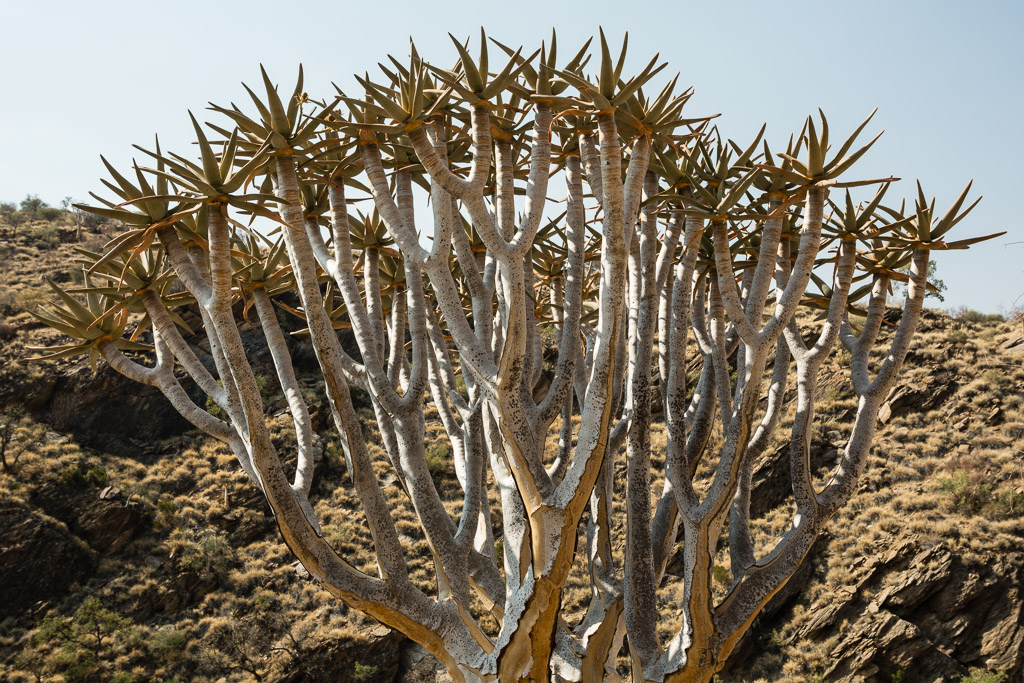
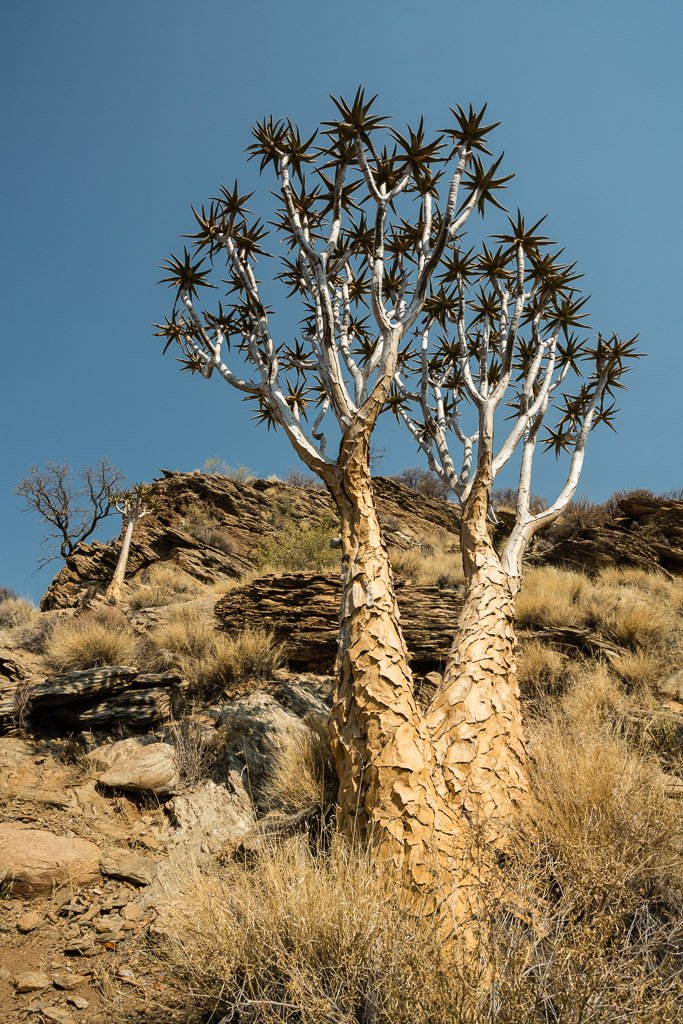
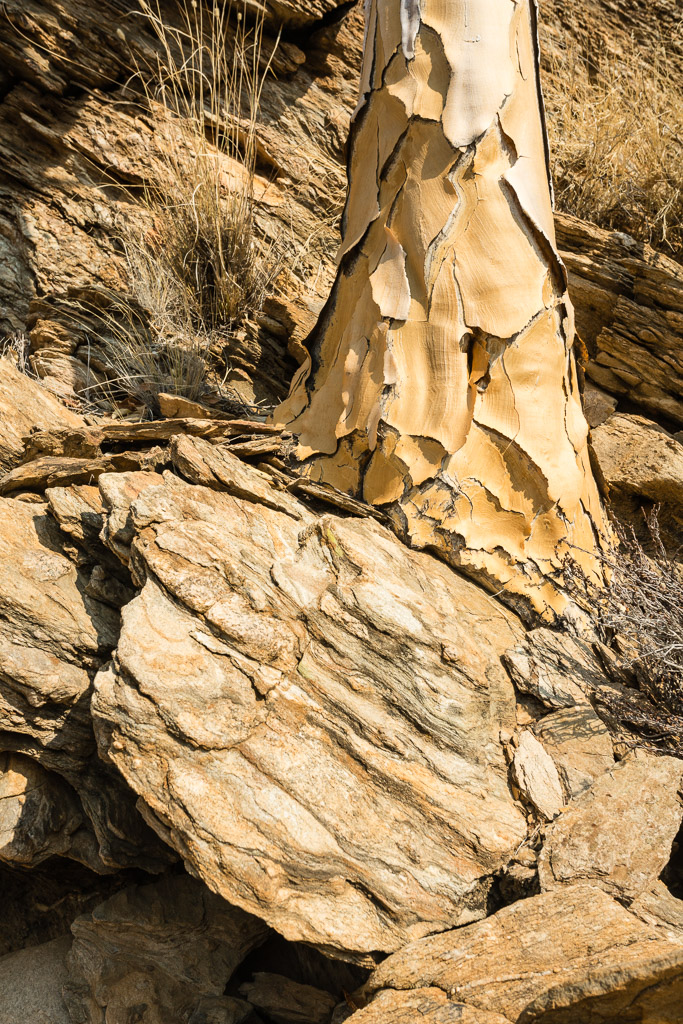
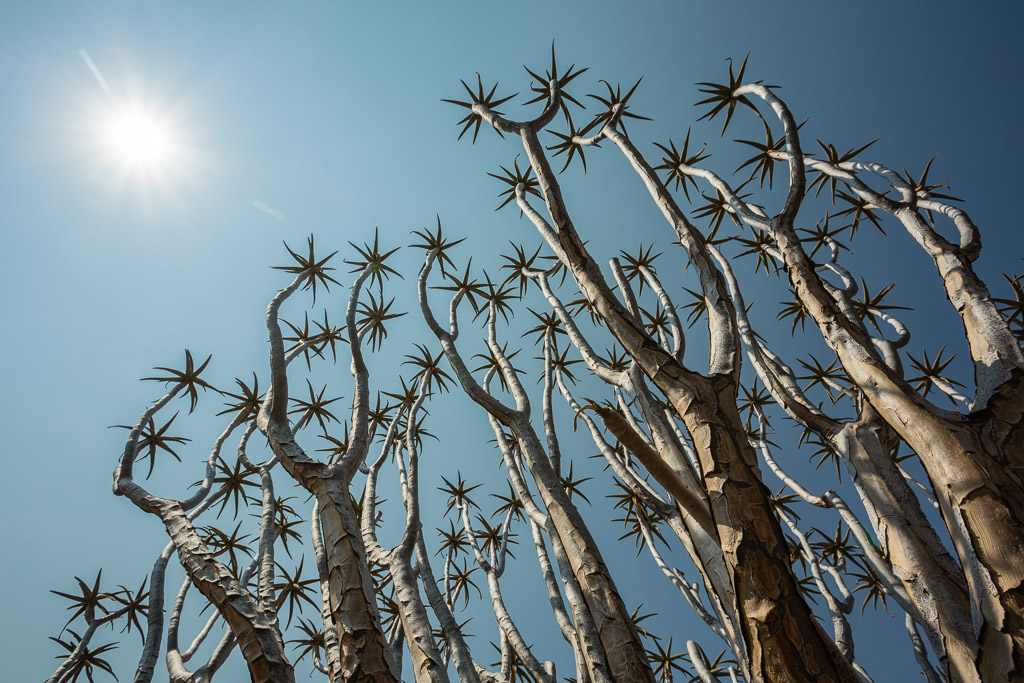
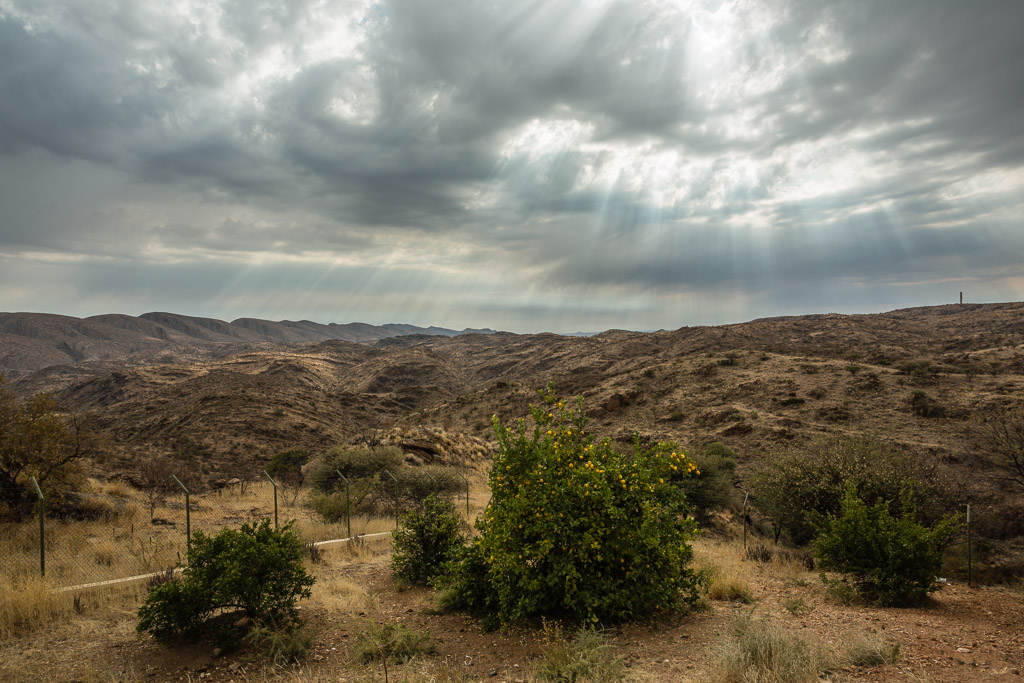
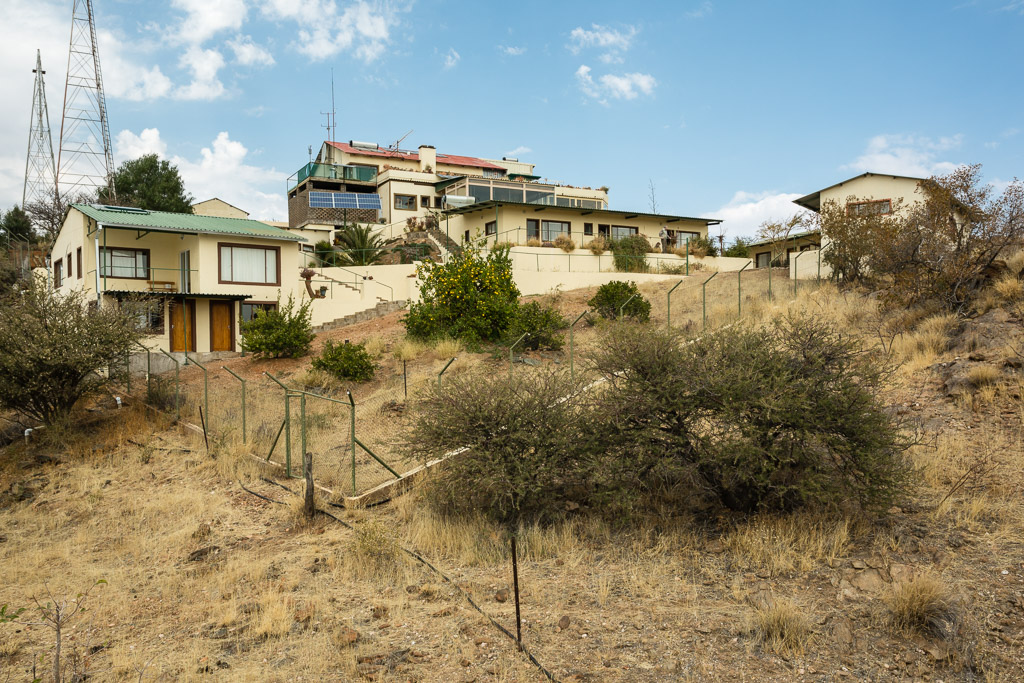
Namibia 2015
Namibia 2016
Namibia 2018 – Fish River Canyon
Namibia 2018 – Gamsberg
Namibia 2018 – Hakos
Namibia 2018 – Quiver Tree Forest
Namibia 2018 – Windhoek
Namibia 2019 – Hakos
Namibia 2023 – Etosha
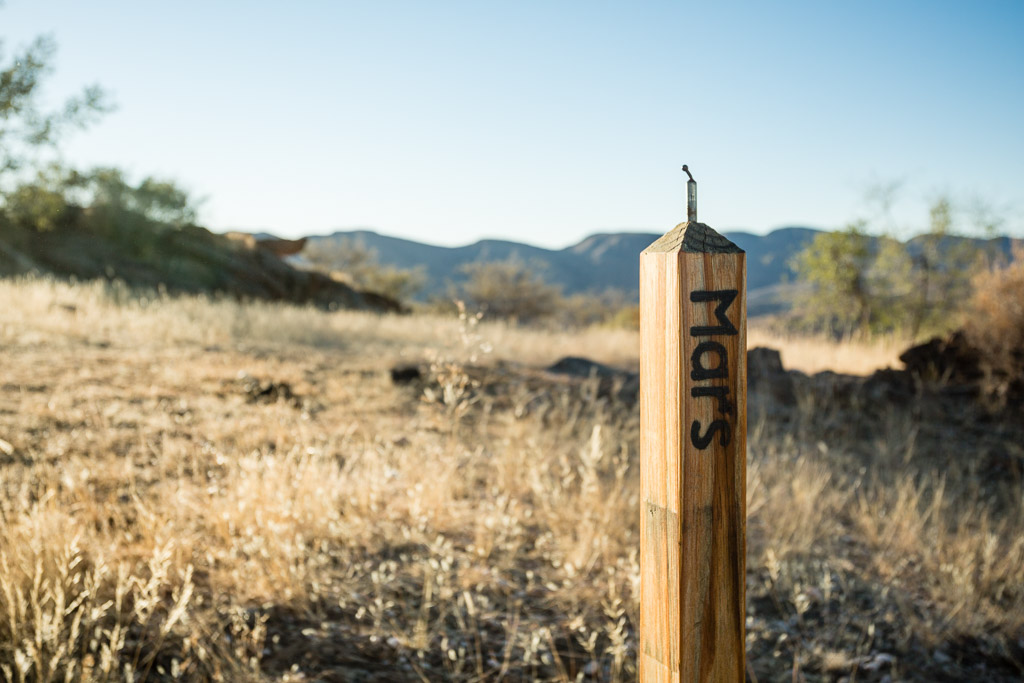
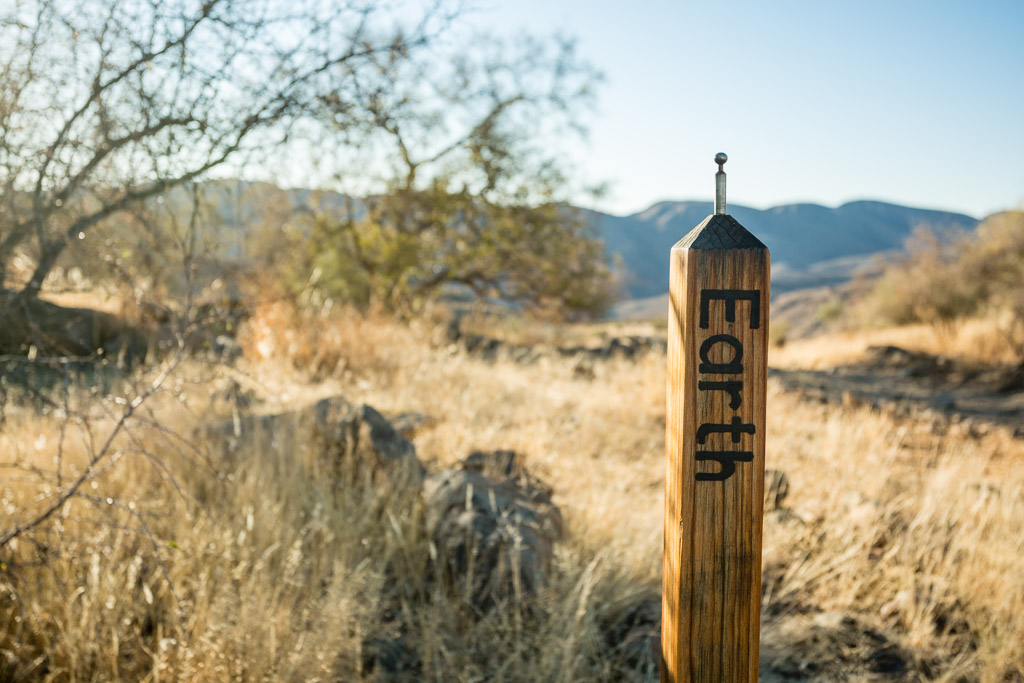
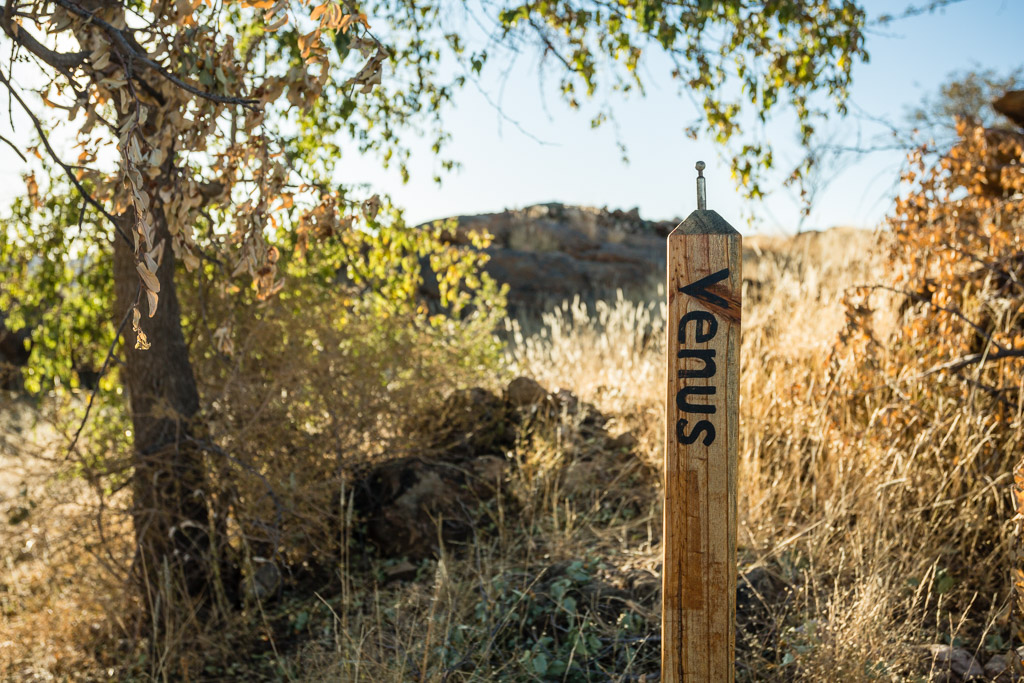
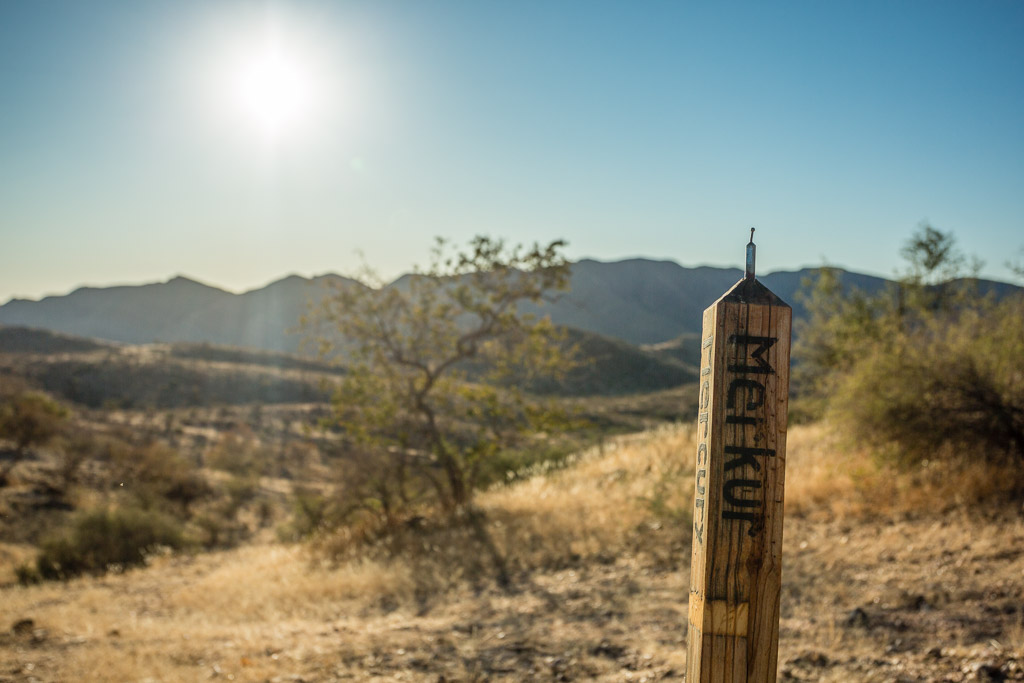
Rastplätze in Namibia
Old photo stuff
Old stuff 1999
Old stuff 2000
Old stuff 2002
Old stuff 2003
Old stuff 2004
Old stuff 2005
Old stuff 2006
Projects
5h30
Ansichten einer Pandemie
Corona’s Cut
Dellbrück
Hommage an André Kertész
Squares
Squares 2
Squares 3
stadtfugen
Stadtgefüge II
Strom
Universal Condition
Travel
Australia 2012
Budapest 2016
China 2008
China 2009
Genf & CERN BW
Hohes Venn
Indonesia 2016
Nigeria 1963 (O. Junius)
Paris 2012
Prag 2009
Prag 2012
Prag 2018
Prager Metro
Singapore 2016
Straßburg 2019
Turkey 2006
Wien 2008
Wien 2019
UK
London 2010
London 2013
Scotland 2007
Scotland 2007 BW
Scotland 2010
Scotland 2011
Two Days in London
USA
USA 2017 – Grand Teton
USA 2017 – Idaho
USA 2017 – Montana
USA 2017 – Oregon
USA 2017 – San Juan Island
USA 2017 – Seattle
USA 2017 – Washington
USA 2017 – Yellowstone
USA 2024 – Road Trip
USA 2024 – Texas
Namibia 2015
Gallery