This blog post is a quick overview of the processing in PixInsight (PI) for my CG 8 and 9 image. Quite some 3rd party add-ons for PI were used. If time permits I’ll add links to the various tools.
Data Calibration / Integration with WBPP
MasterDark / MasterFlat created separately.
For my data WBPP yields slightly better results than FBPP, as the quality of the subs varies quite a bit.
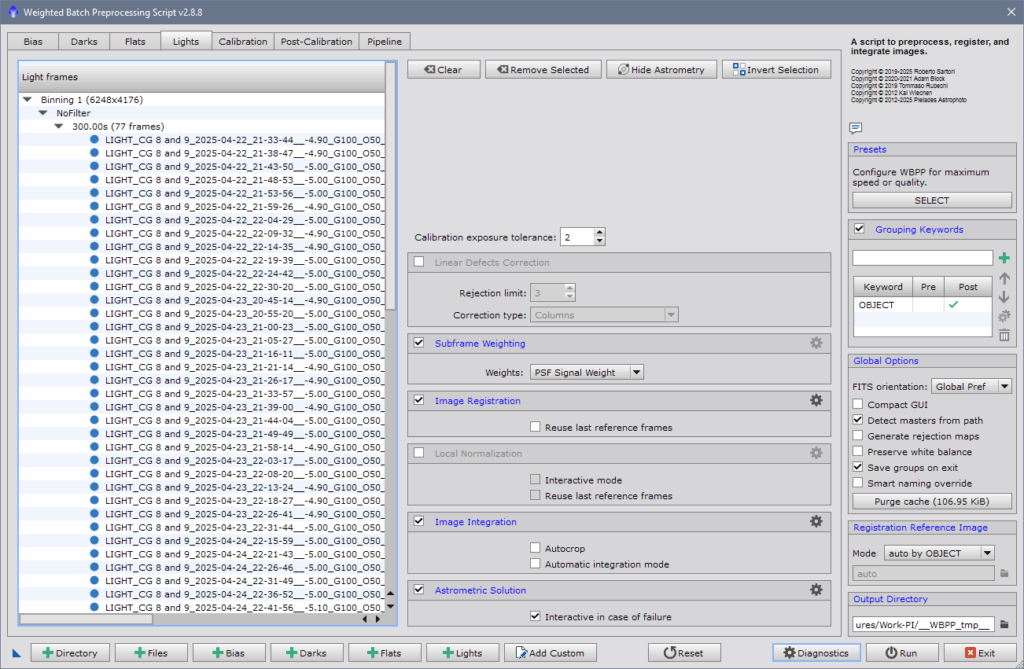
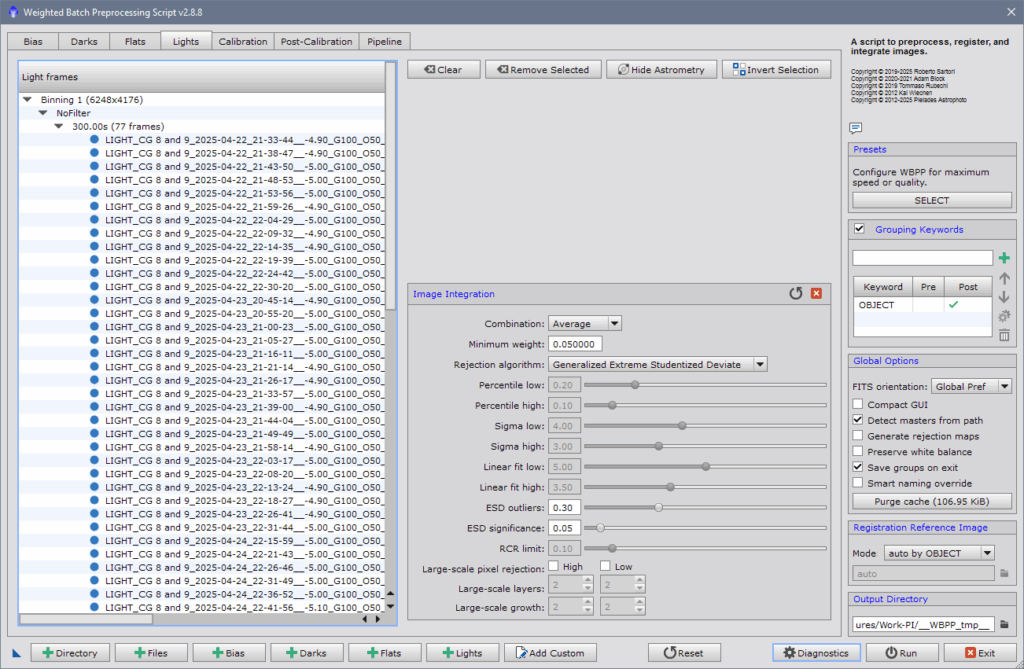
Using Generalized Extreme Studentized Deviate, best integration algorithm in PI.
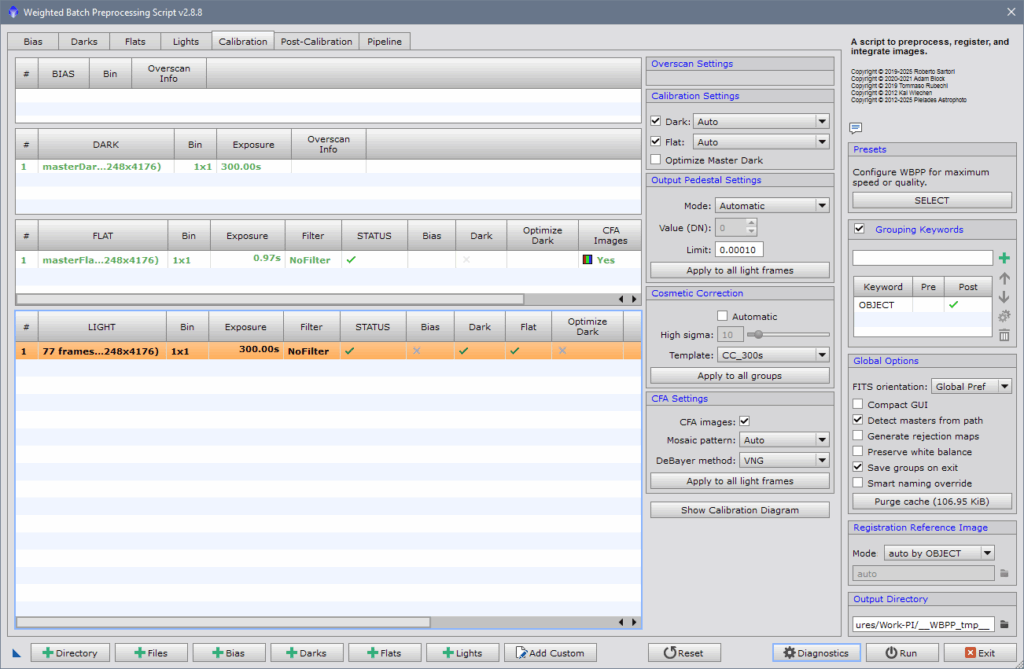
Using specific setting for CosmeticCorrection, based on 300 s masterdark and auto.
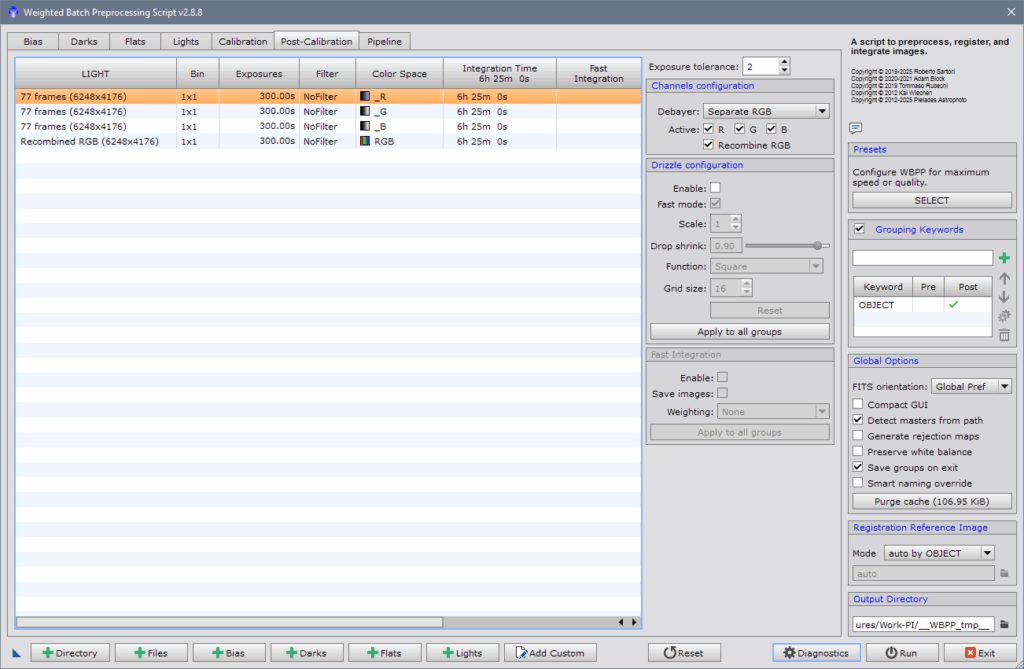
Process R/G/B channels separately after Debayer.
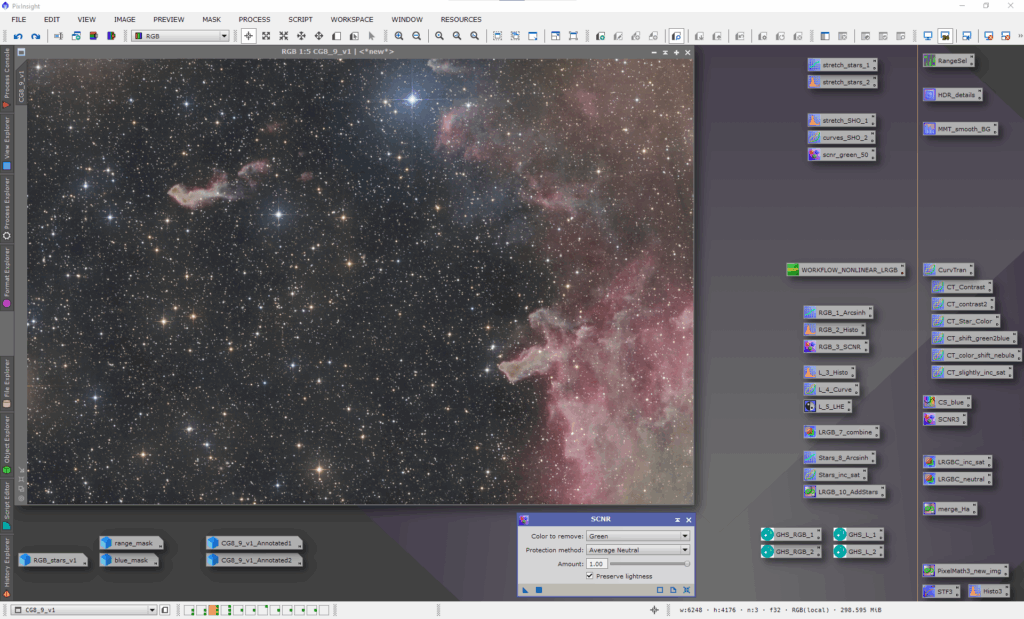
Linear Processing
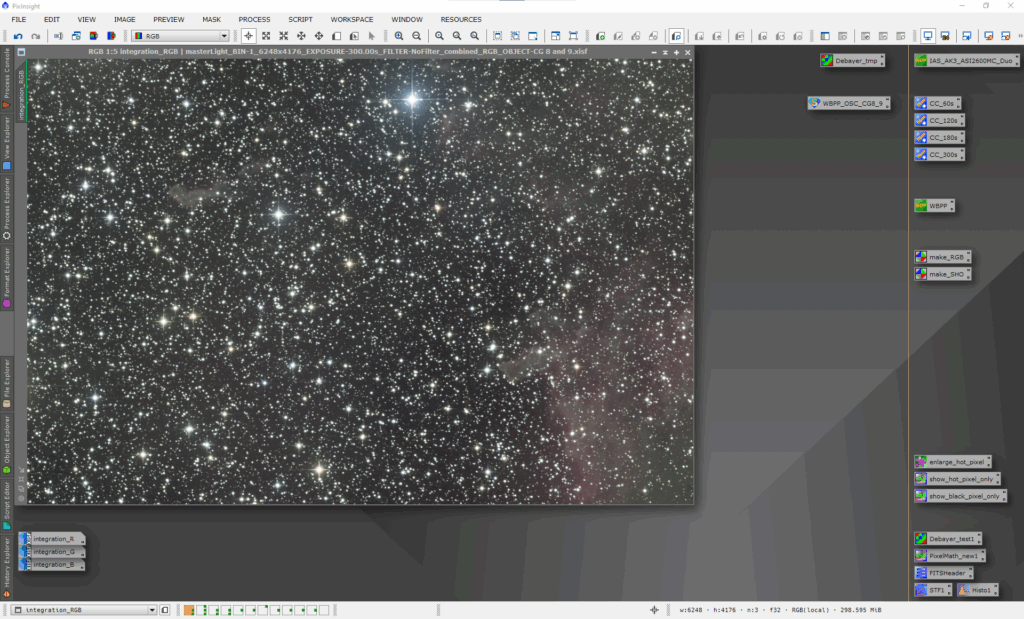
Load MasterLight…combined_RGB into PI. STF autostretch with unlinked channels.
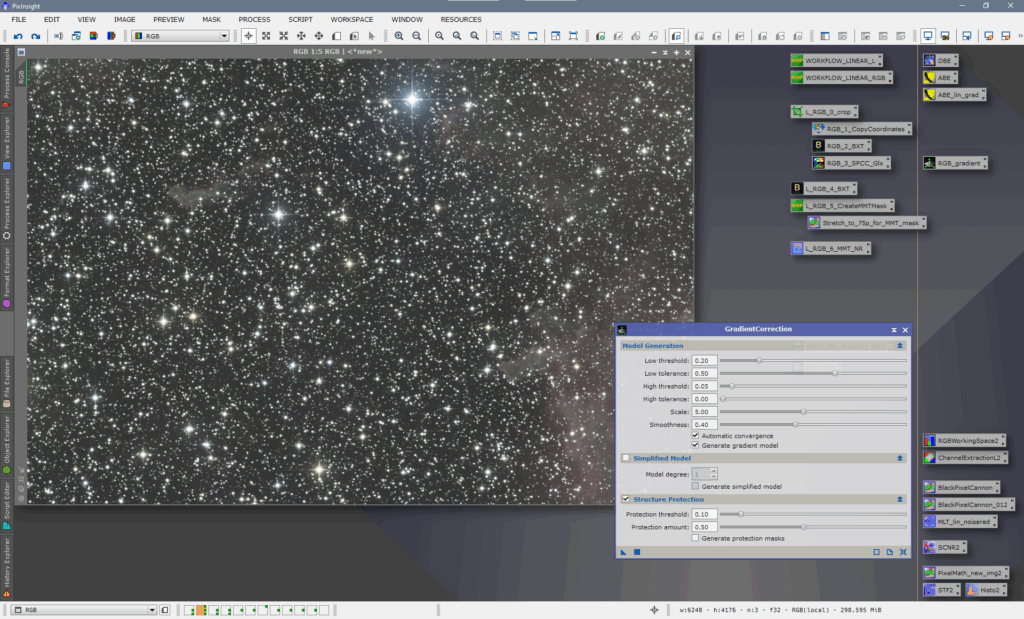
GradientCorrection as the first step.
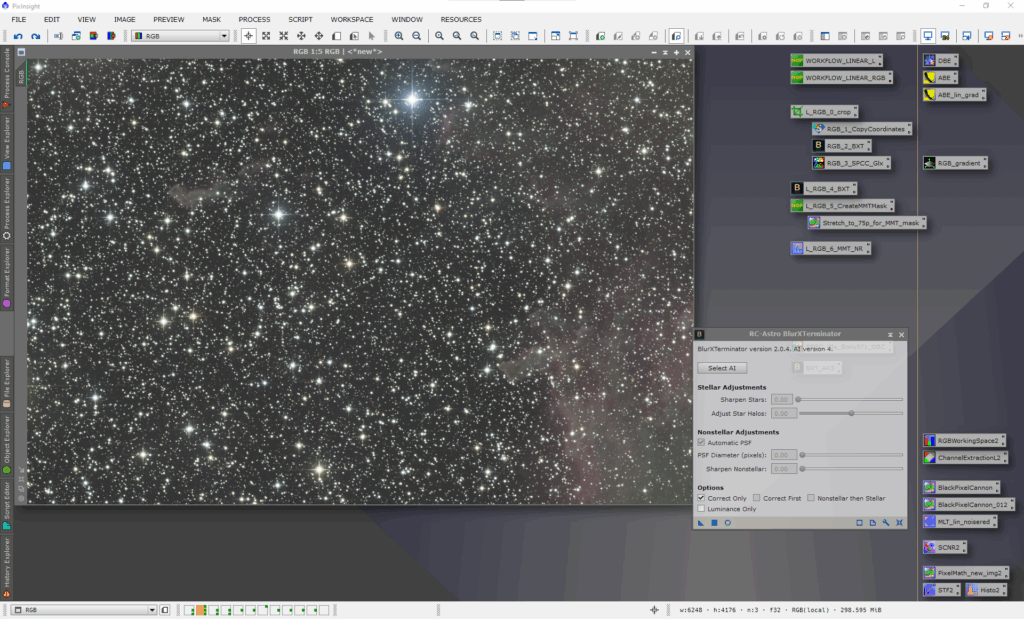
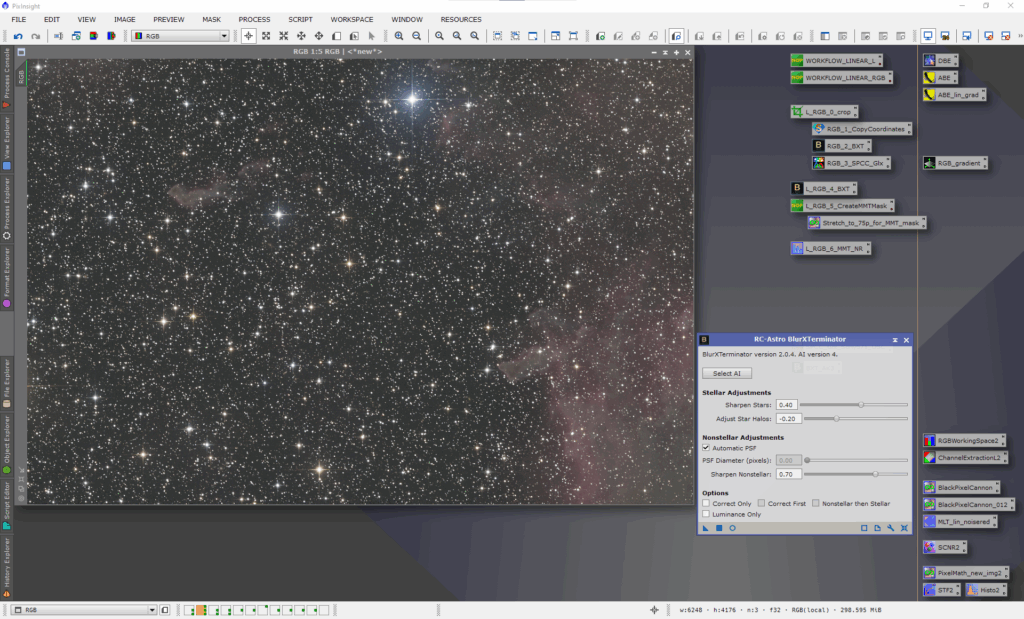
Run RC-Astro BlurXTerminator in “Correct Only” mode, which doesn’t do any sharpening, but corrects the star shapes to “round”, which helps with the next step.
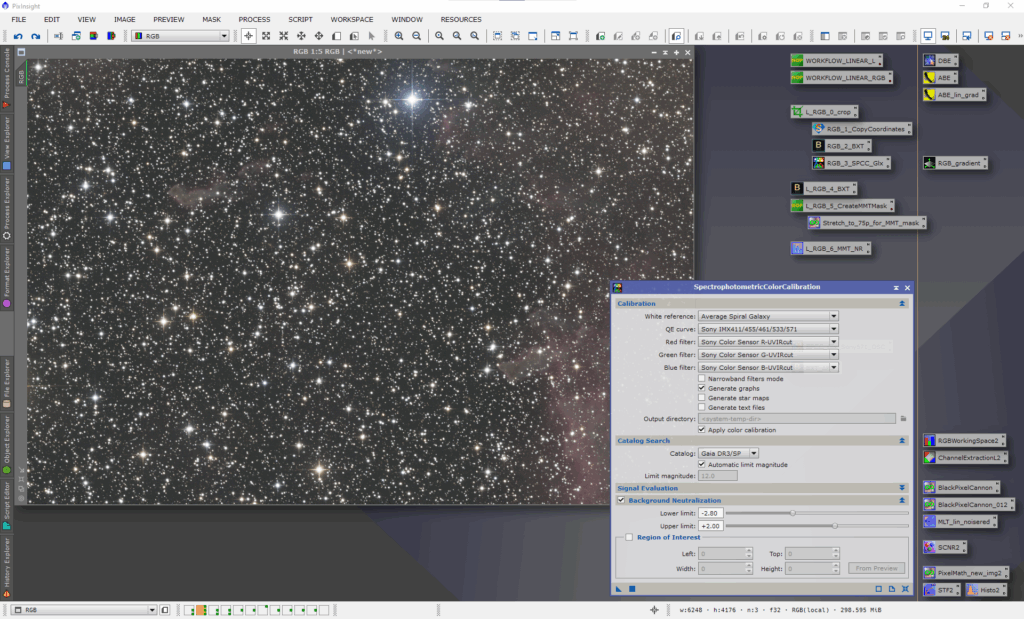
SpectrophotometricColorCalibration with the Gaia DR3/SP data and the setting for the ASI 2600 MC Duo (Sony IMX571 color sensor). STF autostrech reapplied with locked channels.
And – of course ;-) – final sharpening / deconvolution with BlurXTerminator.
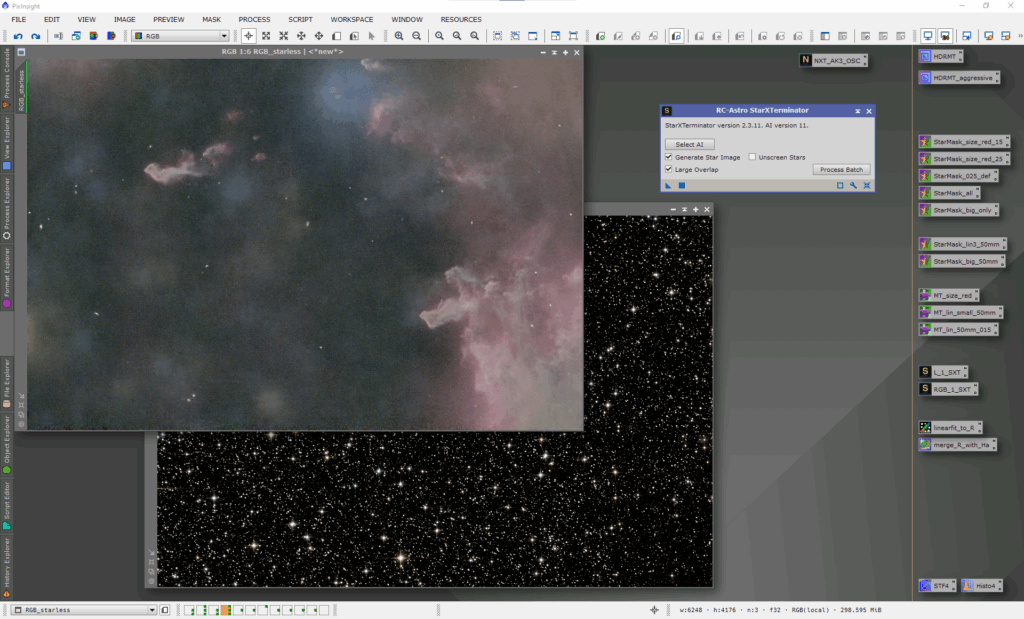
Separation of nebulosity and stars with StarXTerminator. I prefer “Large Overlap” to reduce potential artifacts.
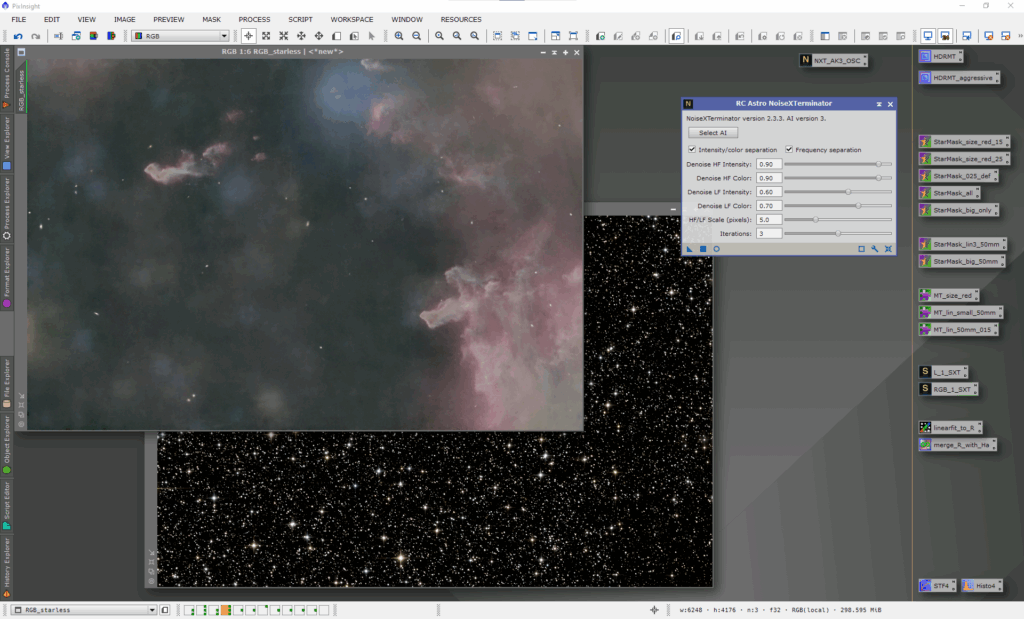
Linear noise reduction with NoiseXTerminator. According to Russ, it’s better to use NoiseXTerminator after StarXTerminator, as the later is trained with noisy data.
Non-linear Processing
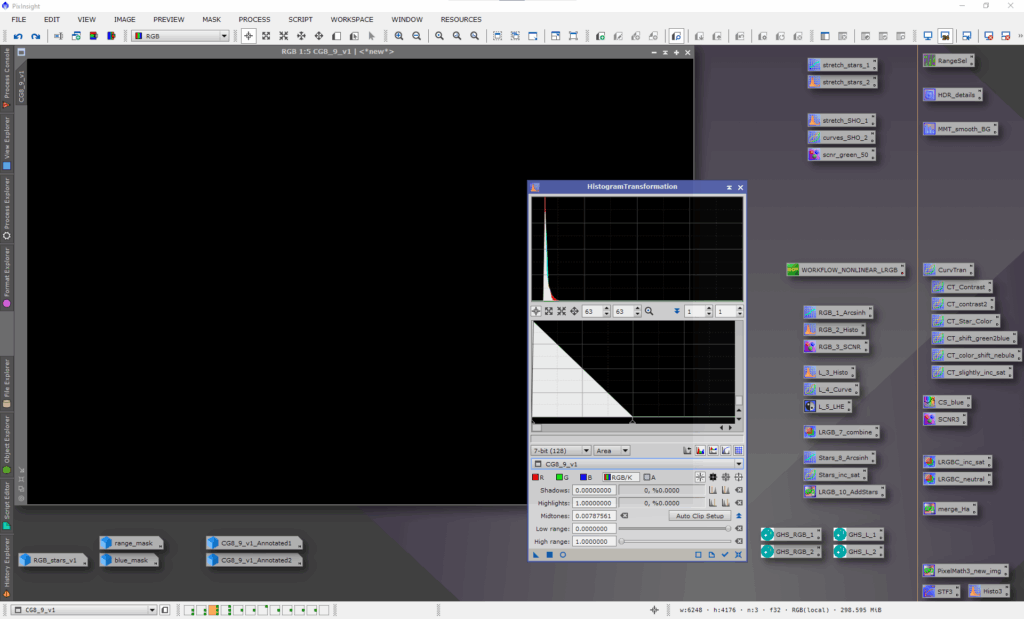
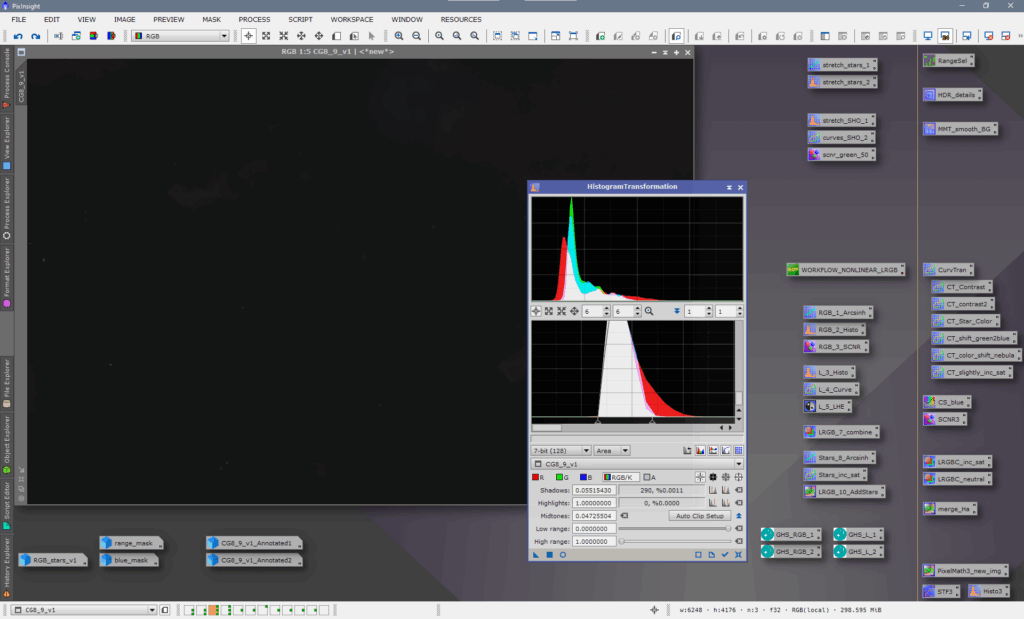
2x HistogramTransformation stretched to bring out the (starless) nebulosity.
(I tried to dip my toes in GHS, but results weren’t yet satisfying. So back to the roots.)
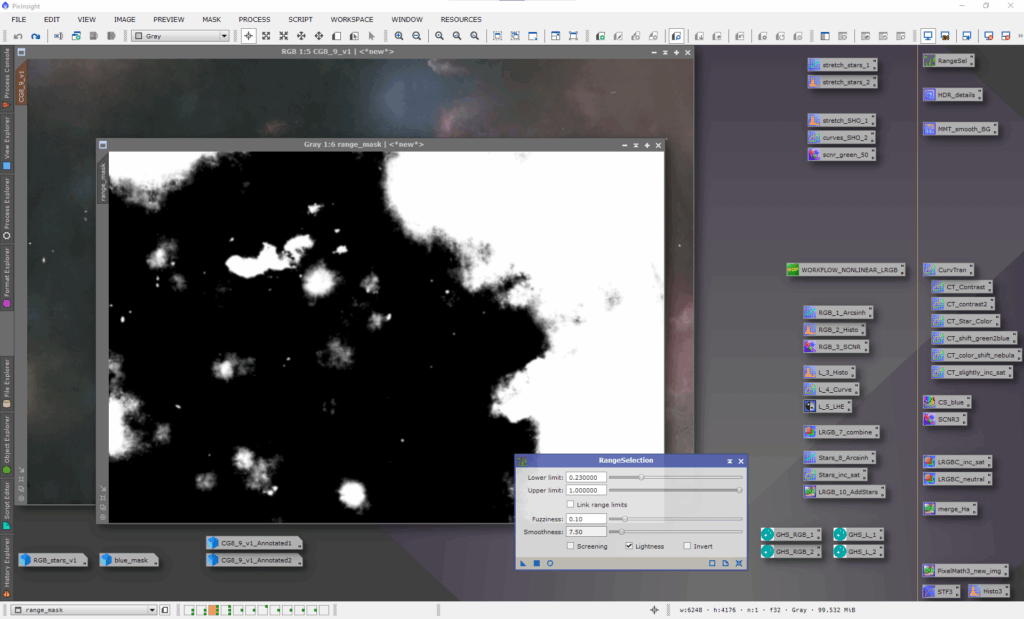
Create range_mask with RangeSelection.
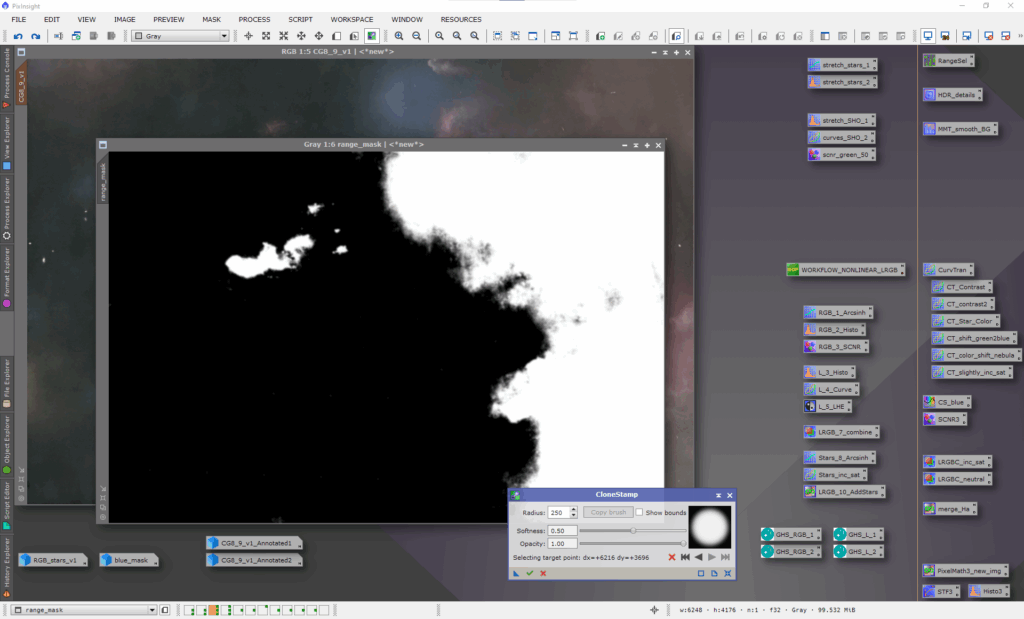
CloneStamp to remove the unwanted stuff (background around brighter stars).
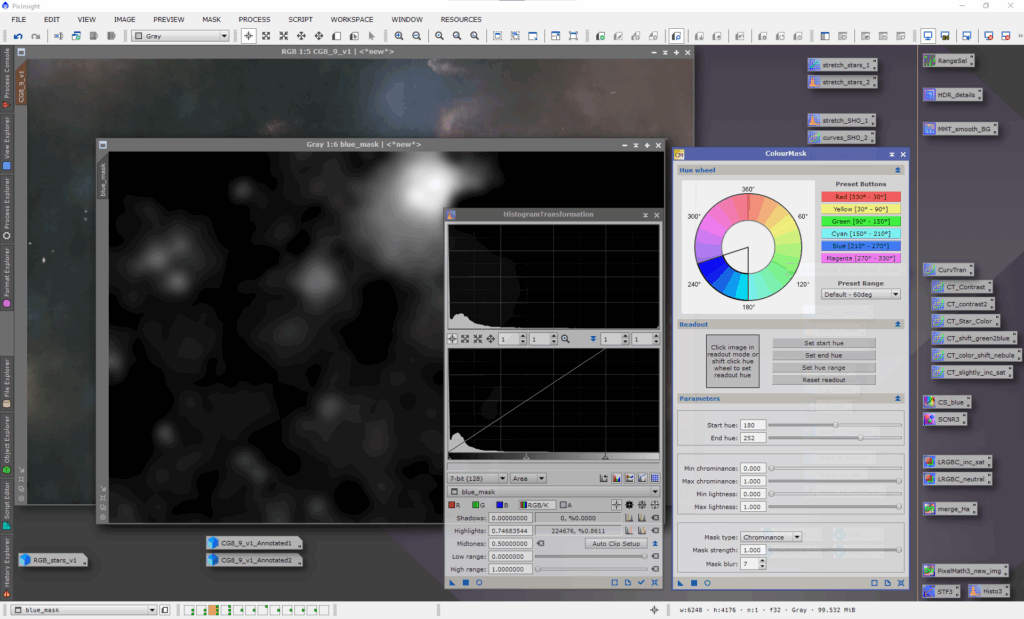
Create blue_mask using ColourMask (add-on process) and a slight stretch.
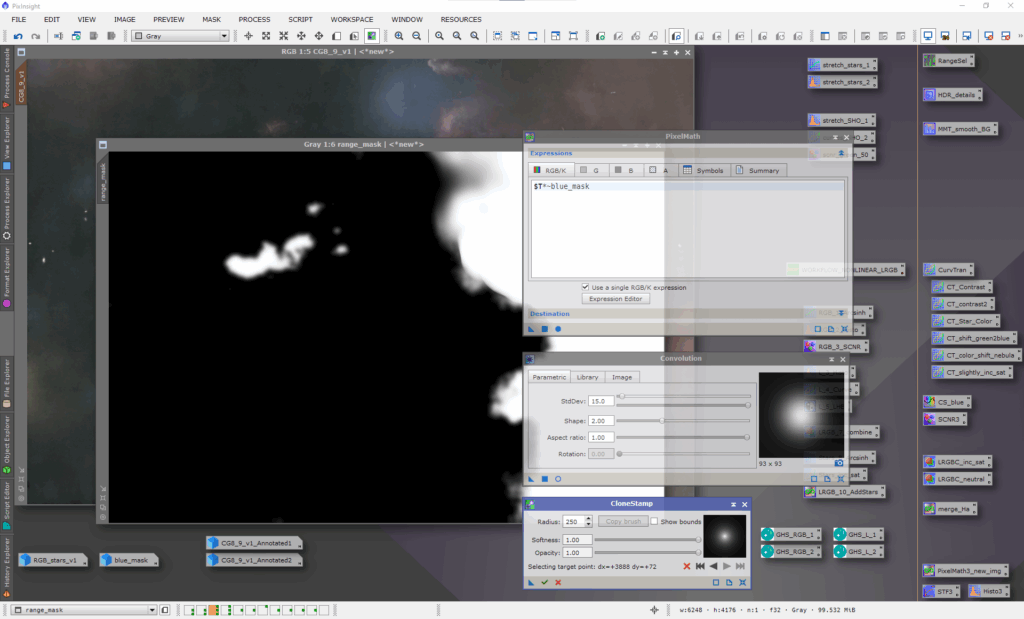
Apply ~blue_mask to range_mask, blur with Convolution, CloneStamp more unwanted stuff.

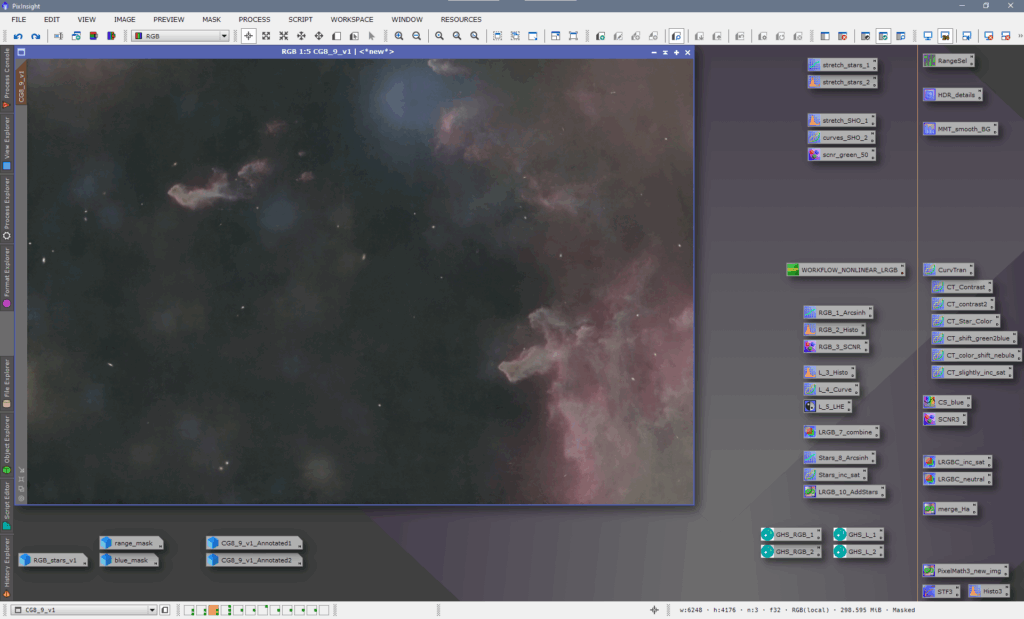
Apply modified range_mask to RGB image, slight contrast boost with CurvesTransformation.
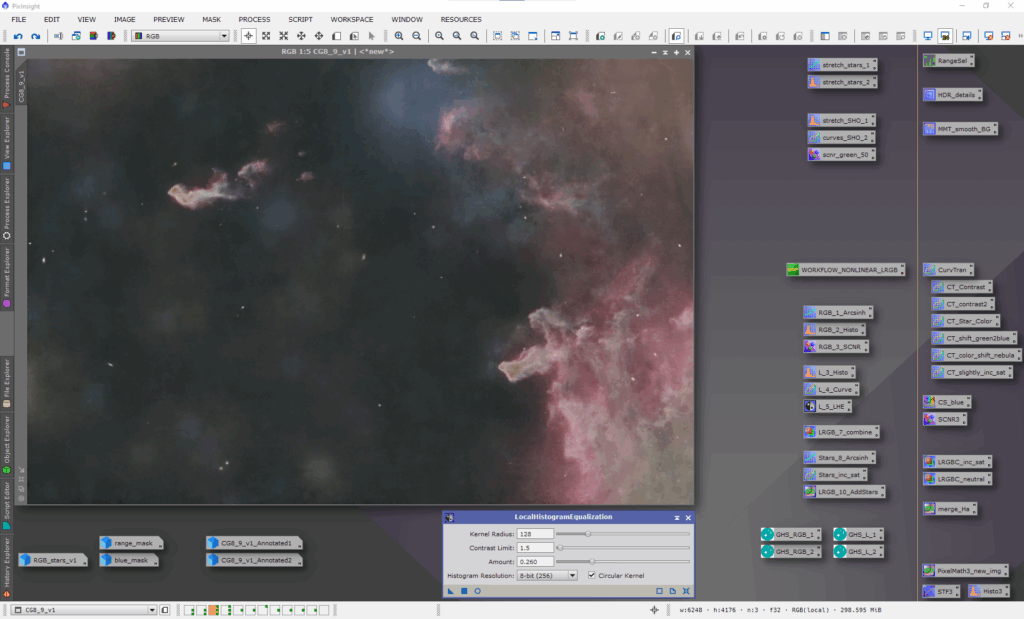
2x LocalHistoramEqualization to boost local contrast.
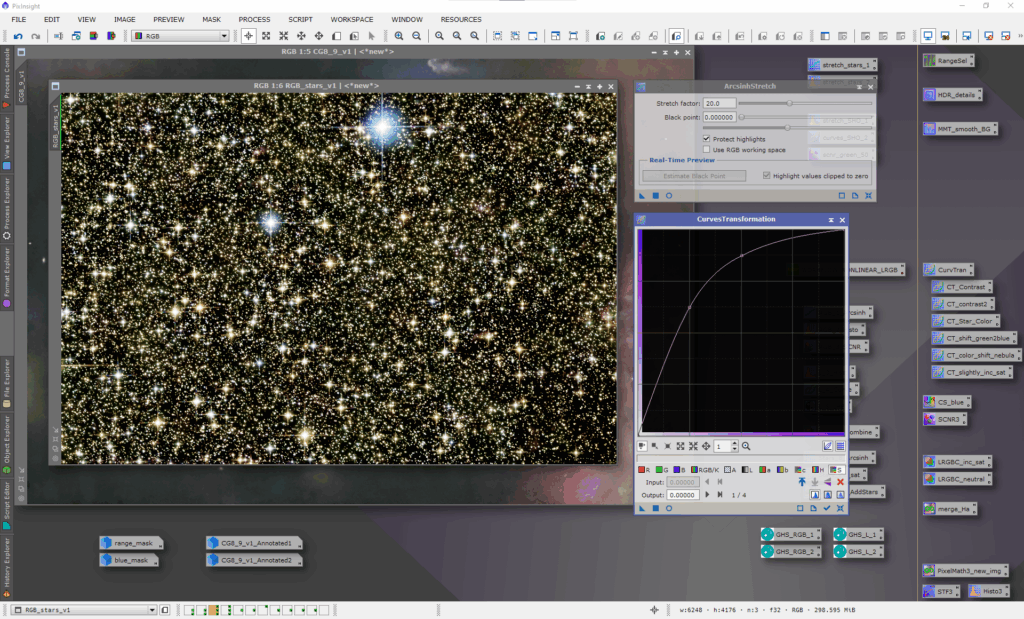
Apply a mild ArcsinhStretch and a hefty color saturation boost to the stars only image.
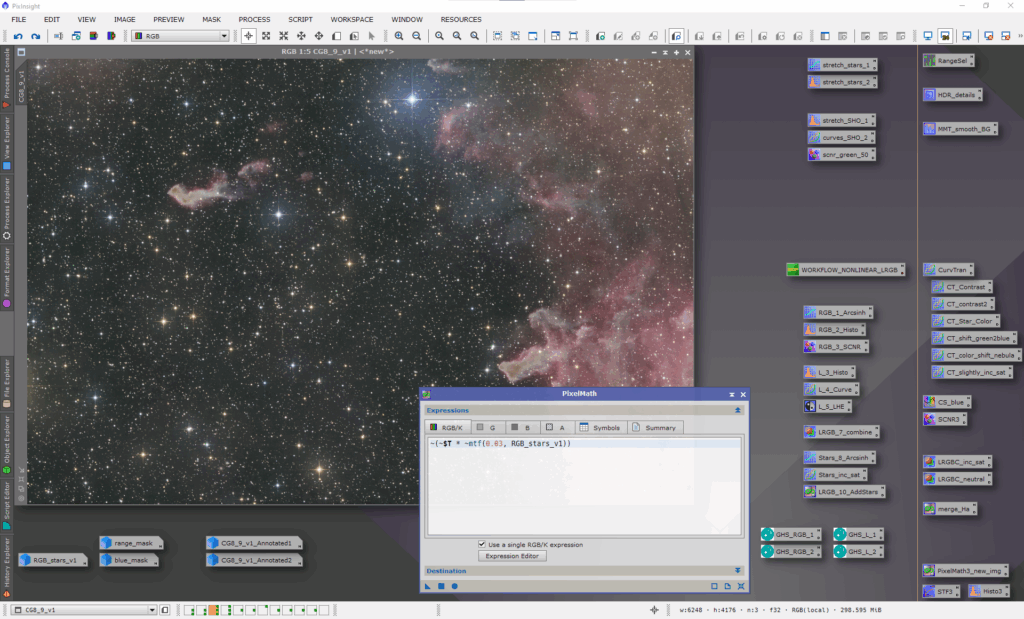
Use PixelMath to “screen” the stars onto the starless RGB image. Brightness/intensity of the stars can be easily controlled with the stretch parameter of mtf().
There’s also the StretchAndCombineRGBStars script using a GHS variant for stretching, but IMHO using PixelMath and mtf() yields more pleasant results.
Using SCNR to get rid of greenish casts is helpful in most cases.
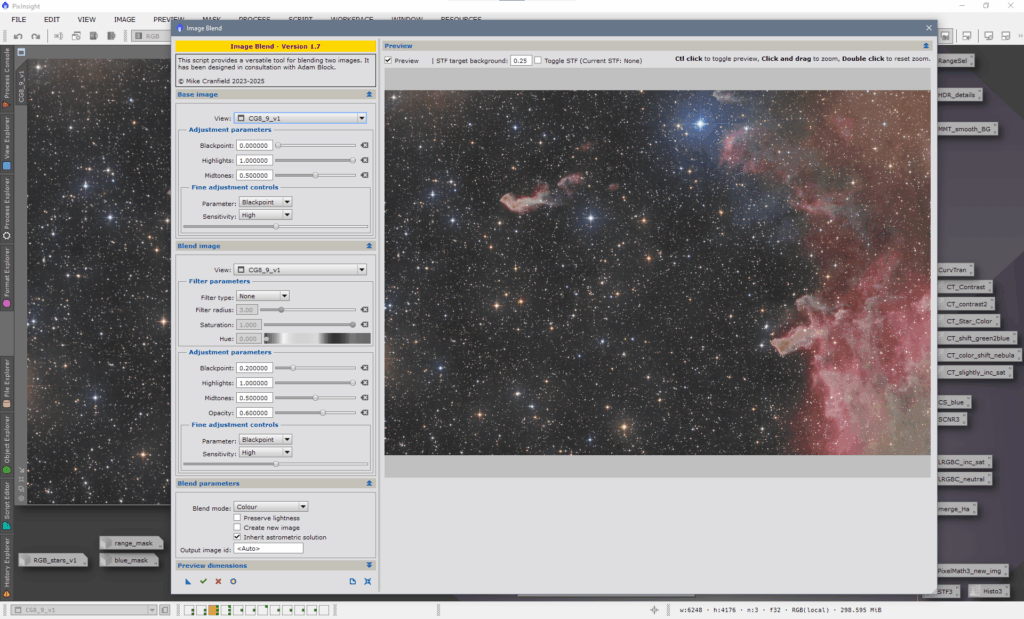
The ImageBlend script allows an old Photoshop trick to be used directly in PI, reducing the color in the sky background (values < 0.2).
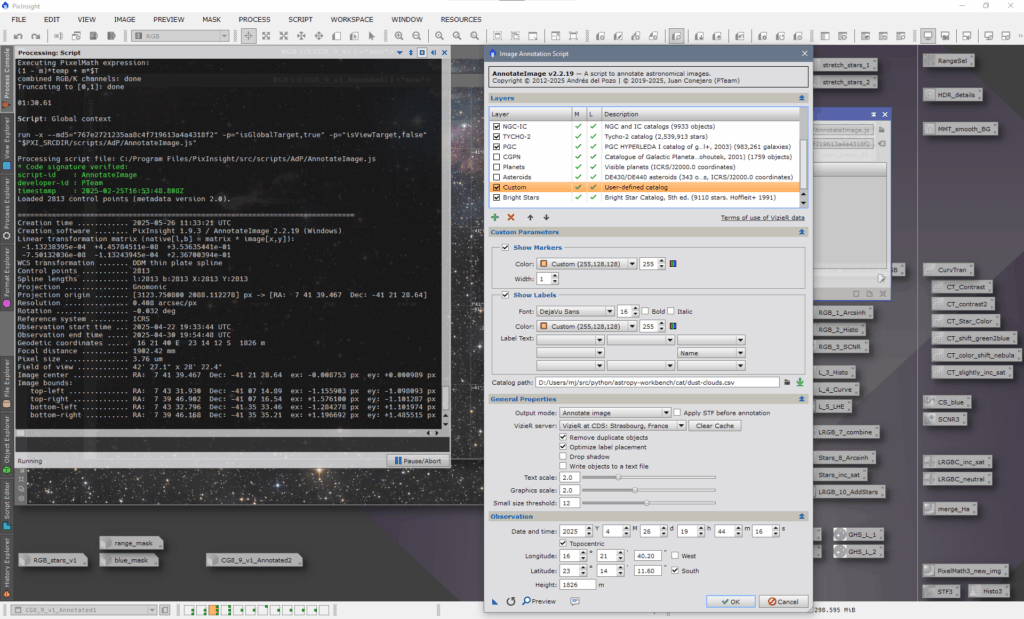
And finally the AnnotateImage script is used to create annotated versions of the final processed image. I added a custom catalog “dust-clouds” to highlight the cometary globules. The necessary CSV file can be found here on GitHub.
That’s it. I hope this quick run-down of my processing steps was useful.
Some final adjustments in Lightroom were applied to the image posted here in the blog.