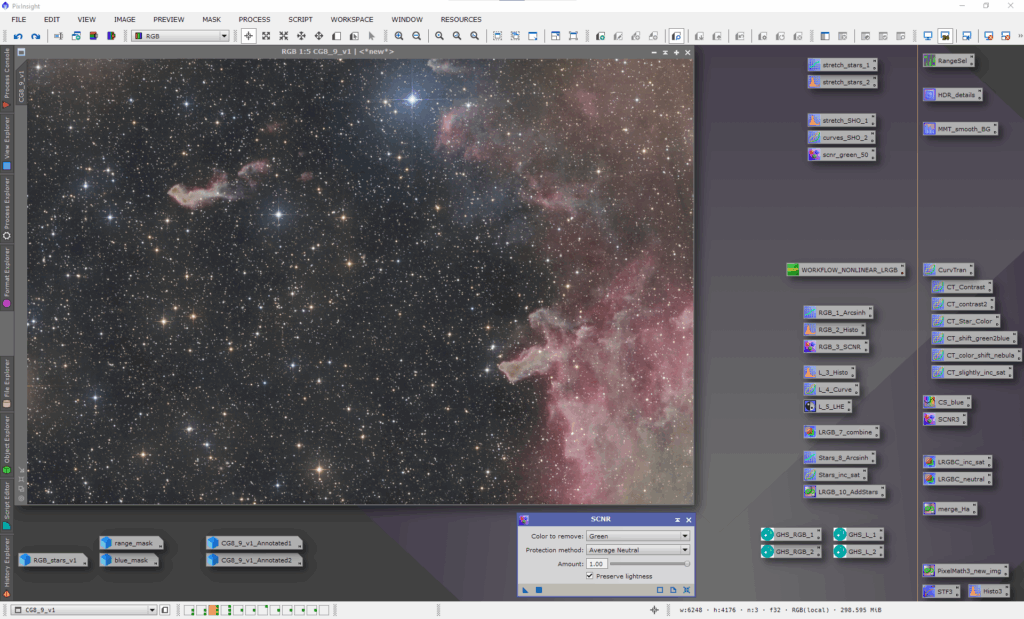
This blog post is a quick overview of the processing in PixInsight (PI) for my CG 8 and 9 image. Quite some 3rd party add-ons for PI were used. If time permits I’ll add links to the various tools.
Continue readingThis blog post is a quick overview of the processing in PixInsight (PI) for my CG 8 and 9 image. Quite some 3rd party add-ons for PI were used. If time permits I’ll add links to the various tools.
Continue reading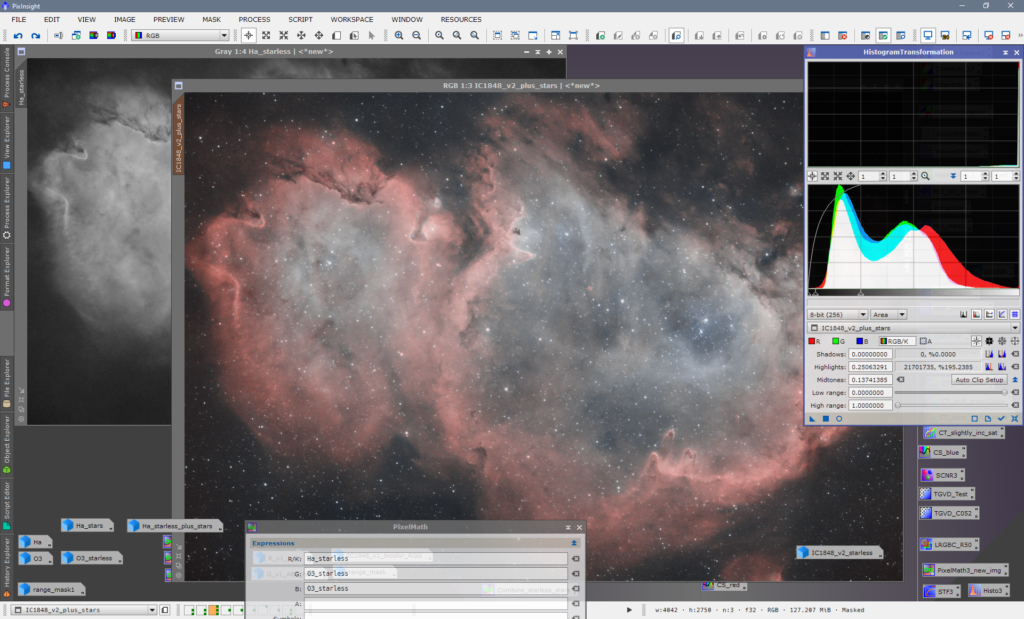
As there seems to exist some interest in my image processing workflow for the recent IC 1848 image, here we go …
Continue reading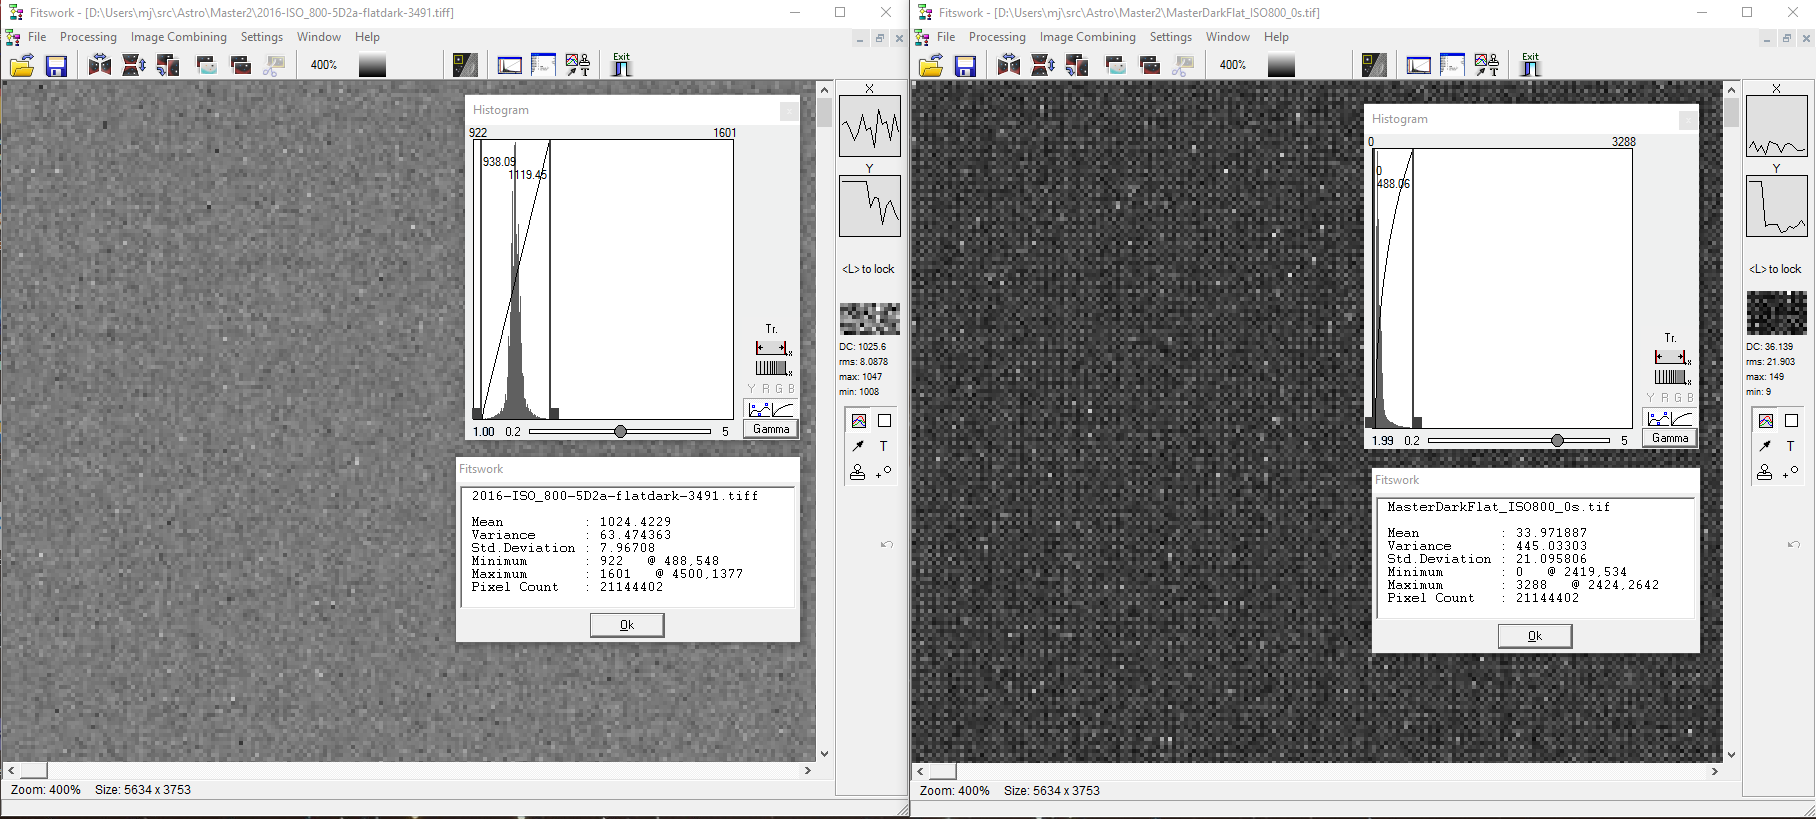
Single dark flat raw vs. DSS master dark flat
DeepSkyStacker (DSS) erstellt aus den einzeln Raw Files für Bias, Darks, Flats, Dark Flats jeweils eine Masterdatei, typischerweise mit der Median- oder Median-Kappa-Sigma-Methode. Im Kontext der Raw-Analyse bietet es sich daher an, auch die von DSS erstellten Master Files zu untersuchen, im Folgenden ein Blick auf ein im Mai erstelltes MasterFlat und MasterDarkFlat.
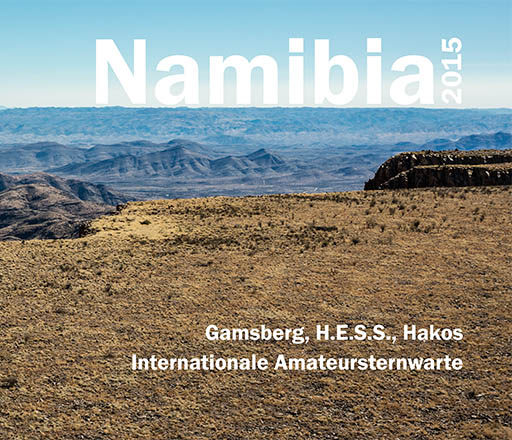
Namibia 2015 – IAS Edition
FINALLY! ;-) It seems that I’ve solved my problems with Scribus PDF/X-3 photobooks failing the preflight check when uploading them to Blurb. The photobook above used to be rejected during excessive tests a couple weeks ago.

Screenshot Lightroom
Manchmal lässt sich das “engineer by trade” nicht ganz leugnen und etwas Analytik ist gerade in der Astrofotografie nicht verkehrt.
Fragestellung: wie kann man anhand eines Fotos des Nachthimmels die Hintergrundhelligkeit ermitteln? Analog zu den Messwerten des Sky Quality Meters?
Samir Kharusi hat unter “Measuring Skyfog from Camera JPEG” die Methodik beschrieben, ich hab mir die Mühe gemacht, das mit Raw-Dateien, Lightroom und Excel zu operationalisieren.
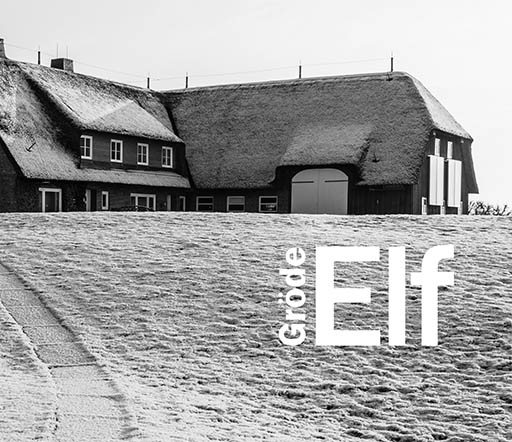
Gröde Elf
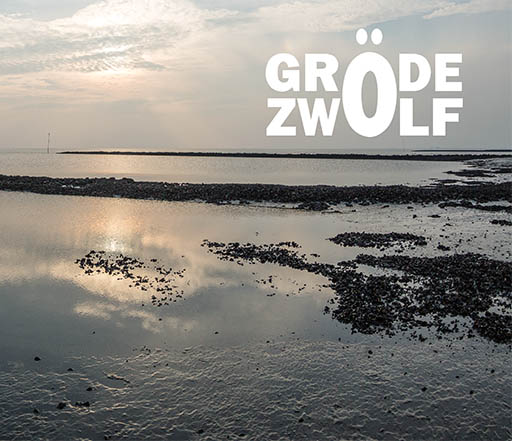
Gröde Zwölf
Fast schon ein wenig in Vergessenheit geraten, aber natürlich gab es auch in den vergangenen beiden Jahren ein Fotobuch zu Hallig Gröde, hier bei Blurb: Gröde Elf und Gröde Zwölf.
Kleiner Tipp: Bei der “Zwölf” gab es größere Probleme und damit Verzögerungen bei PDF-to-Book. Letztlich hat sich herausgestellt, dass beim Erzeugen des PDF/X-3 mit Scribus alle Schriften vollständig eingebettet sein müssen, auch die TrueType-Schriften. Dazu muss bei Scribus unter Einstellungen > Schriften der Haken in der Spalte “Unterteilen” jeweils weggenommen werden!
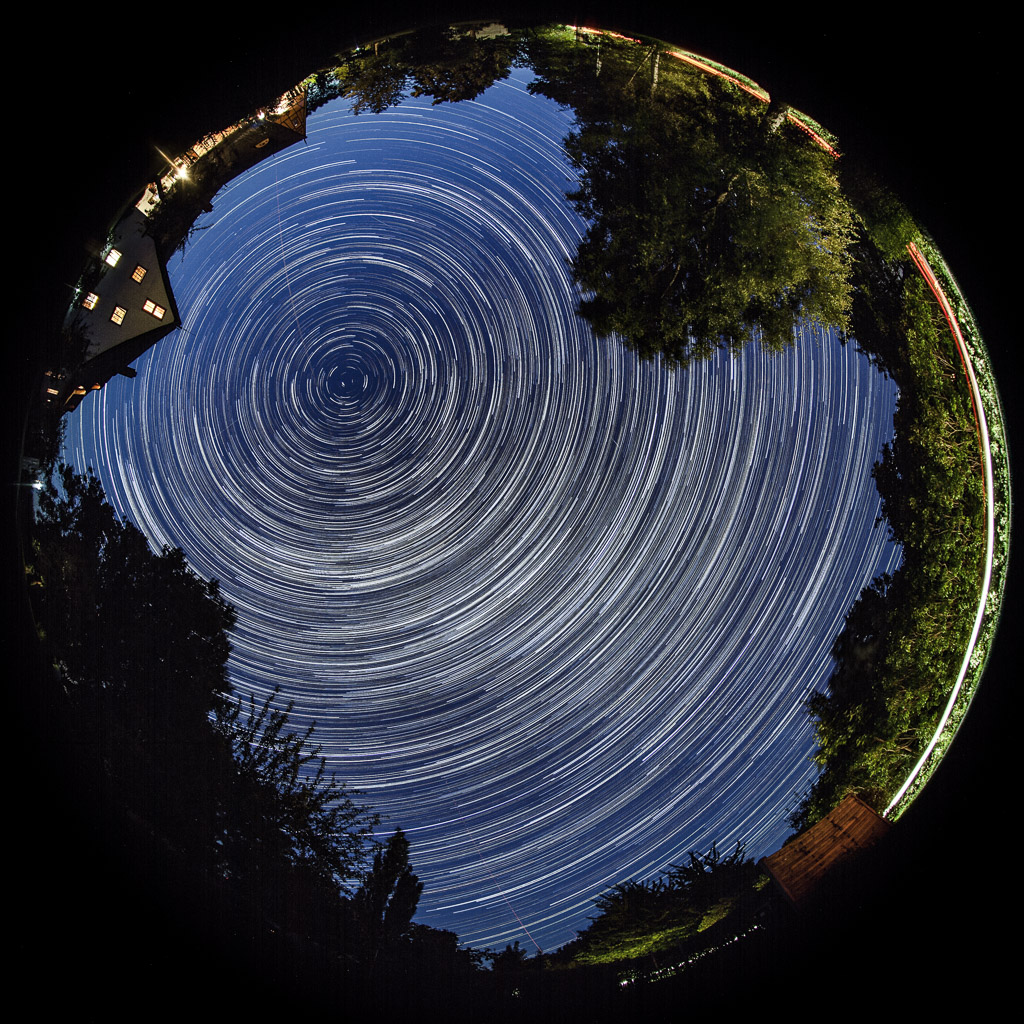
The relatively dark skies and several clear nights on Rügen’s “Muttland” during our recent Berlin-Rügen-Wismar trip had to be portrayed as a star trail, of course. With the new fisheye toy, the camera was just lying on its back on a small table in the hotel garden while we were stargazing. ;-) Result ist the image above, compiled from 264 single exposures at f/4, ISO 400, 30 s (in reality approx. 32 s) for a total time of 8630 s.
Combining the images can be done with a variety of tools. Photoshop or other image manipulation tools, and the “lighten” layer mode being somewhat obvious, but 264 layers with 21 Mpxl would certainly stress resources heavily. So there are some specialists out there: StarStaX and Startrails, both Windows programs offering a “lighten” and a “gap filling” mode among others.
For the circular fisheye here “gap filling” is not really required. Nevertheless the result shown above is from StarStaX in “gap filling” mode, as I like StarStaX’s slight increase in local contrast compared to “lighten”. When stacking images in “lighten” mode, both programs will output absolutely identical results. In “gap filling”, I found that Startrails yielded a too bright background for the image series. All in all I tend to prefer StarStaX, even if “comet mode” in StarStaX wasn’t that much of a success.
Neither StarStaX nor Startrails handle embedded meta data, so some postprocessing with exiftool is required:
exiftool -tagsfromfile FIRSTIMAGE.jpg -Keywords= -Subject= -ThumbnailImage= -ExposureTime=NNNN OUTPUT.jpg
An alternative is to use ImageMagick, the command line tool convert can do the “lighten” stacking as follows:
convert INPUT*.jpg -evaluate-sequence max OUTPUT.jpg
For the stacking, the image series needs to be exported from Lightroom first, JPEGs at max quality are sufficient. StarStaX supports 16 bit TIFFs on input, but not for output. Make sure to check the “Write Keywords as Lightroom Hierarchy” setting, the exiftool command above ensures that the “flat” keywords don’t mess up the keyword hierarchy during import.
One big caveat, and I found this out the hard way: in preparing the image series for export from Lightroom, don’t apply any development settings which change the geometry of the image, e.g. crop with rotation or lens distortion correction! Doing so will result in banding-like artefacts in the stacked result!
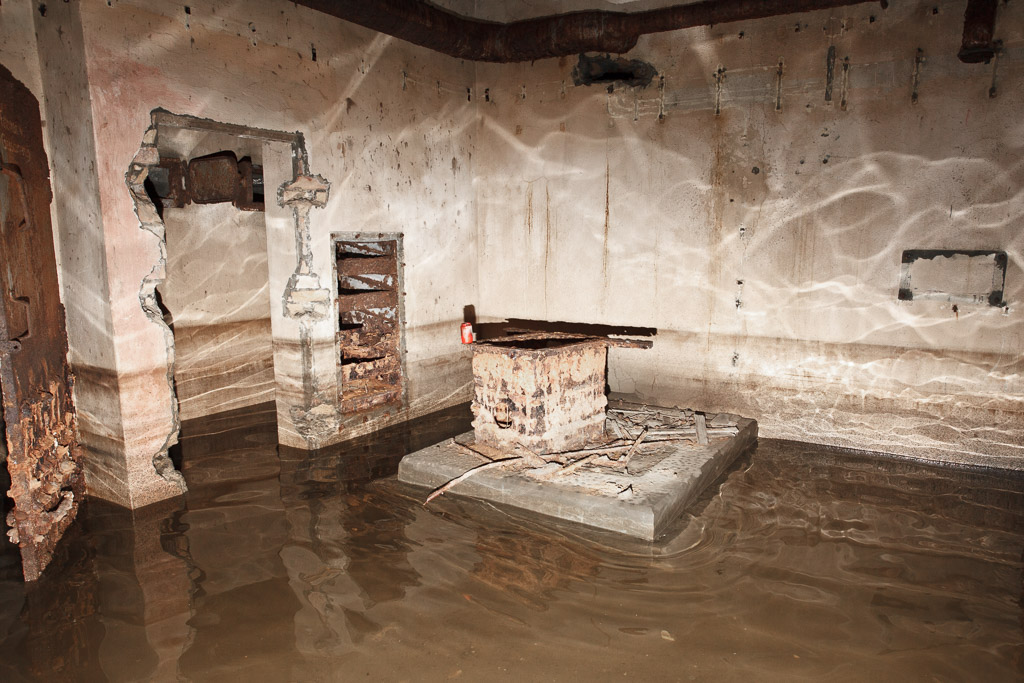
More Berlin below the ground. Thanks to Berliner Unterwelten e.V. for the permission to publish the images.
Und noch etwas mehr Berlin unter der Oberfläche. Danke an den Berliner Unterwelten e.V. für die freundliche Genehmigung zur Veröffentlichung der Bilder.

Lightroom 3 was released this week and I started using it today. In particular I’m very fond of the new lens and perspective corrections. No more round trips to PTLens necessary.
The image is from a recent excursion to Michael Kramer’s large sculpture “Das Werk II”, a miniature industrial plant created from scrap pieces, installed in Bergisch Gladbach, Germany.